From Scraps to Sanctuary: Build a Sustainable Chicken Coop with Reclaimed Materials
Dreaming of fresh eggs and clucking companions but dreading the cost of a new chicken coop? You're not alone! Many homesteaders face the challenge of providing safe, comfortable housing for their chickens without breaking the bank. The good news is you can create a beautiful, functional, and sustainable chicken coop using reclaimed materials. This DIY chicken coop project is not only budget-friendly but also minimizes environmental impact, embodying the true spirit of homesteading.
Let's transform discarded resources into a haven for your feathered friends. This guide provides a step-by-step tutorial to help you build your own reclaimed materials chicken coop, proving that resourcefulness and sustainability can go hand-in-hand.
Embracing the Homesteading Philosophy: Sustainability in Action
This project is more than just building a structure; it's about embracing a lifestyle of self-sufficiency and reducing waste. By using reclaimed materials, you're diverting items from landfills, conserving natural resources, and creating a unique, personalized coop. Furthermore, a well-designed coop contributes to the health and happiness of your chickens, leading to better egg production and a more resilient homestead. Think of it as sustainable homesteading at its finest.
Step-by-Step Guide: Building Your Reclaimed Chicken Coop
This guide assumes a basic coop size of 4ft x 6ft, suitable for 4-6 chickens. Adjust dimensions based on your flock size and available materials. Remember to check local ordinances regarding backyard chickens and coop size requirements.
Tools You'll Need:
- Measuring tape
- Pencil
- Circular saw or hand saw
- Drill with various drill bits and screwdriver attachments
- Hammer
- Level
- Square
- Safety glasses
- Gloves
Materials List (Estimates will vary greatly depending on reclaimed availability):
- Pallets: 4-6 (for framing and walls) - Cost: Often free!
- Salvaged Lumber: Various sizes (for framing, roosts, and trim) - Cost: Free to minimal
- Reclaimed Windows: 1-2 (for natural light) - Cost: Free to minimal
- Corrugated Metal or Roofing Shingles: (for roof) - Cost: Dependent on source, look for remnants or salvage
- Chicken Wire or Hardware Cloth: (for run, if building one) - Cost: $20-$50 (new)
- Hinges and Latches: (for doors and nesting boxes) - Cost: $10-$20 (new)
- Screws and Nails: - Cost: $10-$20 (new)
- Insulation: (rigid foam or recycled denim insulation) - Cost: $20-$40 (check for seconds or discounts)
- Exterior Paint or Sealer: (optional, for weather protection and aesthetics) - Cost: $20-$30 (look for mis-tints on sale)
Estimated Total Cost: $80 - $200 (depending on the availability of reclaimed materials)
Construction Steps:
- Prepare the Foundation: Choose a level location for your coop. You can build directly on the ground (ensure good drainage), or create a simple platform using concrete blocks or treated lumber. A slightly elevated coop deters rodents and improves ventilation.
Build the Frame: Disassemble your pallets carefully, salvaging as much usable lumber as possible. Use this lumber to construct a rectangular frame for the base of the coop (4ft x 6ft). Ensure the frame is square and level. Then, build the wall frames, typically 6-8 feet tall at the front sloping down to 4-6 feet at the back, creating a roof pitch.
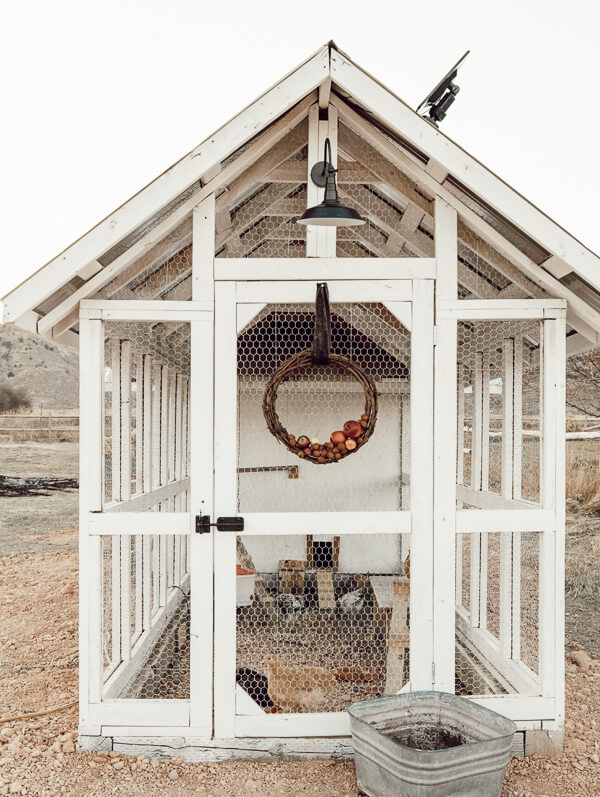
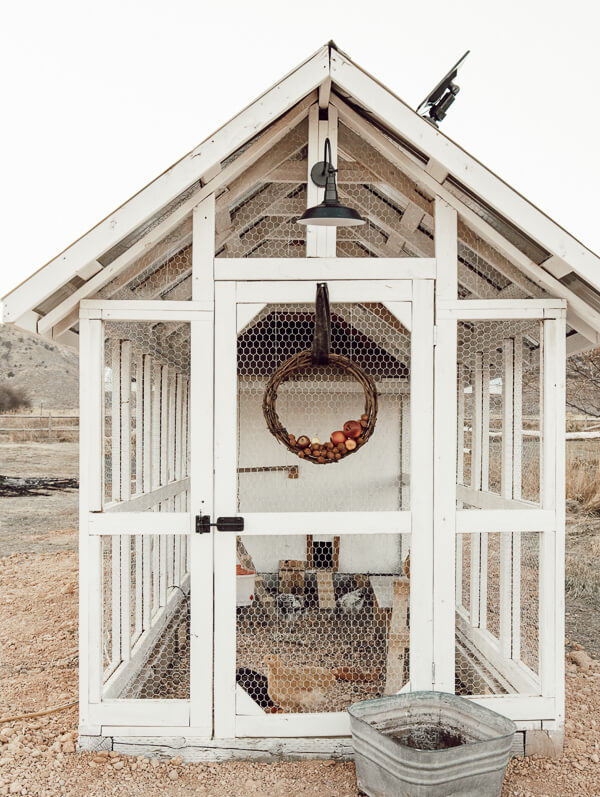
Assemble the Walls: Attach the pallet wood or salvaged lumber to the wall frames, creating solid walls. Leave openings for the door and windows. Consider the placement of your nesting boxes during this stage. Stagger boards and use different types of reclaimed wood for a rustic, visually appealing look.
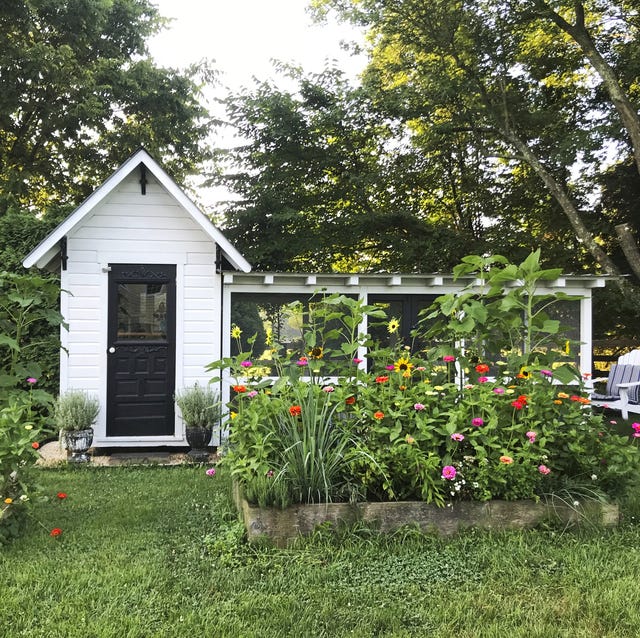
- Install Windows and Doors: Frame the window and door openings. Secure your reclaimed windows with screws or nails. Build a simple door using salvaged lumber, attaching it with hinges and a secure latch to keep predators out.
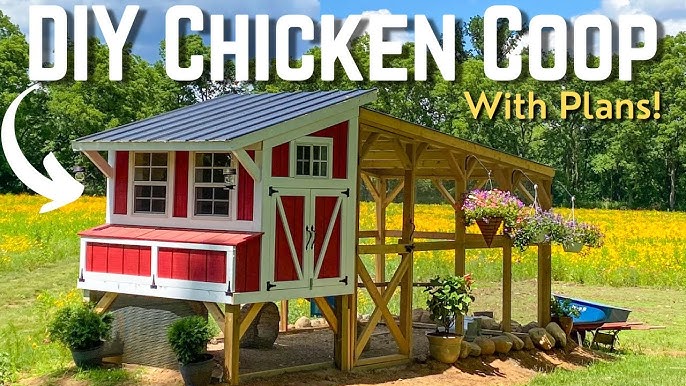
- Construct the Roof: Build rafters to support the roof, ensuring adequate overhang to protect the coop from rain. Attach the rafters to the top of the wall frames. Cover the rafters with plywood or lumber and then install your roofing material (corrugated metal or shingles).
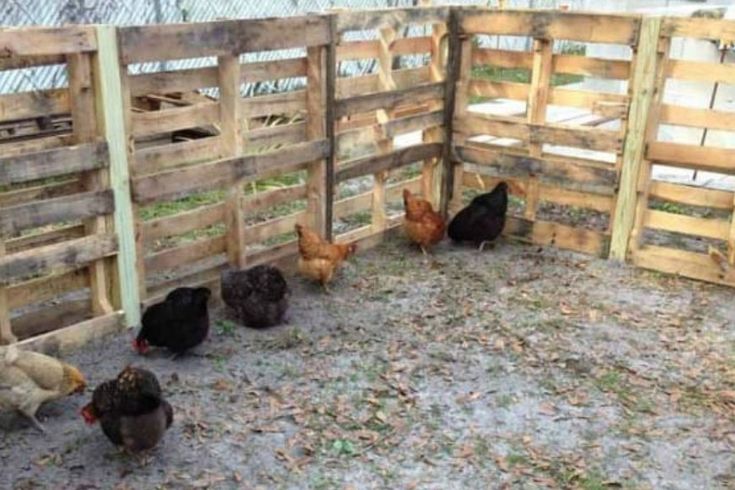
Insulate the Coop: Insulation is crucial for winter warmth and summer coolness. Cut rigid foam insulation to fit between the wall studs, or use recycled denim insulation. Secure the insulation with staples or construction adhesive.
Install Roosts: Chickens need a place to roost off the ground. Create roosts using sturdy branches or 2x4 lumber, placing them at varying heights inside the coop.
Build Nesting Boxes: Nesting boxes should be located in a dark, quiet area of the coop. A general rule is one nesting box for every 3-4 hens. Construct the boxes from reclaimed lumber, ensuring they are easy to access for egg collection.
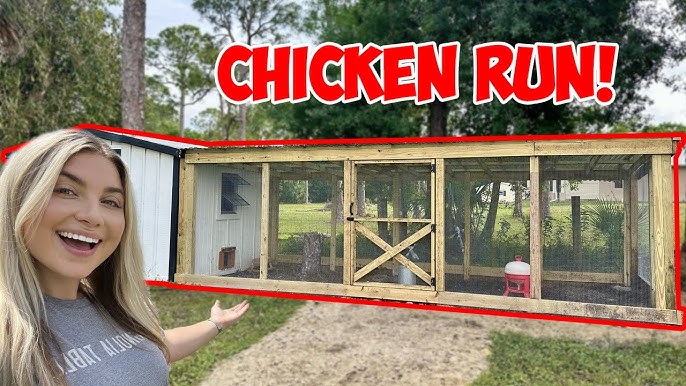
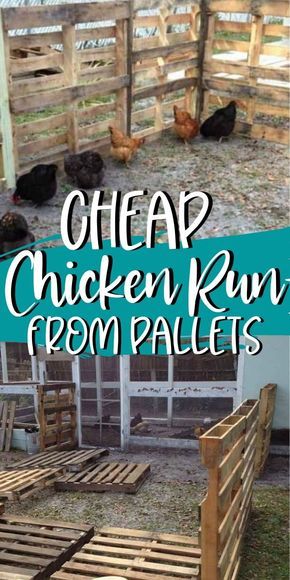
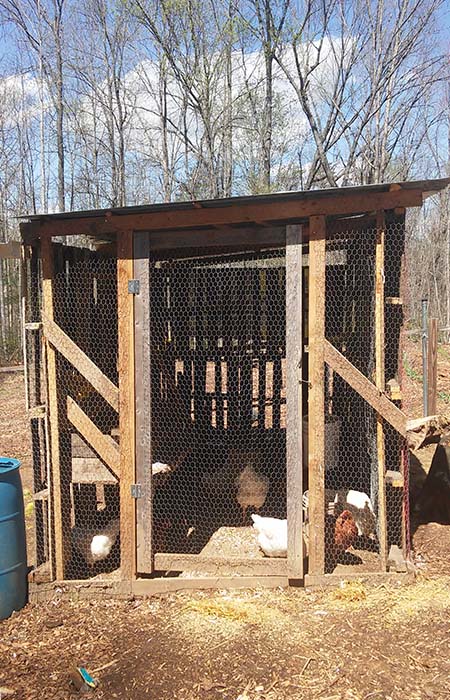
- Add a Run (Optional): A chicken run provides your chickens with a safe outdoor space to forage and exercise. Enclose an area adjacent to the coop with chicken wire or hardware cloth, attaching it to the coop and securing it to the ground to prevent predators from digging underneath.
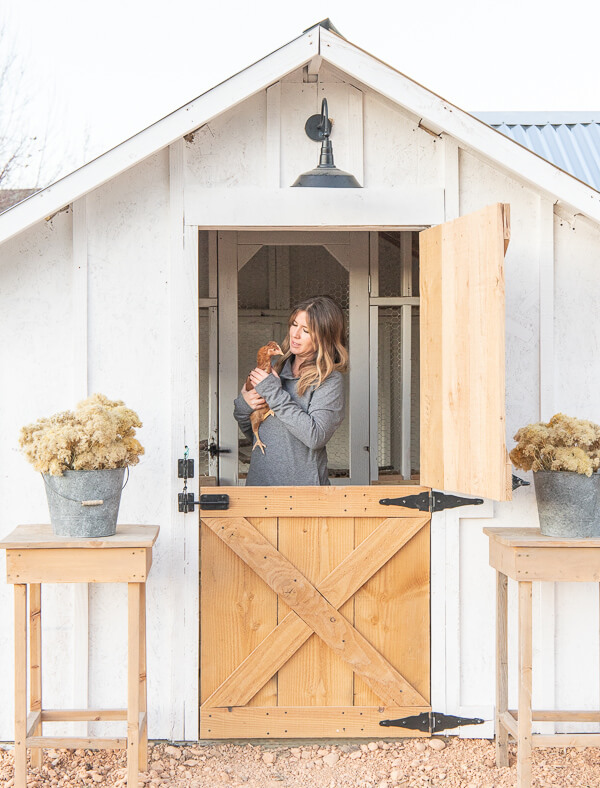
- Finishing Touches: Seal any gaps or cracks in the coop to prevent drafts and pest infestations. Paint or seal the exterior of the coop to protect it from the elements (optional). Add bedding to the coop floor (straw, wood shavings, or shredded paper).
Troubleshooting Tips
- Uneven Ground: Use shims or concrete blocks to level the coop if the ground is uneven.
- Stubborn Nails: Use a nail punch to drive stubborn nails below the surface of the wood.
- Finding Suitable Materials: Check local salvage yards, construction sites (with permission), and online marketplaces for reclaimed materials.
- Predator-Proofing: Ensure all openings are securely covered with hardware cloth. Bury the perimeter of the run at least 12 inches deep to prevent digging predators.
Optional Additions
- Automatic Chicken Door: An automatic chicken door opens and closes based on a timer or light sensor, providing added security and convenience.
- Attached Run: Expand the run to provide your chickens with more space to roam.
- Rainwater Collection: Install a rain barrel to collect rainwater for your chickens to drink.
The Beauty of Reclaimed
Don't be afraid to embrace imperfections. The beauty of using reclaimed materials lies in its unique character and story. Each piece of wood has its own history, adding personality and charm to your coop.
Call to Action: Share Your Chicken Coop Creations!
We'd love to see your DIY chicken coop projects! Share your photos and experiences in the comments below. What reclaimed materials did you use? What challenges did you overcome? Let's inspire each other to create more sustainable and resourceful homesteads.
For information on the best companion plants to deter pests and enhance your chickens' environment, be sure to check out this article on companion planting near chicken coops at Better Homes and Harvests: [Placeholder for "Better Homes and Harvests" article on companion planting near chicken coops.]

Conclusion: Building a More Resilient Future
Building a sustainable chicken coop from reclaimed materials is a rewarding and empowering experience. It's a testament to the homesteading spirit of self-sufficiency, resourcefulness, and environmental responsibility. By following this guide, you can create a safe, comfortable, and aesthetically pleasing home for your chickens while minimizing your impact on the planet. So, gather your tools, source your materials, and start building your dream coop today! You'll be enjoying farm-fresh eggs and the satisfaction of creating something beautiful and sustainable in no time. Happy homesteading!
