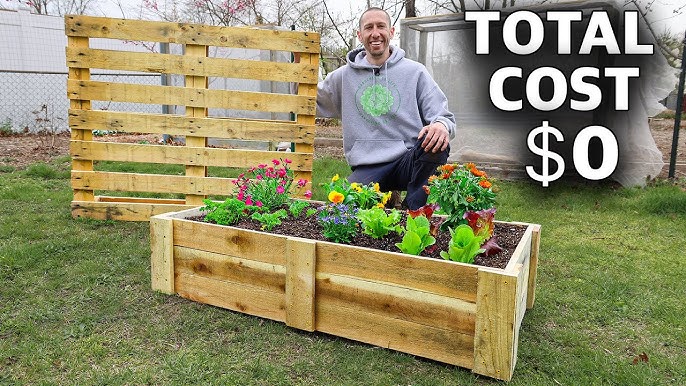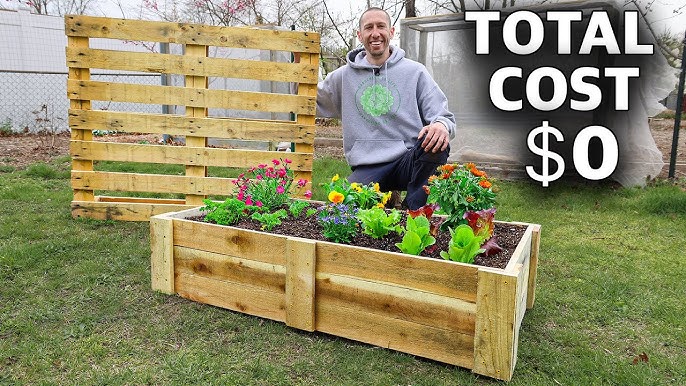
From Scrap to Supper: Building Your First Raised Garden Bed with Reclaimed Materials
So, you’re ready to embrace the homesteading life! That’s fantastic! One of the most rewarding first steps is creating your own food source. And what better way to start than building a DIY raised garden bed using reclaimed materials? It's an affordable, eco-friendly, and incredibly satisfying project. This guide is designed specifically for beginner homesteaders. We'll walk you through each step, ensuring you create a thriving garden space without breaking the bank or feeling overwhelmed. Get ready to roll up your sleeves and transform discarded resources into a productive patch of earth!
:strip_icc()/101625872-6007d2b72f06441192ef22045cbf8771.jpg)
Why Choose a Raised Garden Bed?
Before we dive into the how-to, let’s talk about why raised garden beds are a fantastic choice for beginners. They offer several advantages:
- Improved Soil Quality: You control the soil composition, ensuring optimal growing conditions for your plants. This is especially helpful if your native soil is poor or compacted.
- Better Drainage: Raised beds prevent waterlogging, which can damage roots and lead to disease.
- Pest Control: They provide a barrier against some ground-dwelling pests.
- Accessibility: Raised beds are easier on your back and knees, making gardening more enjoyable.
- Extended Growing Season: The soil in raised beds warms up faster in the spring, allowing you to start planting earlier.
- Space Efficiency: Ideal for small yards or urban environments, maximizing your growing area.
Gathering Your Reclaimed Materials: The Treasure Hunt Begins!
The beauty of this project lies in its affordability and sustainability. You’ll be surprised at what you can find for free or at a very low cost. Here are some excellent reclaimed materials to consider for your garden bed DIY:
- Pallets: These are often available for free from local businesses, construction sites, or online marketplaces. Look for pallets that haven't been chemically treated; an "HT" stamp indicates heat treatment. Avoid pallets with "MB" (methyl bromide) markings, which is a toxic fumigant.
- Old Lumber: Check with demolition sites, construction companies, or even your own garage for discarded lumber. Remember to remove any nails or screws before using.
- Cinder Blocks: These can be found at construction sites or home improvement stores. Sometimes, you can even find them for free on online marketplaces.
- Bricks: Repurposed bricks add a rustic charm to your garden bed. Check local classifieds or salvage yards.
- Metal Roofing or Siding: Creates a modern, durable garden bed. Be cautious of sharp edges!
Where to Find Reclaimed Materials:
- Online Marketplaces: Facebook Marketplace, Craigslist, and Freecycle are excellent resources.
- Local Businesses: Ask around at local stores, factories, and construction sites.
- Construction and Demolition Sites: With permission, you might be able to salvage materials.
- Salvage Yards: These specialize in reclaimed building materials.
- Friends and Neighbors: Spread the word that you're looking for materials.
Step-by-Step Guide: Building Your Reclaimed Raised Garden Bed
Now, let's get to the fun part! This guide assumes you're using lumber or pallets. The process is similar for other materials, but you may need to adapt the steps slightly. We will focus on building a simple rectangular raised bed, but these plans can be adapted.
Step 1: Planning and Preparation
- Choose a Location: Select a spot that receives at least 6-8 hours of sunlight per day. Consider proximity to a water source.
- Determine the Size: A good starting size is 4 feet wide by 8 feet long and 12 inches deep. This size is manageable and provides ample growing space. Adjust the size to fit your space and material availability.
- Gather Your Tools: You'll need:
- Saw (hand saw or power saw)
- Drill with screws
- Measuring tape
- Level
- Gloves
- Safety Glasses
- Landscape fabric (optional)
Step 2: Preparing Your Materials
- Clean the Wood: Remove any dirt, debris, or loose paint from your reclaimed lumber. A wire brush works well for this.
- Cut the Wood: Cut the lumber to the desired lengths for the sides and ends of your raised bed. For a 4x8 bed, you'll need two 8-foot pieces and two 4-foot pieces. If using pallets, dismantle them carefully, removing nails and staples. Be aware that pallet wood can be very rough and splintery, so wear gloves.
- Sand Rough Edges: This is especially important if you’re using pallet wood. Sanding will help prevent splinters.
Step 3: Assembling the Bed
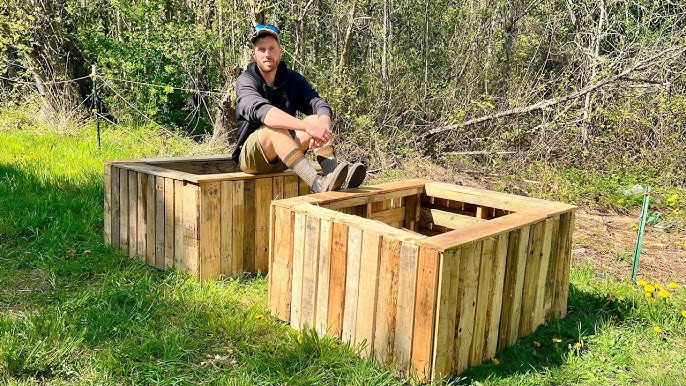
- Build the Frame: Arrange the wood pieces to form a rectangle. Use the drill and screws to attach the corners securely. Ensure the frame is square by measuring the diagonals – they should be equal.
- Reinforce the Corners (Optional): For added stability, you can add corner brackets or additional pieces of wood to reinforce the corners.
- Line the Bed (Optional): Line the inside of the bed with landscape fabric. This will help prevent soil from eroding and keep weeds out. Secure the fabric with staples or tacks.
Step 4: Preparing the Site
- Level the Ground: Clear the area where you’ll place the raised bed. Level the ground as much as possible.
- Remove Sod (Optional): If the area is covered in grass, you can remove the sod or simply cover it with cardboard or newspaper. This will decompose over time and add nutrients to the soil.
Step 5: Filling the Bed
- Choose Your Soil Mix: The key to a successful raised garden bed is a good soil mix. A common blend is:
- 1/3 Compost: Provides nutrients and improves drainage.
- 1/3 Topsoil: Provides structure and support.
- 1/3 Peat Moss or Coco Coir: Improves water retention.
- Fill the Bed: Layer the soil mix into the bed, starting with a layer of organic matter at the bottom (e.g., leaves, grass clippings). This will improve drainage and provide nutrients as it decomposes.
:max_bytes(150000):strip_icc()/September-Garden-4-27714c582b0d4ceaad95c9c24aaac9d9-25fe181085014f4381c4323f8ff30f3f.jpg)
- Water Thoroughly: Once the bed is filled, water it thoroughly to settle the soil.
Step 6: Planting and Enjoying!
- Choose Your Plants: Select plants that are appropriate for your climate and the amount of sunlight your garden bed receives. Consider starting with easy-to-grow vegetables like lettuce, tomatoes, zucchini, and herbs.
- Plant Your Seeds or Seedlings: Follow the instructions on the seed packets or plant tags.
- Water Regularly: Keep the soil moist, but not waterlogged.
- Weed Regularly: Remove weeds as soon as they appear.
- Fertilize as Needed: Use organic fertilizers to provide additional nutrients to your plants.
Common Challenges and Solutions
- Pallet Wood Safety: Not all pallets are safe for gardening. Avoid pallets marked with "MB" (methyl bromide). Look for pallets with "HT" (heat treated) markings.
- Soil Drainage: If your soil is not draining well, add more compost or perlite to improve drainage.
- Pests: Use organic pest control methods, such as companion planting, insecticidal soap, or diatomaceous earth.
- Sunlight: Ensure your garden bed receives at least 6-8 hours of sunlight per day. If necessary, relocate the bed or use grow lights.
- Wood Rot: To prolong the life of your wooden raised bed, consider lining it with plastic sheeting or using naturally rot-resistant wood like cedar or redwood.
Creative Ideas for Reclaimed Materials
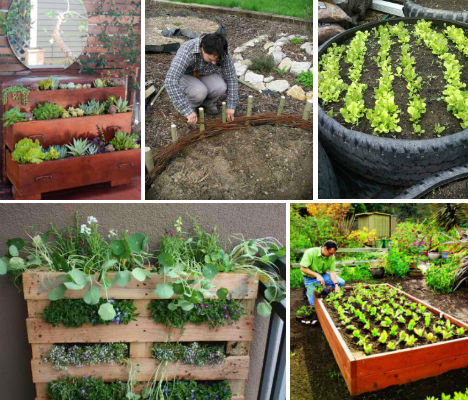
- Cinder Block Beds: Cinder blocks can be stacked to create raised beds of various sizes and shapes. Fill the hollow blocks with soil to create additional planting spaces.
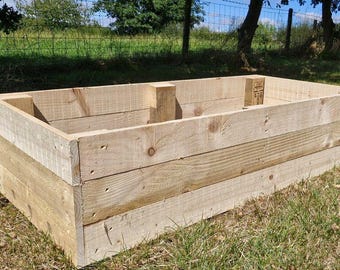
- Pallet Planters: Disassemble pallets and use the wood to build vertical planters or small raised beds.
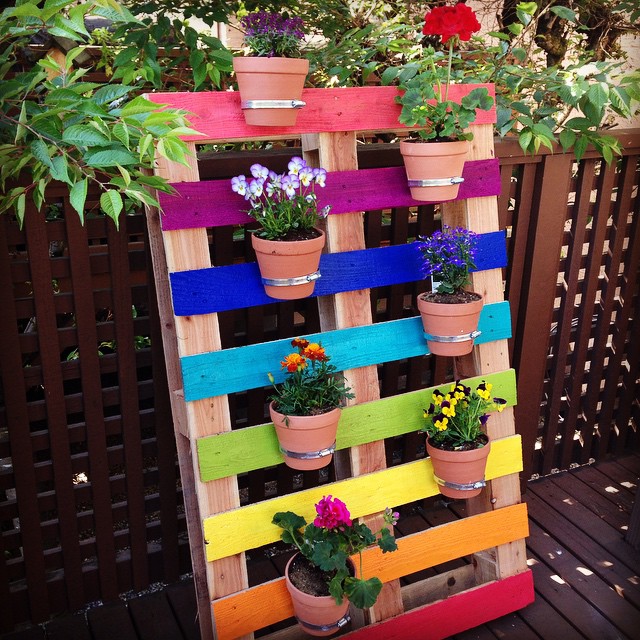
- Metal Roofing Beds: Overlapping metal roofing creates a sturdy and attractive raised bed.
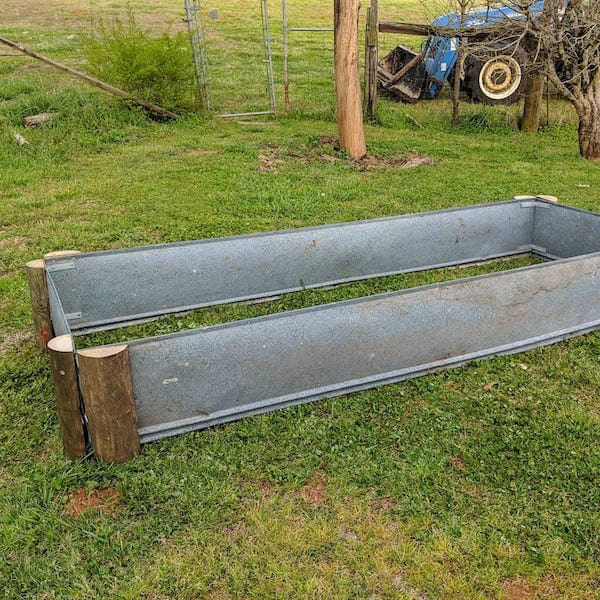
Take Your Homesteading Journey Further
Building a DIY raised garden bed from reclaimed materials is just the beginning of your homesteading adventure! For more tips and tricks, be sure to check out our other articles on composting, seed starting, and organic gardening. We're here to support you every step of the way.
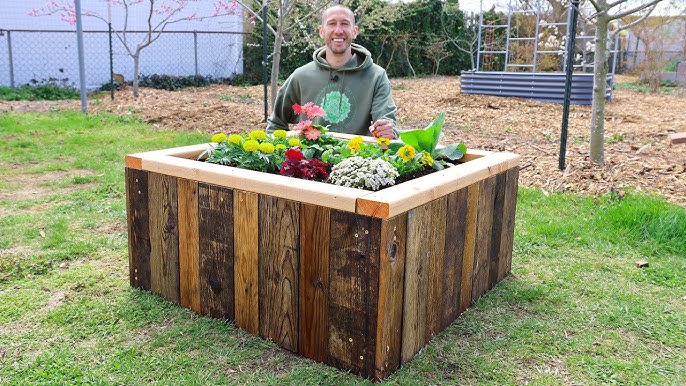
Share Your Success!
We can't wait to see your creations! Share photos of your finished raised garden bed on social media using #BetterHomesandHarvestsGarden. Don't forget to ask questions in the comments below, and subscribe to our newsletter for more homesteading tips delivered straight to your inbox.
Building a cheap garden bed idea is a great step toward self-sufficiency. With a little effort and creativity, you can transform discarded materials into a thriving garden that provides fresh, healthy food for you and your family. Happy gardening!
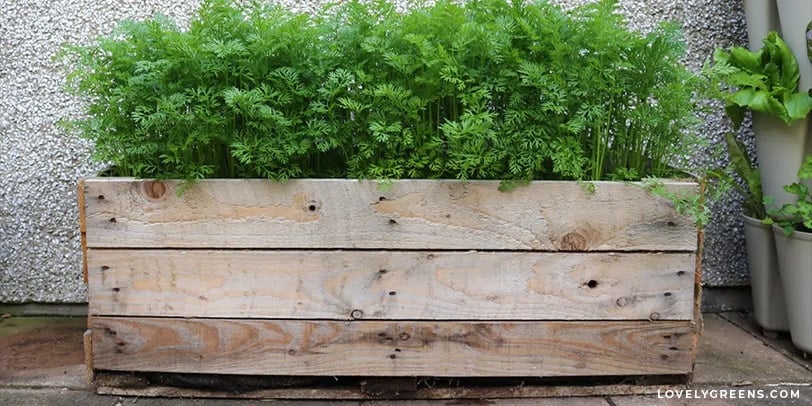
This DIY raised garden bed is perfect for a beginner homesteading garden. Remember, the journey to self-sufficiency is a marathon, not a sprint. Enjoy the process, learn from your mistakes, and celebrate your successes. Welcome to the Better Homes and Harvests family!