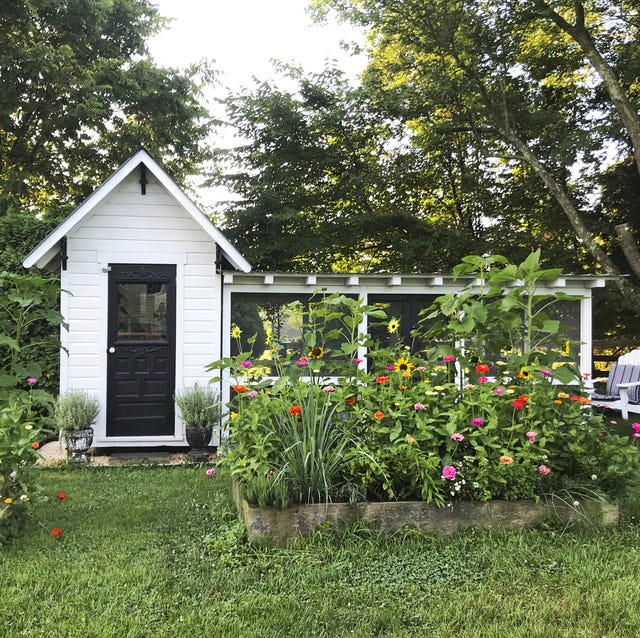
From Scrap to Sanctuary: Building a Budget-Friendly, Predator-Proof Chicken Coop
Here at Better Homes and Harvests, we're all about resourcefulness and creating a sustainable lifestyle. And what's more rewarding than gathering your own fresh eggs each morning? But before you can experience that joy, you need a safe and comfortable home for your feathered friends. I remember the day a sneaky fox made off with one of my prized hens. It was a heartbreaking wake-up call. That's when I knew I needed to build a fortress, a chicken haven that was both predator-proof and easy on the wallet. That experience led me to creating a compact, cost-effective coop from repurposed materials – and I'm here to guide you through the process! This project solves the problem of providing secure and affordable housing for your chickens while embracing the homesteading spirit of self-sufficiency. Let's get started!
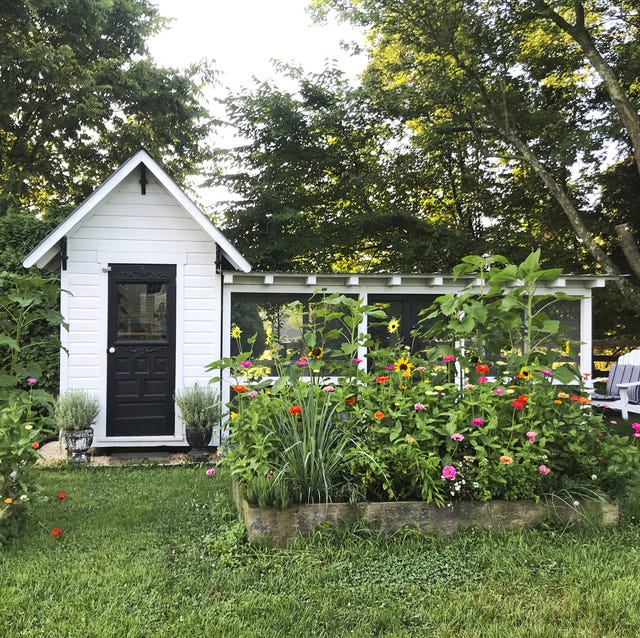
Why Build a Recycled Chicken Coop?
Before we dive into the how-to, let's talk about the why. Building a recycled chicken coop aligns perfectly with homesteading values.
- Cost Savings: New lumber can be expensive! Repurposing materials significantly reduces your upfront investment. We're talking budget chicken coop here!
- Environmental Responsibility: Giving new life to old materials reduces waste and minimizes your environmental footprint.
- Unique Design: A DIY chicken coop built from reclaimed items has character and charm that a store-bought coop simply can't match.
- Self-Sufficiency: The satisfaction of building something with your own hands, using materials you've sourced yourself, is incredibly rewarding.
Planning Your Coop: Size and Location
First, consider the size of your flock. A general rule of thumb is 4 square feet of coop space per chicken and 8-10 square feet of run space per chicken. A small chicken coop for 4-6 hens can be surprisingly compact.
Next, think about location. Choose a spot that's:
- Well-drained to prevent muddy conditions.
- Offers some shade, especially during hot summer months.
- Protected from strong winds.
- Convenient for you to access for cleaning and egg collection.
Gathering Your Materials: The Repurposing Hunt
This is where the fun begins! Scour your property, local classifieds, and salvage yards for suitable materials. Here are some ideas:
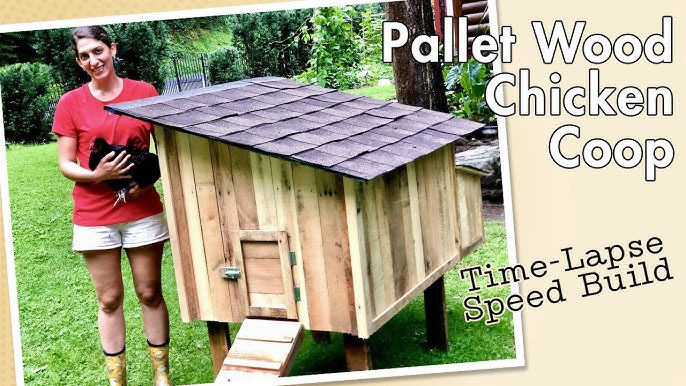
- Pallets: A fantastic source of lumber! Disassemble them carefully, and you'll have plenty of wood for framing and siding.
- Reclaimed Wood: Old fences, decking, or siding can be transformed into coop walls and roofing.
- Old Doors and Windows: Perfect for adding ventilation and natural light. Ensure any windows used are properly secured to prevent breakage and predator entry.
- Metal Roofing: Salvaged metal sheets provide durable and weather-resistant roofing.
- Hardware Cloth: Essential for creating a predator-proof coop. Use 1/2-inch mesh hardware cloth for the run and any ventilation openings. Chicken wire is NOT predator proof.
- Miscellaneous: Screws, nails, hinges, latches – keep an eye out for these essentials.
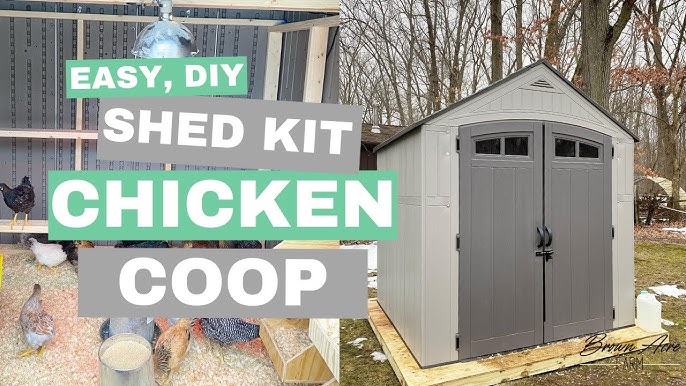
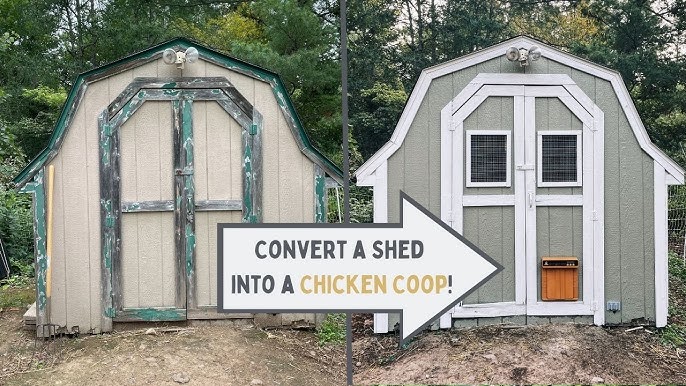
Don’t be afraid to get creative! An old dog house can become a coop base; a discarded dresser can provide nesting boxes.
Step-by-Step: Building Your DIY Chicken Coop
Okay, let's get building! Here's a simplified guide:
Step 1: The Foundation
- Prepare the ground by leveling the area where your coop will sit.
- Consider a gravel base for improved drainage.
- Build a simple frame using pressure-treated lumber (if available) or repurposed wood. This will serve as the coop's foundation.
Step 2: Framing the Walls
- Use your repurposed lumber to build the coop walls.
- Ensure the frame is sturdy and square.
- Incorporate openings for the door, windows, and ventilation.
Step 3: Adding the Siding
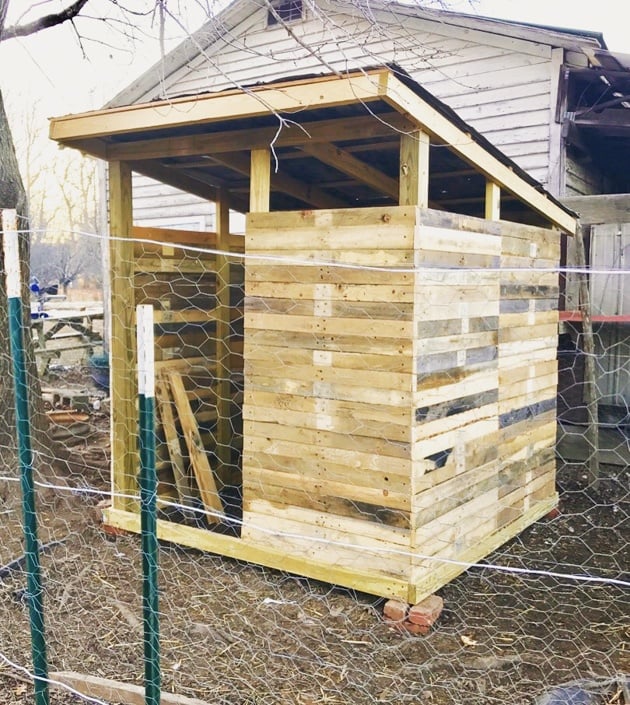
- Attach your chosen siding material (pallet wood, reclaimed siding) to the frame.
- Overlap the pieces to create a weather-tight seal.
- Leave gaps for ventilation, which you'll cover with hardware cloth later.
Step 4: The Roof
- Construct a simple sloped roof to allow rainwater to run off.
- Attach your metal roofing or other roofing material, ensuring it's securely fastened.
Step 5: The Predator-Proof Run
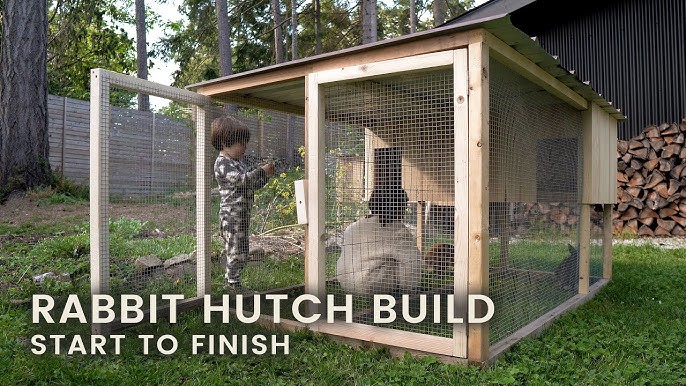
- Build a frame for the run, attaching it securely to the coop.
- Completely enclose the run with 1/2-inch hardware cloth, burying it at least 12 inches deep to prevent digging predators.
- Consider an apron of hardware cloth extending outwards from the base of the run for added protection.

Step 6: Interior Design: Roosting Bars and Nesting Boxes
- Install roosting bars, providing at least 8-10 inches of roosting space per chicken.
- Build nesting boxes, aiming for one box for every 3-4 hens. A standard size is 12x12x12 inches.
- Line the nesting boxes with straw or wood shavings.
Step 7: Door and Ventilation
- Build a sturdy door for easy access.
- Ensure adequate ventilation by adding screened openings near the roofline. Proper ventilation prevents moisture build-up and reduces ammonia odors.
Step 8: Finishing Touches
- Add a ramp for the chickens to easily access the coop from the run.
- Paint or stain the coop for added protection and aesthetics (use non-toxic options!).
- Secure all latches and closures to prevent predators from entering.
Budget-Friendly Alternatives
- Instead of new hinges and latches: Look for used hardware at salvage yards or flea markets.
- Instead of expensive paint: Use a homemade whitewash (lime and water) for a natural and affordable finish.
- Instead of buying nesting box materials: Use old plastic bins or wooden crates.
Predator-Proofing Tips: Going the Extra Mile
- Bury Hardware Cloth: As mentioned, bury the hardware cloth around the run to prevent digging.
- Secure the Roof: Ensure the roof is securely attached to the frame to prevent predators from lifting it.
- Motion-Activated Lights: Install motion-activated lights to deter nocturnal predators.
- Regular Inspections: Regularly inspect the coop and run for any signs of damage or weakness.
- Consider a Livestock Guardian Dog: For those in rural areas, a well-trained livestock guardian dog can be an excellent deterrent.
Homestead Harmony: Integrating Your Coop
A well-designed chicken coop can seamlessly integrate into your homestead.
- Choose a Location: Place the coop near your garden for easy access to chicken manure (a fantastic fertilizer!).
- Match the Aesthetic: Use similar materials and colors to complement your existing buildings.
- Consider a Chicken Tractor: A mobile coop (chicken tractor) allows you to move your chickens around your property, providing them with fresh foraging and distributing their manure evenly.
Conclusion: Your Homesteading Adventure Awaits
Building a DIY chicken coop from recycled materials is a rewarding project that aligns perfectly with the homesteading lifestyle. It's a chance to save money, reduce waste, and create a secure and comfortable home for your chickens. By following these steps and embracing your resourcefulness, you can build a predator-proof coop that will provide you with fresh eggs for years to come. So, gather your materials, put on your thinking cap, and get ready to embark on this exciting adventure! And don't forget to check out other great articles here at Better Homes and Harvests, like our guide to choosing the right chicken breed for your homestead!
Now, we want to hear from you! Share your own coop-building experiences, ask questions, and post photos of your finished projects in the comments below. Let's build a thriving homesteading community together!