From Scrap Heap to Seedlings: Building a Passive Solar Greenhouse on a Budget
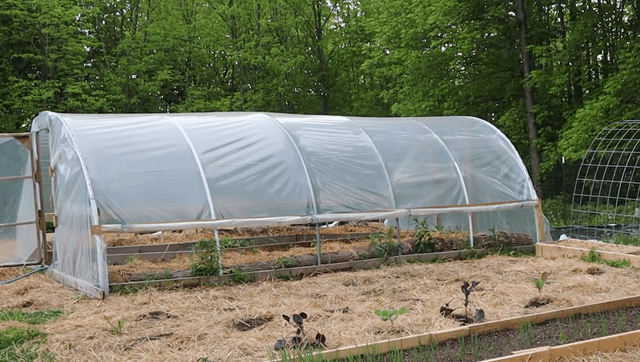
Here on our little slice of [Your Region's Climate] homestead, we've always battled the unpredictable weather. One day it's a balmy spring, the next we're hit with a late frost that wipes out our tender seedlings. And the price of organic produce at the local market? Let's just say it makes you want to grow your own even more! That's when we decided we needed a solution: a passive solar greenhouse. Not just any greenhouse, but one built with our own two hands, primarily from recycled and repurposed materials. It's about extending our growing season, embracing sustainable gardening, and achieving greater self-sufficiency, all without breaking the bank. This isn't just about growing tomatoes in January; it's about taking control of our food source and reducing our dependence on energy-intensive solutions. Join us as we walk you through building your own DIY greenhouse masterpiece.
The Materials: Resourcefulness is Key
Building a recycled greenhouse requires a shift in mindset. It's less about buying new and more about seeing potential in what others discard. Here's a breakdown of what we used, along with tips for sourcing these materials:
Old Windows: The heart of your greenhouse. Look for them at architectural salvage yards, construction sites (ask before taking!), or even online marketplaces like Craigslist or Facebook Marketplace. Estimated cost: $0-$50 (depending on condition and quantity).
Reclaimed Lumber: Pallets are a great source of free lumber, but be careful to choose those marked "HT" (heat-treated) rather than "MB" (methyl bromide fumigated – avoid!). Demolition sites can also be goldmines for lumber. Estimated cost: $0-$30 (for screws and nails).
Recycled Plastic Bottles: These will be your thermal mass. We collected hundreds of plastic bottles, filled them with water, and used them to absorb heat during the day and release it at night. Start saving months in advance! Estimated cost: $0 (just your time).
Gravel or Stone: For the greenhouse floor. Helps with drainage and adds to the thermal mass. Estimated cost: $0-$20 (if you can source it from your property or a local quarry).
Polycarbonate Roofing (Optional): If you can't find enough windows, consider using polycarbonate roofing for the back wall or roof. It's lightweight and durable. Estimated cost: $50-$100 (depending on size).
Door: Re-use an old door or build a simple one from reclaimed lumber. Estimated cost: $0-$20 (for hinges and a latch).
Fasteners: Screws, nails, bolts, and brackets. Buy these new for strength and reliability. Estimated cost: $20-$40.
Sourcing Sustainably: The goal is to minimize your environmental impact. Prioritize salvaged materials, support local businesses that sell reclaimed items, and avoid buying new whenever possible.
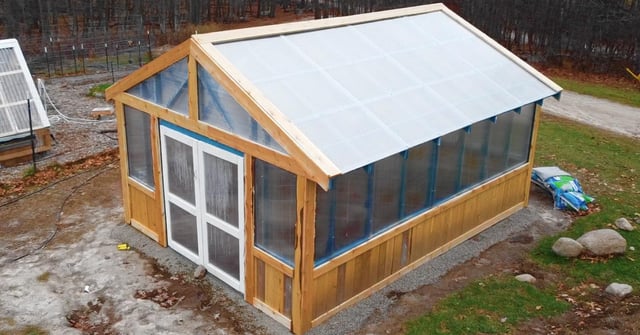
Step-by-Step Construction: Building Your Dream
Here’s how we tackled the build. Remember to always wear safety glasses and gloves!
Step 1: Planning and Foundation:
- Choose a location with good sun exposure, ideally facing south (or southeast).
- Clear the area and level the ground.
- Create a simple foundation using gravel or concrete blocks. This will prevent the wood from rotting.
Step 2: Framing the Structure:
- Build a rectangular frame using reclaimed lumber. Make sure it's sturdy and square.
- The height of the frame will depend on the size of your windows.
- Add support beams for the roof.
Step 3: Installing the Windows:
- Attach the windows to the frame using screws and brackets.
- Make sure they are securely fastened and weatherproofed.
- Overlap the windows slightly to prevent drafts.
Step 4: Building the Roof:
- If using reclaimed lumber, create a simple pitched roof.
- If using polycarbonate roofing, attach it to the frame according to the manufacturer's instructions.
- Ensure the roof is watertight to prevent leaks.
Step 5: Adding Thermal Mass:
- Place the plastic bottles filled with water along the back wall and floor of the greenhouse.
- You can also use dark-colored rocks or bricks.
Step 6: Building the Door:
- Build a simple door from reclaimed lumber or re-use an old door.
- Install hinges and a latch.
- Make sure the door seals tightly to prevent heat loss.
Step 7: Ventilation:
- Install vents near the top of the greenhouse to allow hot air to escape.
- You can use simple hinged windows or automatic vent openers.
Why each step is important: A solid foundation prevents rot. Secure windows maximize light and minimize heat loss. Thermal mass regulates temperature fluctuations. Ventilation prevents overheating.
Troubleshooting: If your windows are different sizes, adjust the frame accordingly. If you're having trouble finding materials, ask around at local construction sites or salvage yards.
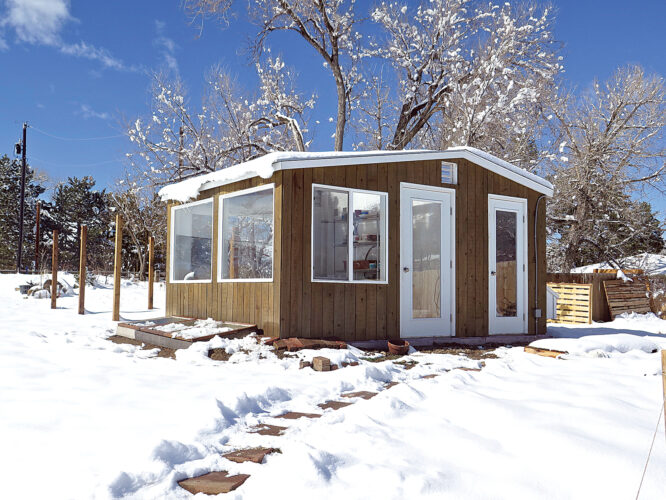
Passive Solar Design Principles: Harnessing the Sun's Power
Understanding passive solar design is key to maximizing your greenhouse's efficiency. It’s all about harnessing the power of the sun without relying on electricity or gas.
- Orientation: Orient your greenhouse so the long side faces south (in the Northern Hemisphere) to maximize sunlight exposure.
- Glazing Angle: A steeper glazing angle in winter helps capture more of the low-angled sun. In summer, a shallower angle reduces overheating.
- Thermal Mass: Materials like water, rock, and concrete absorb heat during the day and release it at night, moderating temperature swings.
- Insulation: Insulating the north wall and foundation helps retain heat.
For further learning, check out the resources available at the National Sustainable Agriculture Information Service (ATTRA): https://attra.ncat.org/
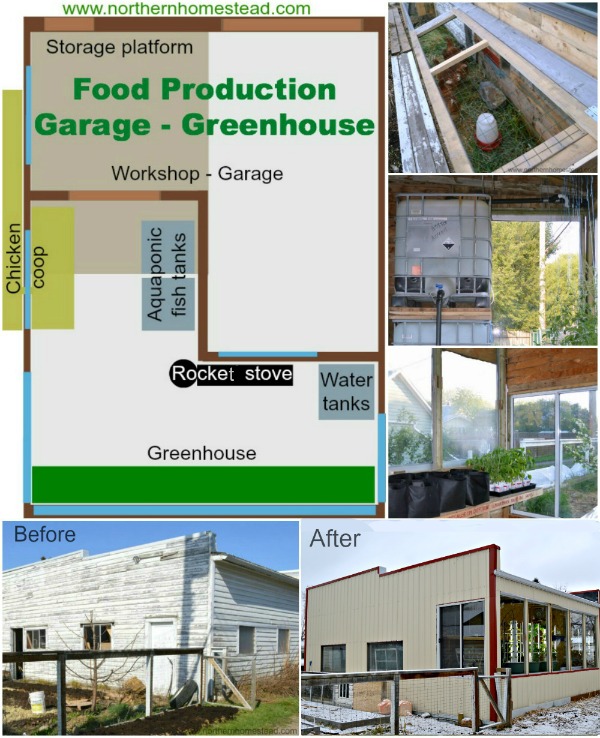
Optimizing Performance: Growing Strong
Building the greenhouse is just the first step. Here’s how to keep it thriving:
- Ventilation: Proper ventilation is crucial to prevent overheating and disease. Open vents on warm days and close them at night to retain heat.
- Watering: Water deeply but infrequently to encourage strong root growth. Consider using drip irrigation or rainwater harvesting to conserve water.
- Crop Selection: Choose crops that are well-suited to your climate and the greenhouse environment. Leafy greens, tomatoes, peppers, and herbs are all good choices.
- Shading: During the hottest months, you may need to provide some shade to prevent your plants from getting scorched. Use shade cloth or whitewash the glazing.
- Monitoring: Keep a close eye on temperature and humidity levels inside the greenhouse. Adjust ventilation and watering as needed.
Share Your Story!
We hope this guide has inspired you to build your own sustainable greenhouse. Building a passive solar greenhouse from repurposed materials is a rewarding project that will enhance your homesteading journey and help you achieve greater self-sufficiency.
Now, we want to hear from you! Have you built a DIY greenhouse? What challenges did you face? What tips do you have for other homesteaders? Share your experiences, ask questions, and suggest improvements in the comments below! We can all learn from each other. Don't forget to share photos of your finished greenhouses! Let’s build a community of sustainable gardening enthusiasts right here on Better Homes and Harvests.
