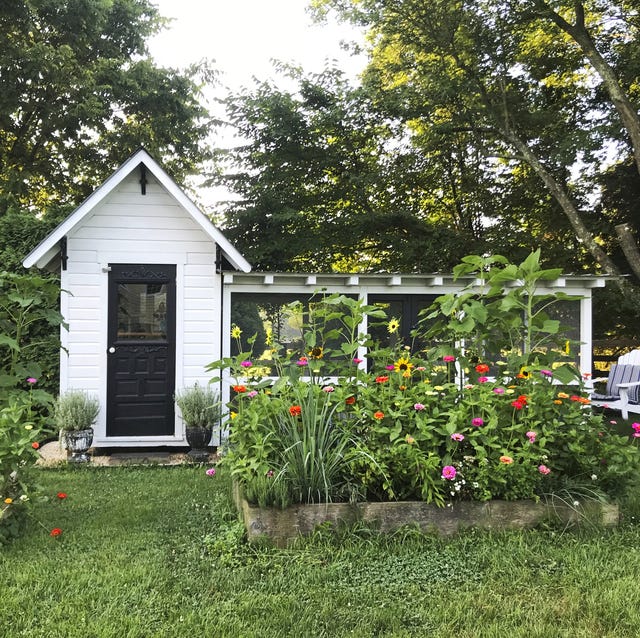
From Scrap Heap to Happy Hens: Building a Budget-Friendly Chicken Tractor
Welcome back to Better Homes and Harvests, friends! I'm so glad you're here, ready to roll up your sleeves and get homesteading. Today, we're tackling a project near and dear to my heart: building a budget-friendly chicken tractor from reclaimed materials.
I remember when we first started keeping chickens. We’d built a sturdy coop, but soon realized our feathered friends were quickly turning our yard into a dust bowl. We needed a solution that would allow them to forage freely, fertilize our garden beds, and keep them safe from predators, all without breaking the bank. The answer? A chicken tractor! It wasn't just about protecting the yard. It was about providing our chickens with the best possible life, and doing it in a way that aligned with our values of resourcefulness and sustainability. This project changed everything, and I'm excited to share the knowledge and confidence so you can build your own.
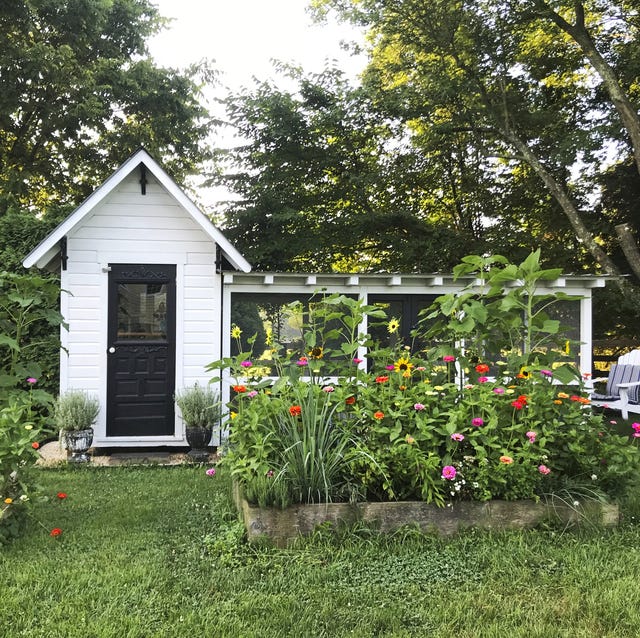
A chicken tractor, for those unfamiliar, is essentially a mobile chicken coop. It allows you to move your chickens around your property, giving them fresh grazing and preventing them from over-foraging in one area. It's a fantastic way to naturally fertilize your land, control pests, and provide your chickens with a stimulating environment. And the best part? You can build one yourself, often using materials you already have on hand. So, grab your gloves, and let’s get started!
Why Build a Chicken Tractor?
Before we dive into the nitty-gritty, let's recap why a chicken tractor is a worthwhile investment for any homesteader:
- Pasture Rotation: Prevents overgrazing and allows vegetation to recover.
- Natural Fertilization: Chicken manure is a fantastic fertilizer. Moving the tractor distributes it evenly.
- Pest Control: Chickens love to eat insects, larvae, and weed seeds.
- Improved Chicken Health: Access to fresh forage promotes healthy chickens and reduces the need for supplemental feed.
- Predator Protection: A secure tractor keeps your chickens safe from foxes, coyotes, hawks, and other predators.
- Cost-Effective: Building from reclaimed materials significantly reduces the cost compared to buying a pre-made coop.
Step-by-Step Guide: Building Your Reclaimed Chicken Tractor
Here's a detailed guide to building your own budget-friendly chicken tractor, using primarily reclaimed materials. Remember to always prioritize safety when working with tools and materials.
Phase 1: Scrounging and Planning
- Gather Your Materials: This is where the "reclaimed" part comes in. Start scouring your property, local salvage yards, construction sites (with permission, of course!), and online marketplaces for the following:
- Wood: Old fence posts, pallets (check for safe treatment!), scrap lumber, and reclaimed framing. The amount you need will depend on the size of your tractor.
- Hardware Cloth: For the floor and sides. This is crucial for predator protection.
- Wheels: Old bicycle wheels, wagon wheels, or even sturdy casters. These will make moving the tractor easier.
- Roofing Material: Corrugated metal, old tarps, or even heavy-duty plastic sheeting.
- Hardware: Screws, nails, hinges, latches, and wire.
- Plan Your Design: Before you start cutting and building, create a simple plan. Consider:
- Size: How many chickens do you have? A good rule of thumb is 4 square feet of space per chicken inside the tractor.
- Shape: Rectangular is the most common, but you can get creative.
- Portability: How easy will it be to move? Wheel placement is key.
- Accessibility: How will you access the chickens for feeding, watering, and egg collecting?
- Safety First: Always wear safety glasses and gloves when working with wood and tools. Be mindful of sharp edges and protruding nails.
Phase 2: Framing and Construction
- Build the Base: Construct the base frame using your sturdiest reclaimed lumber. This frame will support the entire structure, so make sure it's strong and square. Attach the wheels to the base frame, ensuring they are securely fastened.
- Construct the Walls: Build the side walls of the chicken tractor. Use your reclaimed wood to create the frame, and then cover it with hardware cloth. Secure the hardware cloth with staples or screws. Ensure there are no gaps where predators could enter.
- Build the Door(s): Designate an area for a door or doors for easy access. Attach hinges and latches to secure the doors.
- Add the Roof: Attach the roofing material to the top of the frame. Overlap the material to prevent leaks. Ensure the roof is securely fastened to withstand wind and rain. A slight angle will help with water runoff.
- Consider a Roost: Chickens need a place to roost at night. Add a simple roosting bar inside the tractor, made from a sturdy branch or a piece of lumber.
Phase 3: Finishing Touches and Chicken Introduction
- Sand Rough Edges: Inspect the entire structure for any sharp edges or protruding nails that could injure your chickens. Sand them down or cover them with tape.
- Add Bedding: Spread a layer of straw, wood shavings, or other absorbent bedding on the floor of the tractor.
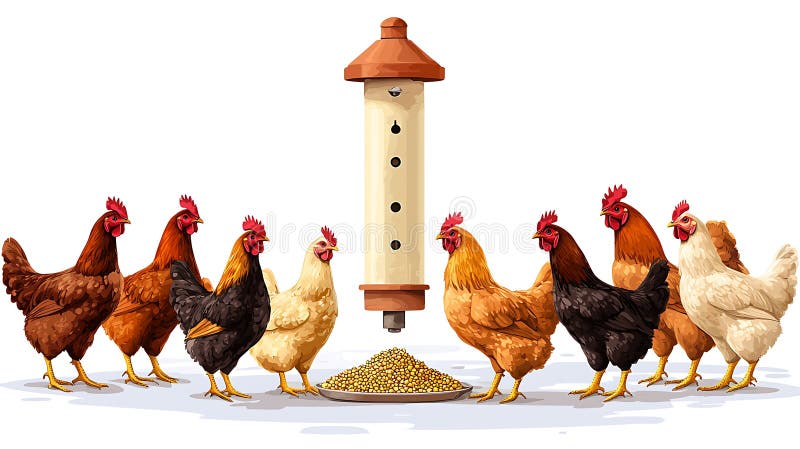
- Provide Food and Water: Place a chicken feeder and waterer inside the tractor. Consider using a nipple waterer to prevent spills.
- Introduce Your Chickens: Gently place your chickens inside the tractor. Allow them to acclimate to their new surroundings. Supervise them closely for the first few days to ensure they are adjusting well and that no predators are able to access the tractor.
Common Pitfalls and Solutions
- Weak Frame: Pitfall: Using flimsy materials for the frame can lead to collapse. Solution: Invest in sturdy lumber for the base and frame, even if it means buying new.
- Predator Access: Pitfall: Gaps in the hardware cloth allow predators to enter. Solution: Use small-gauge hardware cloth and secure it tightly with staples or screws. Double-check for any gaps.
- Difficult to Move: Pitfall: Poor wheel placement or overly heavy construction makes the tractor hard to move. Solution: Use large, sturdy wheels and distribute the weight evenly. Consider adding handles for easier pulling.
- Inadequate Ventilation: Pitfall: Poor ventilation can lead to respiratory problems for your chickens. Solution: Ensure there are plenty of openings for airflow, especially in warm weather.
- Sharp Edges and Protrusions: Pitfall: Sharp edges can injure your chickens. Solution: Thoroughly inspect the structure and sand down or cover any sharp edges.
Alternatives to Reclaimed Materials
While this guide focuses on reclaimed materials, you can certainly adapt it to use new lumber if that's what you have available. Pressure-treated lumber is a good option for the base, as it will resist rot and decay. Just be sure to consider the cost and environmental impact when choosing your materials.
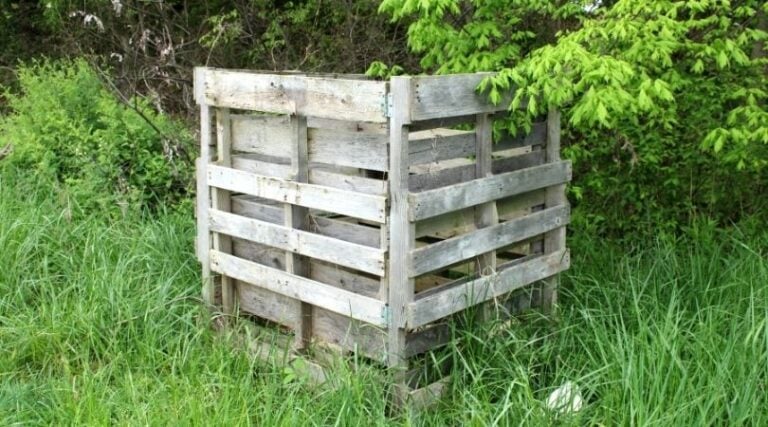
If you don't have access to reclaimed wood, consider using pallets! Here is a pallet compost bin for some inspiration.
Optimizing Your Chicken Tractor
Here are a few extra tips to maximize the benefits of your chicken tractor:
- Move it Regularly: Move the tractor at least once a day, or more often if needed, to ensure fresh forage and even fertilization.
- Provide Shade: If the tractor is in a sunny location, provide shade with a tarp or shade cloth.
- Secure the Perimeter: If you live in an area with heavy predator pressure, consider adding a skirt of hardware cloth around the base of the tractor to prevent digging.
- Winterize Your Tractor: In cold climates, provide extra insulation and protection from the elements.
- Consider a "Chicken Run" Attachment: You can attach a small, enclosed run to your tractor for extra space and security.
Final Thoughts
Building a chicken tractor from reclaimed materials is a rewarding project that aligns perfectly with the homesteading ethos of resourcefulness, independence, and connection to nature. It's a practical way to improve your chicken's lives, enhance your garden, and reduce your environmental impact, all while saving money.
So, what are you waiting for? Start gathering your materials, planning your design, and get building! I’d love to hear about your experiences. Share your photos, tips, and questions in the comments below. And don't forget to share this post with your fellow homesteaders! Happy homesteading, friends!