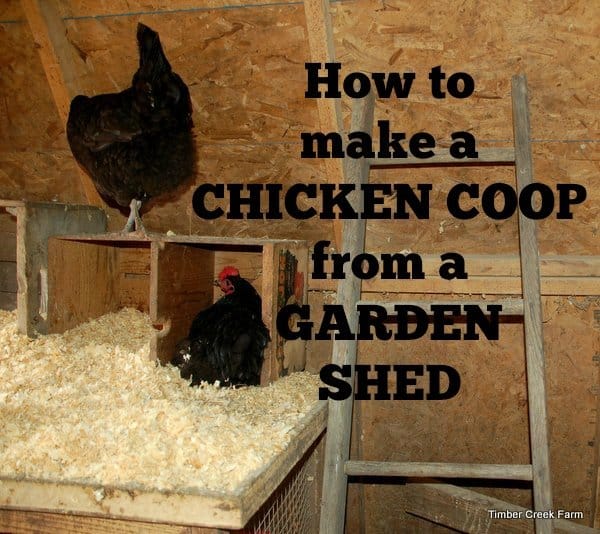
From Rusty Relic to Egg-Laying Rockstar: Restoring Your Chicken Coop for a Bountiful Homestead
There's a unique joy that bubbles up from the soul of a homesteader – a deep connection to the land and the animals that thrive upon it. I felt it most keenly one crisp autumn morning, watching my flock peck contentedly in the yard, the promise of warm, golden-yolked eggs fueling my anticipation for a hearty breakfast. But that peace was slightly marred by the sight of their aging coop – a weathered structure that had seen better days. It was time to breathe new life into it, transforming it from a rusty relic into an egg-laying rockstar. This is the story of that restoration, a love letter to self-sufficiency, and a guide to help you do the same.
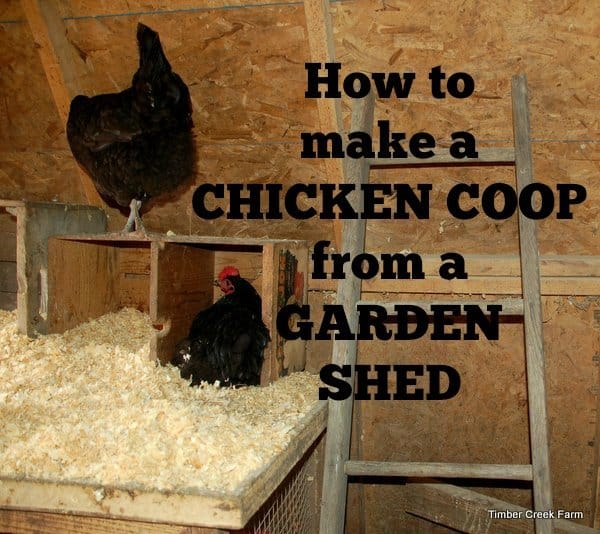
If you're new to homesteading, the idea of tackling a restoration project might seem daunting. Maybe you're working with a tight budget or simply unsure where to start. Fear not! This guide breaks down the process of chicken coop restoration into manageable steps, proving that even a beginner can create a safe and productive space for their feathered friends. This isn't just about fixing a structure; it's about investing in your homesteading DIY skills, securing your egg production, and providing a predator-proof coop on a budget homesteading scale. Let's dive in!
Assessing the Damage: A Coop Autopsy
Before grabbing your hammer and nails, take a good, hard look at your coop. What are its weaknesses? What needs immediate attention? Common problems include:
- Rotting wood: Pay close attention to the base, corners, and roof. This is where moisture tends to collect and cause the most damage.
- Sagging roof: A leaky roof is a disaster waiting to happen. It can lead to mold, sickness, and reduced egg production.
- Weak hinges and latches: These are vital for keeping predators out. Ensure they are strong and secure.
- Damaged or missing chicken wire: Gaps in the fencing are an open invitation to foxes, raccoons, and other unwanted guests.
- Poor ventilation: Stuffy coops can lead to respiratory problems in chickens.
- Inadequate nesting boxes: Happy hens need comfortable and private spaces to lay their eggs.
Gathering Your Arsenal: Materials and Tools
Here's a general list of materials you might need. Remember to adjust it based on the specific needs of your aging chicken coop. When considering materials, look for ways to repurpose! This makes your project friendlier to the environment and your wallet.
Materials:
- Lumber: For replacing rotten boards. (Reclaimed lumber is a fantastic reclaimed wood projects option!)
- Plywood: For reinforcing walls or patching holes.
- Chicken wire or hardware cloth: For creating or repairing fencing. Hardware cloth is more durable and predator-resistant.
- Roofing materials: Shingles, metal roofing, or even repurposed materials like tarps for a temporary fix.
- Nails, screws, and staples: Ensure you have a variety of sizes.
- Hinges and latches: Heavy-duty options are best for security.
- Wood sealant or paint: To protect the wood from the elements and extend its lifespan. (Consider using non-toxic paint specifically for animal enclosures).
- Bedding: Straw, wood shavings, or other suitable material for the coop floor.
Approximate Costs: Prices will vary depending on location and material choices. Expect to spend anywhere from $50 to $300+ depending on the scope of the DIY chicken coop renovation.
Tools:
- Hammer
- Screwdriver
- Pry bar
- Saw (hand saw or circular saw)
- Staple gun
- Wire cutters
- Measuring tape
- Level
- Gloves
- Safety glasses
- Paintbrush or roller
- Wire brush (for rust removal)
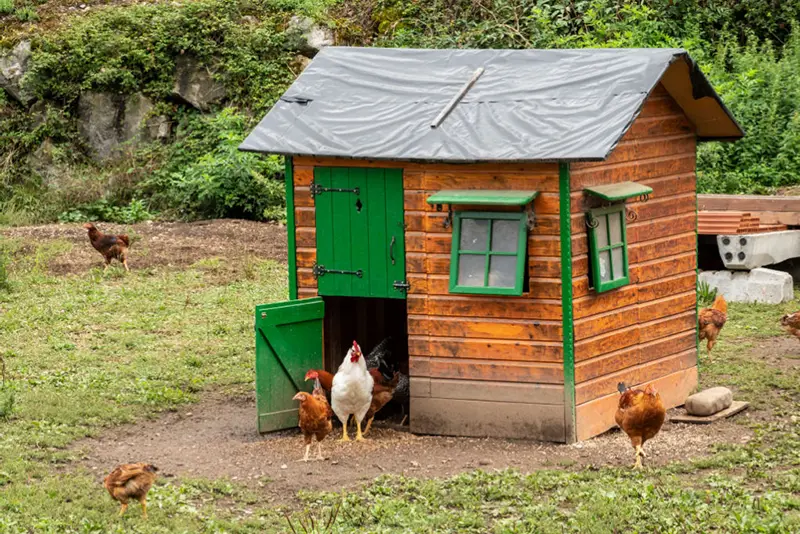
The Restoration Process: Step-by-Step
Here's a detailed guide to walk you through restoring your chicken coop, aiming for maximum egg production chicken coop success.
Step 1: Demolition and Removal
Gently pry off the rotting boards, listening for the satisfying crackle of aged wood releasing its grip. Be careful not to damage any surrounding structures. Remove any old nails or staples. Clear out all debris, including old bedding and droppings. A clean slate is essential for a successful restoration.
Step 2: Structural Repairs
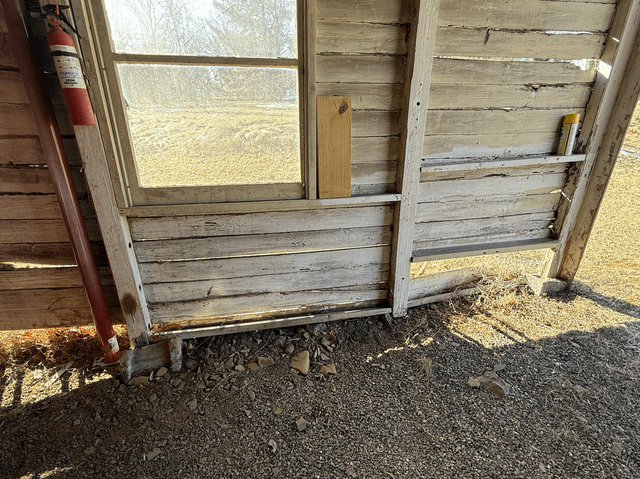
Replace any rotten or damaged lumber. Use the pry bar to carefully remove the old boards, then measure and cut the new boards to fit. Secure them with nails or screws. Focus on reinforcing the frame of the coop to ensure its stability.
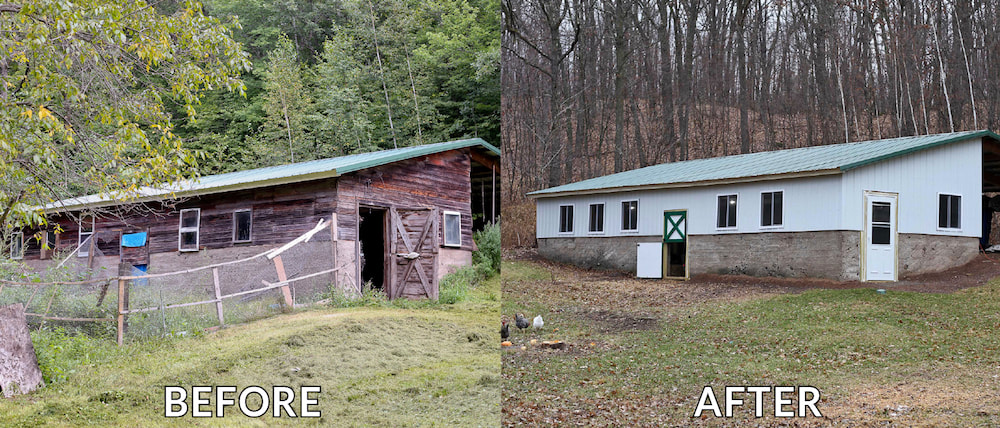
Step 3: Roof Repair or Replacement
A solid roof is crucial for protecting your flock from the elements. Repair any leaks by patching holes with plywood and sealing them with roofing sealant. If the roof is severely damaged, consider replacing it entirely. Metal roofing is a durable and long-lasting option.
Step 4: Predator-Proofing
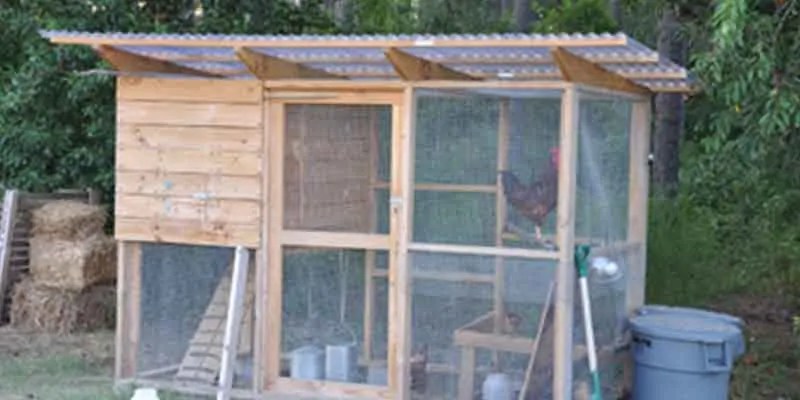
This is where your poultry coop security efforts pay off. Replace any damaged or missing chicken wire with new wire or, ideally, hardware cloth. Hardware cloth is more resistant to predators like raccoons and foxes. Ensure the wire is securely attached to the frame of the coop, paying close attention to corners and edges. Bury the wire at least 12 inches deep around the perimeter of the coop to prevent digging predators.
Step 5: Ventilation
Proper ventilation is essential for a healthy coop environment. Ensure there are vents near the top of the coop to allow for air circulation. Cover the vents with hardware cloth to prevent predators from entering.
Step 6: Nesting Boxes
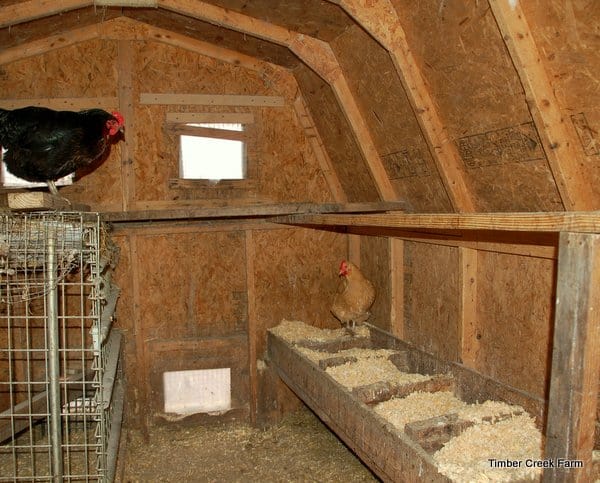
Provide comfortable and private nesting boxes for your hens. A good rule of thumb is one nesting box for every four to five hens. You can build your own nesting boxes using scrap lumber or purchase pre-made ones. Place them in a quiet and secluded area of the coop.
Step 7: Roosting Bars
Chickens need a place to roost at night. Provide roosting bars that are at least 2 inches wide and 2 inches deep. Place them at varying heights to accommodate chickens of different sizes.
Step 8: Painting and Sealing
Once all the repairs are complete, paint or seal the coop to protect the wood from the elements. Choose a non-toxic paint or sealant that is safe for chickens. This will extend the life of your coop and keep your flock healthy.
Step 9: The Finishing Touches
Add fresh bedding to the coop floor. Provide food and water for your chickens. Introduce your flock to their newly renovated home and watch them explore with delight!
Troubleshooting Common Challenges
- Stubborn rust on hinges: A wire brush and some elbow grease will be your best friends! You can also soak rusty hinges in vinegar overnight to loosen the rust.
- Finding affordable materials: Check local salvage yards, building supply stores for discounted lumber, and online marketplaces for used materials. Don't be afraid to get creative! Pallet wood can be repurposed for many coop projects.
- Keeping predators away: In addition to strong fencing, consider adding motion-activated lights or a chicken coop door that closes automatically at night.
Beyond the Basics: Maximizing Egg Production
Now that your coop is restored, here are a few tips to maximize increasing egg yield:
- Provide a balanced diet: Ensure your chickens are getting the nutrients they need to lay healthy eggs.
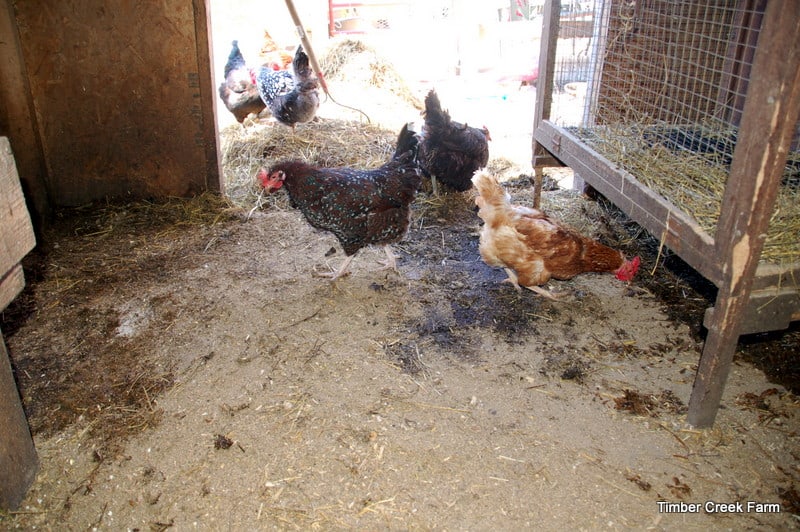
- Maintain a clean coop: A clean coop is a healthy coop. Regularly remove droppings and replace bedding to prevent disease.
- Provide adequate light: Chickens need at least 14 hours of light per day to lay eggs consistently. Consider adding a supplemental light during the winter months.
- Choose the right breed: Some chicken breeds are known for laying more eggs than others. Research different breeds to find one that suits your needs.
A Call to Action
Restoring a chicken coop is more than just a practical project; it's an act of love for your animals and a testament to the power of self-sufficiency. It strengthens your connection to your homestead and provides the immense satisfaction of creating something valuable with your own two hands.
Now it's your turn! Share your own homesteading DIY projects and successes in the comments below. What challenges did you face, and how did you overcome them? Let's build a community of resourceful homesteaders, inspiring each other to create thriving and resilient homesteads, one chicken coop at a time. Embrace the joy of budget chicken coop upgrade, and let's all reap the rewards of fresh eggs and a secure flock.