From Pantry Chaos to Organized Oasis: A Simple Mason Jar System for Seed Storage
Hey Sarah, fellow busy mom and aspiring homesteader! Are you tired of rummaging through a chaotic mess of seed packets every spring, only to find expired seeds and duplicates? I know I was! That's why I want to share a simple, sustainable solution that's transformed my pantry and brought a sense of calm to my gardening routine: a mason jar seed storage system. Get ready to say goodbye to seed packet pandemonium and hello to an organized oasis! This mason jar seed storage system is not only functional, but also contributes to a more organized homestead pantry.
Why Organize Your Seeds? The Emotional & Practical Benefits
Before we dive in, let’s talk about why organizing your seed collection is more than just a chore. A well-organized seed storage system is key to a successful homestead pantry. Think of it this way:
- Reduced Stress: No more frantic searching for that one specific seed packet when planting season rolls around. An organized system brings a sense of calm and control.
- Money Saved: Avoid buying duplicate seeds because you can’t find what you already have. Plus, you'll know exactly what needs replacing.
- Time Saved: Quickly locate the seeds you need, freeing up precious time for other homesteading tasks (like chasing chickens!).
- Increased Gardening Joy: When your seeds are organized, planning your garden becomes a more enjoyable and less stressful process. Imagine the joy of effortlessly selecting the perfect seeds for your next harvest!
- Reduced Food Waste: With the help of an organized seed pantry and garden planning, you can improve your harvest, leading to more successful food preservation and less potential food waste.
Ready to bring some order to your seed storage? Let’s get started!
1. Gathering Supplies: Your Homestead Seed Storage Toolkit
First, gather everything you'll need to create your mason jar seed storage system. Here's my go-to list:
- Mason Jars: The stars of the show! I recommend using a variety of sizes (pint, half-pint, and even jelly jars) to accommodate different seed quantities. Repurposed jars are perfect! Check your local thrift stores or ask friends and family if they have any to spare.
- Airtight Lids & Rings: Ensure your lids create a good seal to protect your seeds from moisture. You can purchase new lids or reuse the ones you already have, as long as they're in good condition.
- Waterproof Labels: These are essential for clear identification. I love using these weatherproof labels because they won't smudge or fade.
- Permanent Marker: A fine-tipped permanent marker is perfect for writing on your labels. Opt for one that's waterproof and fade-resistant.
- Divider Cards (Optional): These help separate your seed packets within the jars. You can cut these from cardstock or repurpose cereal boxes.
- Desiccant Packets (Optional): For extra protection against moisture, consider adding small desiccant packets (silica gel) to your jars. You can often find these in vitamin bottles or shoe boxes.
- Storage Shelves: Make sure you have a dedicated area for your seed pantry.
2. Sorting Seeds: A Logical Approach to Organization
Now comes the fun part: sorting your seeds! This is where you create a system that works for you. Here are a few methods to consider:
- By Planting Season: Group seeds by when they should be sown (spring, summer, fall, winter). This makes garden planning a breeze!
Example: One jar for "Spring Vegetables" (tomatoes, peppers, eggplant), another for "Fall Greens" (spinach, kale, lettuce). - By Type of Plant: Categorize seeds by plant family or type (vegetables, herbs, flowers). This is a great option if you have a large variety of seeds.
Example: One jar for "Herbs" (basil, cilantro, oregano), another for "Root Vegetables" (carrots, beets, radishes). - Alphabetical Order: If you prefer a simple approach, arrange your seeds alphabetically within each jar. This method is straightforward and easy to maintain.
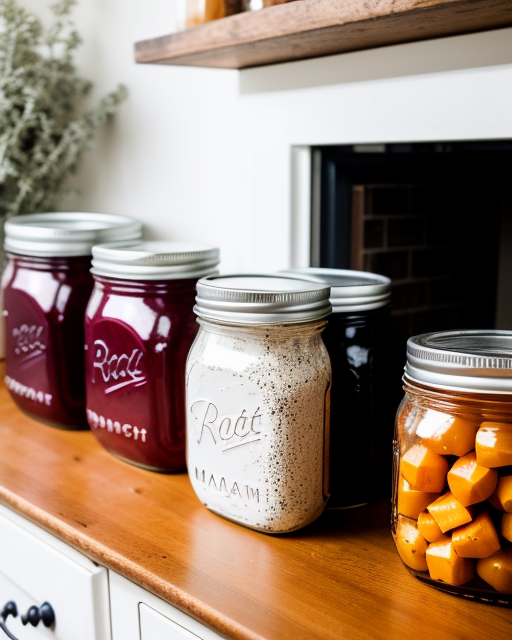
Visual Examples:
Imagine your jars labeled like this:
- Jar 1: "Spring Veggies – Tomatoes, Peppers, Eggplant"
- Jar 2: "Fall Greens – Spinach, Kale, Lettuce"
- Jar 3: "Herbs – Basil, Cilantro, Oregano"
Why This Saves You Time and Money:
Organizing your seeds by planting season or plant type allows you to quickly assess what you have on hand when planning your garden. No more buying duplicates because you couldn't find your tomato seeds! This organized approach streamlines your gardening process and saves you money in the long run. Plus, an organized homestead pantry can lead to a more manageable garden overall.
3. Labeling and Categorizing: Clarity is Key
Clear and consistent labeling is crucial for a successful seed storage system. Here's how to do it right:
- Label Placement: Affix your labels to the front of each mason jar for easy visibility.
- Essential Information: Include the plant name, variety, and purchase/harvest date on each label. This information helps you track seed viability.
- Abbreviations: Use abbreviations to save space. For example, "Tom" for tomato, "Spr" for spring, and "F" for fall.
- Color-Coding (Optional): Use different colored labels or markers to further categorize your seeds. For example, green for herbs, red for vegetables, and yellow for flowers.
- Clarity: Write neatly and legibly on your labels.
Here's an example of my own labeled seed jars for inspiration:
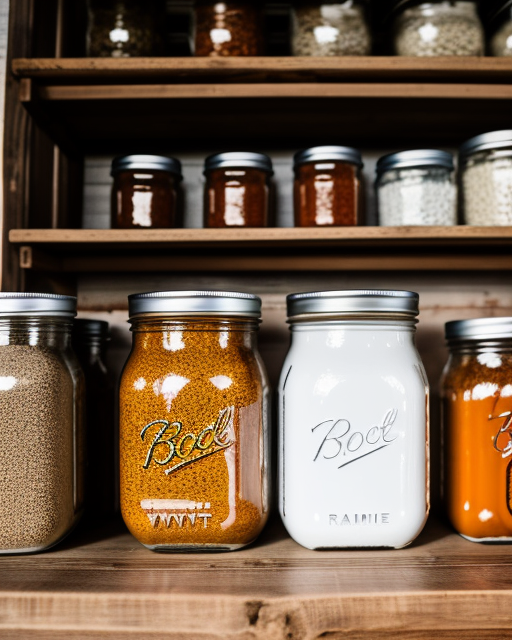
As you can see, clear labeling makes it easy to find exactly what I need at a glance!
4. Maintaining the System: Keeping Your Oasis Tidy
Once your mason jar seed storage system is set up, it's important to maintain it to keep it organized and effective.
- Regularly Check Seed Viability: Before planting, test a few seeds from each packet to ensure they're still viable. This will save you the disappointment of planting seeds that won't germinate. Learn more about seed starting and seed viability testing here: [Better Homes and Harvests Seed Starting Guide].
- Restock and Reorganize: At the end of each gardening season, take inventory of your seeds and restock any that are running low. Reorganize your jars as needed to accommodate new additions or changes in your garden plan.
- Proper Storage Conditions: Store your mason jar seed storage system in a cool, dry, and dark place. This will help prolong seed viability.
- Replace Damaged Jars or Lids: As needed, replace any damaged mason jars or lids. This will help protect your seeds from moisture and pests.
The Emotional Payoff:
Maintaining your organized seed storage system is an act of self-care. It’s a small investment of time that yields big rewards in terms of reduced stress, increased efficiency, and a more joyful gardening experience. Knowing that your seeds are properly stored and readily accessible brings a sense of calm and control to your homesteading journey.
By following these simple steps, you can transform your pantry from a chaotic mess into an organized oasis. So, Sarah, are you ready to embrace the joy of organized seed storage? I know you can do it! Remember, a tidy homestead pantry leads to a more productive garden and a more peaceful mind.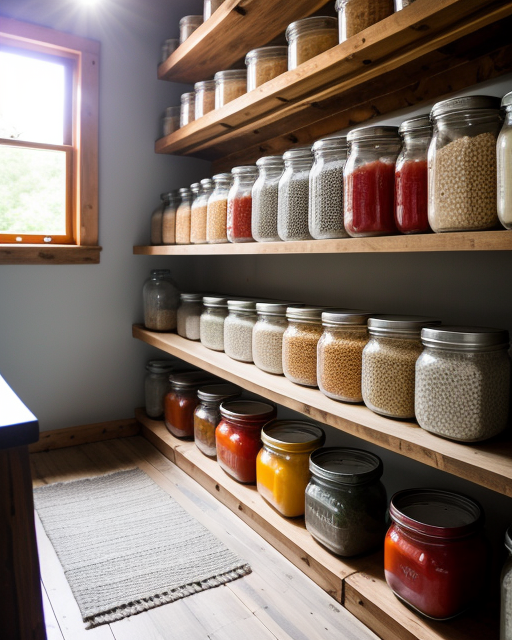
Share your own seed storage tips in the comments below! What are your biggest pantry organization challenges?