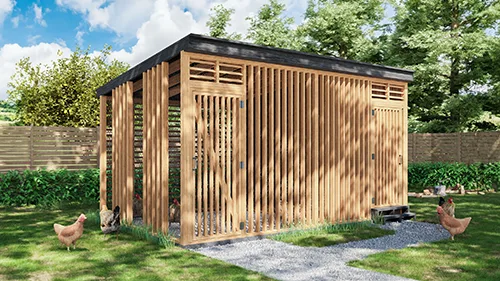
From Pallets to Poultry Palace: Building Your Dream DIY Chicken Coop for Under $100!
Dreaming of farm-fresh eggs every morning? Yearning for a more self-sufficient homestead? Raising your own chickens is a fantastic way to achieve both, and it all starts with a safe and comfortable coop. But don't let visions of expensive lumber and complicated blueprints deter you! This guide will walk you through building a compact, beginner-friendly DIY chicken coop almost entirely from repurposed materials – easily built for under $100 using reclaimed wood pallets! Imagine saving money, reducing waste, and enjoying the unparalleled satisfaction of building something amazing with your own two hands. Let's get started!
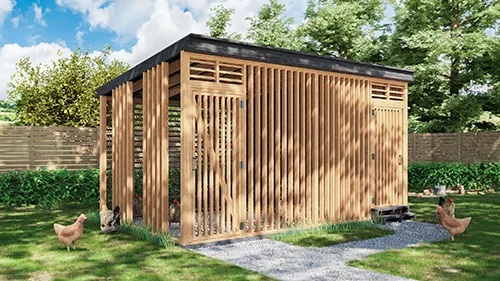
Why Chickens and Why DIY?
Beyond the delicious eggs, chickens are fantastic additions to any homestead. They're natural pest controllers, turning over your garden beds and devouring bugs. Their manure is a fantastic fertilizer for your plants, and they bring a cheerful, lively energy to your yard.
Building your own DIY chicken coop offers even more benefits:
- Cost Savings: Buying a pre-built coop can be expensive. Repurposing materials drastically reduces your upfront costs.
- Sustainability: Giving old pallets and other discarded materials a new life is an environmentally responsible choice.
- Customization: You can tailor the coop to your specific needs and the number of chickens you plan to raise.
- Self-Reliance: Building your own coop is an empowering experience, boosting your confidence in your homesteading abilities.
Materials List (and Estimated Costs)
This project is all about resourcefulness! Here’s a list of materials we’ll be using, with estimated costs based on free or heavily discounted finds.
- Pallets (3-5): FREE (Check local businesses, construction sites, or online marketplaces like Craigslist or Facebook Marketplace). Ensure they are heat treated (HT stamp) and not chemically treated (look for an "MB" stamp, which indicates methyl bromide fumigation – avoid these!).
- Scrap Wood: FREE - $10 (For reinforcing corners, building the nesting box, and creating roosts. Use leftover lumber from previous projects or ask for scraps at lumber yards).
- Chicken Wire/Hardware Cloth: $30-$40 (For the run and covering any openings to keep predators out. Hardware cloth is stronger and more predator-resistant than chicken wire, so it's recommended.)
- Roofing Material: $20 - $30 (Corrugated metal roofing sheets, asphalt shingles, or even repurposed tin roofing. Check salvage yards for deals).
- Hinges and Latches: $10-$20 (For the door, nesting box lid, and any other access points. Repurposed hardware is ideal!).
- Screws/Nails: $5-$10 (Assorted sizes for assembling the coop).
- Paint/Sealer (Optional): $0-$20 (To protect the wood and give the coop a finished look. Consider using a non-toxic, exterior-grade paint or sealant).
Total Estimated Cost: Under $100 (with resourceful scavenging!)
Tools You'll Need
- Safety Glasses
- Work Gloves
- Measuring Tape
- Saw (Circular saw or hand saw)
- Drill with Screwdriver Bits
- Hammer
- Staple Gun (for attaching chicken wire)
- Wire Cutters
- Level
Step-by-Step Guide to Building Your Pallet Chicken Coop
Safety First! Always wear safety glasses and work gloves when cutting or handling wood. Work in a well-ventilated area.
Step 1: Pallet Prep and Disassembly (if needed)
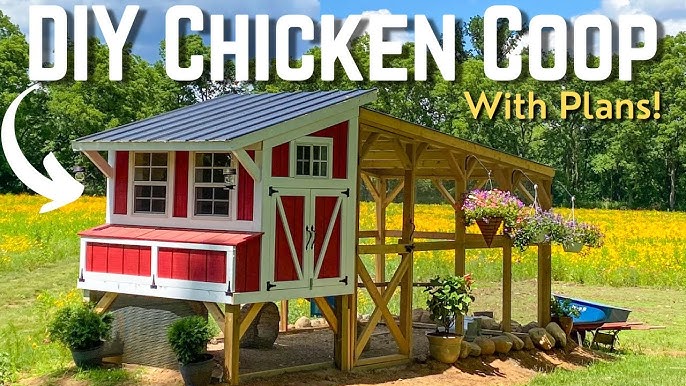
- Carefully inspect your pallets for any loose nails, splinters, or signs of rot. Remove any hazards.
- Depending on your design, you may need to disassemble some of the pallets to use the individual boards. A pry bar and hammer will be your best friends here.
- Troubleshooting: If your pallet wood is warped, try soaking it in water for a few hours to make it more pliable. Clamp it to a flat surface while it dries to help it straighten out.
Step 2: Building the Coop Frame
- Use two pallets as the front and back walls. Stand them upright and secure them to each other using screws and scrap wood along the corners. This creates a rectangular frame.
- Use a third pallet, cut to size if necessary, to create the side walls. Attach these to the front and back walls, again using screws and scrap wood for reinforcement.
- You should now have a basic box shape.
Step 3: Creating the Roof
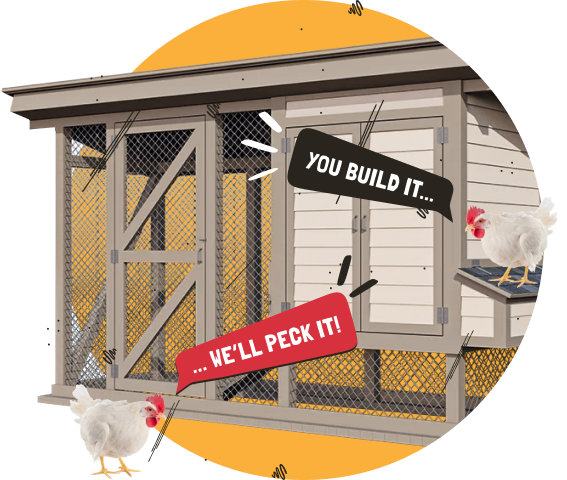
- For a simple sloped roof, attach angled supports made from scrap wood to the top of the front and back walls.
- Cover the supports with your chosen roofing material (corrugated metal, shingles, etc.). Overlap the edges to ensure a watertight seal. Secure the roofing with screws or roofing nails.
Step 4: Building the Door
- Cut an opening for the door in one of the walls.
- Construct a simple door frame from scrap wood.
- Attach the door frame to the opening using hinges.
- Build a door from pallet wood or scrap lumber that fits snugly within the frame.
- Install a latch to secure the door.
Step 5: Adding the Nesting Box
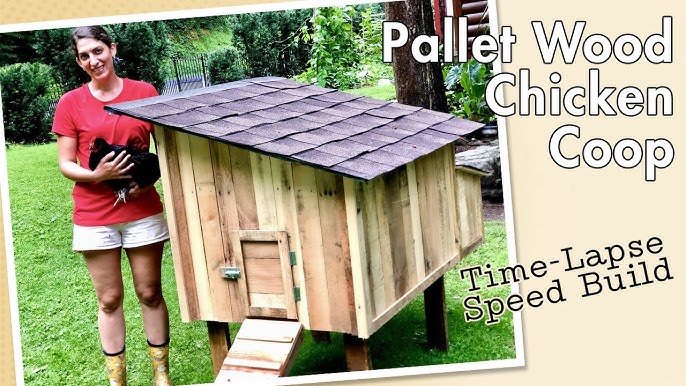
- Build a small box from scrap wood (approximately 12" x 12" x 12" per nesting box).
- Attach the nesting box to one of the interior walls of the coop, near the floor.
- Create a hinged lid for easy egg collection.
- Fill the nesting box with straw or wood shavings.
Step 6: Creating the Roosts
- Chickens need a place to roost (sleep) at night.
- Attach a sturdy branch or a length of 2x4 lumber horizontally across the inside of the coop, a few feet off the ground.
- Ensure the roost is securely attached and can support the weight of your chickens.
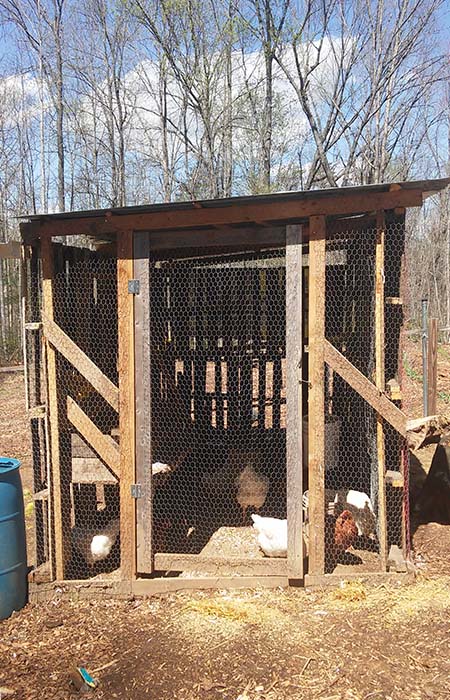
Step 7: Building the Run (Optional, but Highly Recommended)
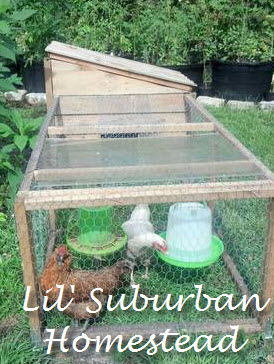
- The run provides your chickens with a safe, enclosed outdoor space to roam and forage.
- You can build a simple run by attaching chicken wire or hardware cloth to a wooden frame.
- Attach the run to the coop, ensuring there are no gaps for predators to enter.
Step 8: Ventilation and Predator Protection
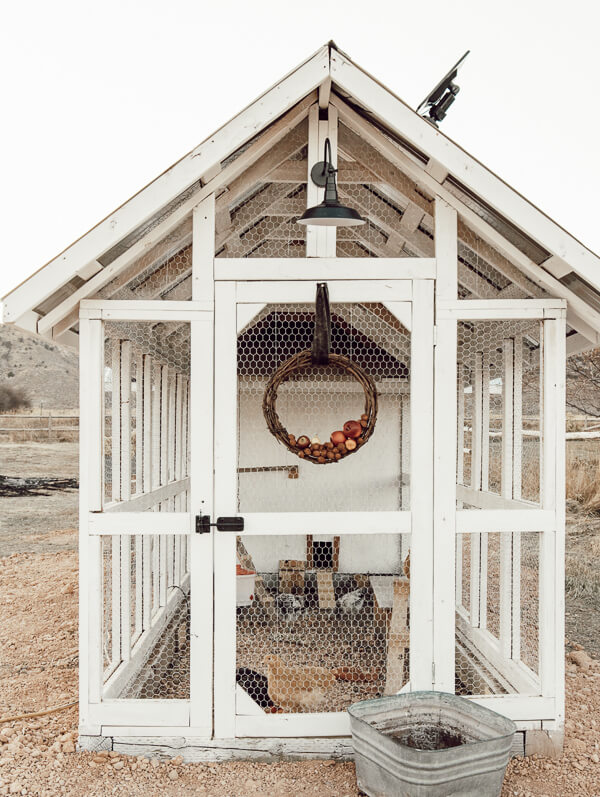
- Ventilation is crucial! Cut openings near the top of the coop walls and cover them with hardware cloth to allow for airflow while keeping predators out. Proper ventilation prevents moisture buildup and reduces the risk of respiratory problems in your chickens.
- Check all seams and openings for any potential entry points for predators like raccoons, foxes, or dogs. Reinforce weak areas with additional wood or hardware cloth.
- Bury hardware cloth around the perimeter of the run to prevent predators from digging under the fence.
Step 9: Finishing Touches (Optional)
- Paint or seal the coop to protect it from the elements and extend its lifespan.
- Add a cute sign or decorations to personalize your coop!
Choosing the Right Coop Location
Coop placement is crucial for your chickens' health and well-being. Consider the following:
- Sunlight: Choose a location that receives partial sunlight throughout the day. Sunlight helps keep the coop dry and warm in the winter.
- Drainage: Avoid areas that are prone to flooding or water accumulation. Good drainage will prevent mud and disease.
- Predator Protection: Place the coop in an area that is easily visible and protected from predators. Consider fencing around the entire area for added security.
- Proximity to Water and Food: Locate the coop near a source of fresh water and food.
- Prevailing Winds: Consider the direction of prevailing winds and orient the coop to minimize drafts.
Troubleshooting Tips
- My coop smells bad: This is usually due to poor ventilation or infrequent cleaning. Increase ventilation and clean the coop regularly (at least once a week).
- My chickens are getting sick: Make sure they have access to fresh water and food, and that the coop is clean and dry. Consult a veterinarian if problems persist.
- Predators are getting into my coop: Reinforce any weak areas with hardware cloth and ensure all doors and latches are secure. Consider installing a motion-activated light or alarm.
The Finished Product: Your Homestead's Newest Addition!
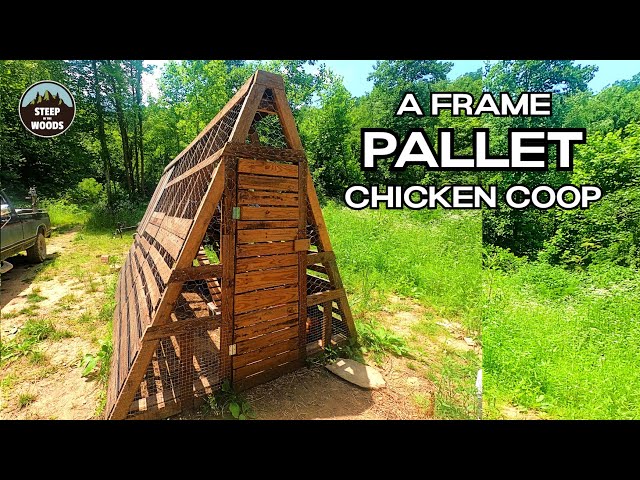
Congratulations! You've successfully built your own DIY chicken coop from repurposed materials. Now, sit back, relax, and enjoy the satisfaction of gathering fresh eggs every day. You’ve not only created a safe and comfortable home for your flock but also contributed to a more sustainable and self-sufficient lifestyle. Welcome to the wonderful world of backyard chickens! Enjoy the fruits (or rather, eggs!) of your labor. Remember to always research the best practices for raising chickens in your specific climate and region. Here's to happy hens and delicious, homegrown eggs!
