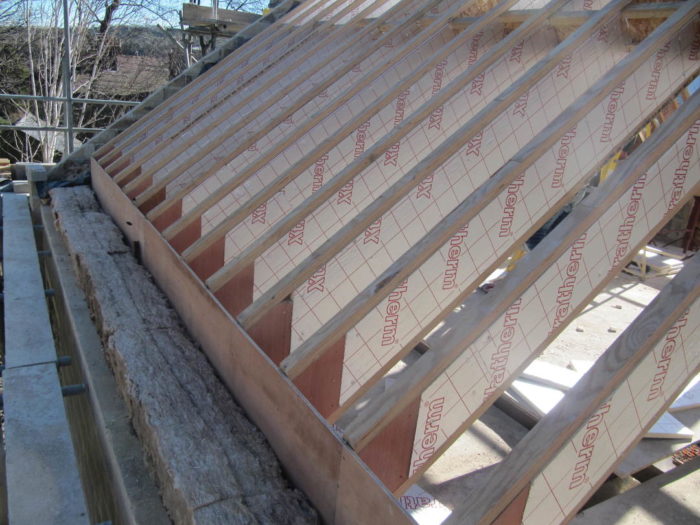
From Leaky to Cozy: Insulate Your Homestead Cottage and Slash Winter Heating Bills!
Are you tired of shivering through another winter in your charming, yet drafty, homestead cottage? Do you cringe every time you open your heating bill, knowing that precious dollars are escaping through uninsulated walls and leaky windows? If so, you're in the right place! This comprehensive guide will empower you to transform your pre-1970s cottage into a cozy, energy-efficient haven, drastically reducing your winter heating bills and increasing your self-sufficiency. Let's ditch the drafts and embrace the warmth!
Why Insulate Your Old Homestead Cottage?
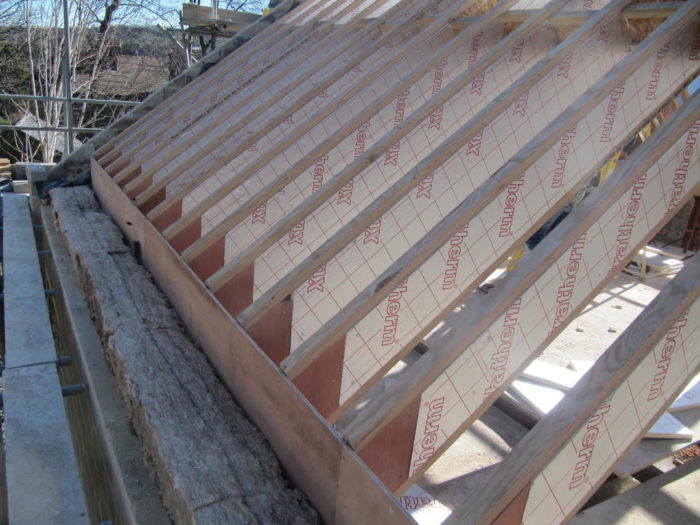
Older cottages, while brimming with character, often lack adequate insulation. Built before modern energy codes, they're notorious for heat loss, leading to sky-high heating bills and uncomfortable living conditions. But fear not! With some strategic DIY work, you can significantly improve your cottage's energy efficiency and enjoy a warmer, more comfortable winter. This is an achievable goal that will pay off handsomely. Plus, it’s a fantastic step toward a more sustainable homestead lifestyle. By tackling this project, you’re actively participating in conserving energy and reducing your environmental footprint.
Step 1: The Energy Audit – Find the Leaks!
Before you start buying insulation, it's crucial to identify the areas where your cottage is losing the most heat. A simple visual inspection can reveal obvious drafts around windows and doors. Feel for cold air seeping in. Consider a DIY energy audit:
- The Candle Test: On a windy day, hold a lit candle near windows, doors, and electrical outlets. If the flame flickers or blows out, you've found a draft.
- Check for Obvious Gaps: Inspect the foundation, siding, and roof for any cracks or holes.
- Assess Existing Insulation: If possible, check the attic and crawl space for existing insulation. Is it adequate? Is it damp or damaged?
Step 2: Safety First – Addressing Potential Hazards
Older homes can harbor hidden hazards, so safety is paramount.
- Asbestos: Homes built before the 1980s may contain asbestos in insulation, flooring, or roofing materials. If you suspect asbestos, DO NOT disturb it. Contact a qualified asbestos abatement professional for testing and removal. This is not a DIY project. Here is one resource to learn more: https://www.epa.gov/asbestos
- Mold: Dampness and poor ventilation can lead to mold growth. Wear a respirator and gloves when dealing with moldy areas. Treat affected surfaces with a mold-killing solution before insulating.
- Personal Protective Equipment (PPE): Always wear safety glasses, gloves, and a dust mask or respirator when working with insulation materials. Long sleeves and pants are also recommended.
Step 3: Sealing Windows and Doors – The First Line of Defense
Drafty windows and doors are major culprits for heat loss. Here’s how to tackle them:
- Caulking: Use exterior-grade caulk to seal gaps around window and door frames. Clean the surface thoroughly before applying the caulk.
- Weather Stripping: Install weather stripping around doors and windows to create a tight seal. There are various types available, including foam, felt, and rubber. Choose the best option for your specific needs.
- DIY Storm Windows (Optional): For added insulation, consider building DIY storm windows using plexiglass or heavy-duty plastic sheeting. This adds an extra layer of protection against the elements.
Step 4: Insulating Walls – Battling the Cold at its Source
Many older cottages have little to no wall insulation. Adding insulation to your walls can make a huge difference in your energy bills.
- Fiberglass Batts: A cost-effective and readily available option. Choose the appropriate R-value for your climate zone.
- Installation: Carefully measure the space between studs and cut the batts to fit. Wear gloves and a dust mask during installation. Secure the batts with staples or friction fit. Ensure the vapor barrier faces the heated side of the wall.
- Blown-in Insulation: Suitable for existing walls, it requires specialized equipment or professional installation.
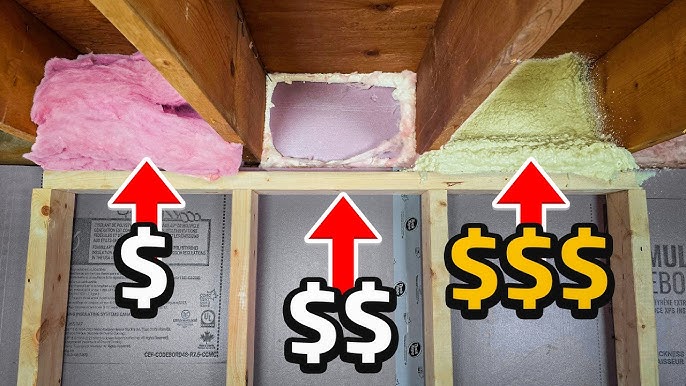
- Considerations for Older Walls: Older walls may have uneven surfaces. Take careful measurements and cut insulation to fit snugly.
Step 5: Insulating the Attic – The Top Priority
Heat rises, making the attic a prime location for heat loss. Insulating your attic is one of the most effective ways to reduce your heating bills.
- Fiberglass Batts: A good option for attics with easy access.
- Loose-Fill Insulation (Cellulose or Fiberglass): Ideal for attics with difficult-to-reach areas.
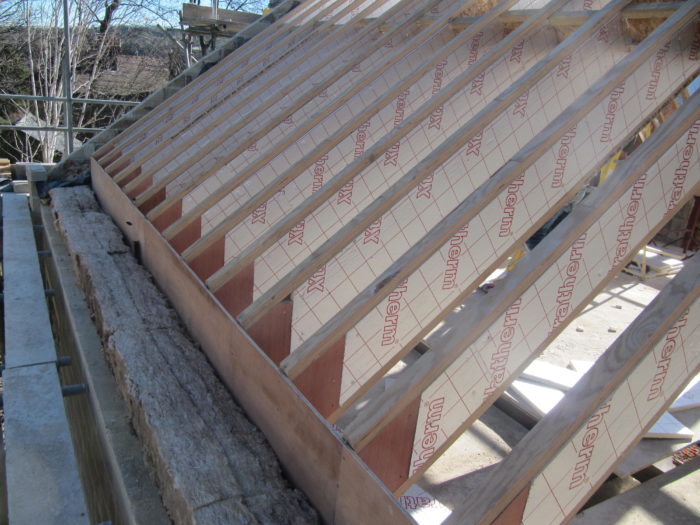
- Installation: Ensure proper ventilation in the attic to prevent moisture buildup. Install baffles to maintain airflow from the soffit vents. Add insulation to a depth that meets or exceeds recommended R-values for your area.
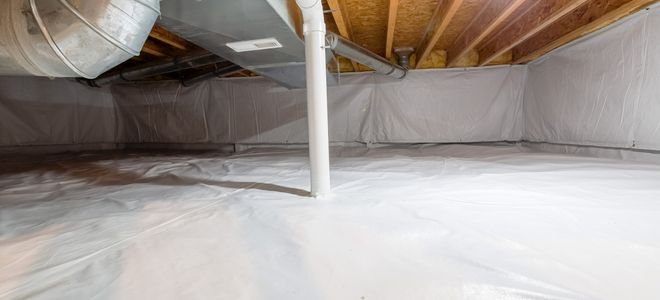
Step 6: Insulating the Crawl Space or Basement – Protecting from Below
An uninsulated crawl space or basement can contribute to significant heat loss.
- Fiberglass Batts: Can be installed between floor joists.
- Rigid Foam Insulation: A moisture-resistant option for crawl space walls.
- Installation: Seal any cracks or holes in the foundation walls. Ensure proper ventilation to prevent moisture buildup.
Step 7: Problem-Solving Tips and Tricks
- Dealing with Uneven Surfaces: Use expanding foam to fill gaps around insulation in uneven areas.
- Preventing Moisture Buildup: Ensure proper ventilation in attics and crawl spaces. Use a vapor barrier on the warm side of the insulation.
- Working on a Budget: Prioritize the most effective areas for insulation (attic, windows/doors). Consider using recycled materials where appropriate (e.g., denim insulation).
- Finding Hidden Drafts: Use a thermal leak detector or hire a professional energy auditor to identify hard-to-find drafts.
Step 8: Materials List and Estimated Costs
Here's a sample materials list with estimated costs (prices may vary):
- Caulk: $5-10 per tube
- Weather stripping: $10-20 per door/window
- Fiberglass batts: $1-2 per square foot
- Loose-fill insulation: $0.50-1 per square foot
- Plastic sheeting (for storm windows): $20-50 per window
- Safety glasses: $10
- Gloves: $5-10
- Dust mask/respirator: $15-30
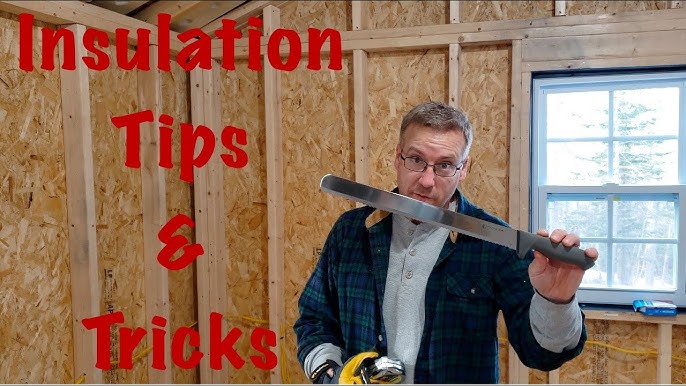
- Tools (utility knife, staple gun, measuring tape): (Assume you have these, otherwise add $50-$100)
Total Estimated Cost (for a small cottage): $500 - $1500
Step 9: The Final Touches and Admiring Your Work
Once the insulation is installed, take a walk around your cozy cottage. Feel the difference! Recaulk any areas that need touch-ups and ensure all safety measures are in place. Patch any holes that are created.
Personal Anecdote:
I remember the first winter after insulating my own homestead cottage. The difference was remarkable! The house felt consistently warmer, and my heating bills were cut by nearly 40%. It was incredibly satisfying to know that I had taken control of my energy consumption and created a more comfortable living space for my family.
Conclusion: Embrace the Cozy!
Insulating your homestead cottage is an investment in your comfort, your wallet, and your self-sufficiency. By following these steps, you can transform your drafty old house into a warm and inviting home, saving money on heating bills and enjoying a more sustainable lifestyle. Don't let another winter catch you off guard. Take action today and embrace the cozy!
Now, it's your turn! What are your biggest challenges when it comes to insulating your homestead cottage? Share your questions and experiences in the comments below! Let's learn from each other and create a community of warm, energy-efficient homesteaders.