From Kitchen Scraps to Garden Gold: Your Guide to Vermicomposting
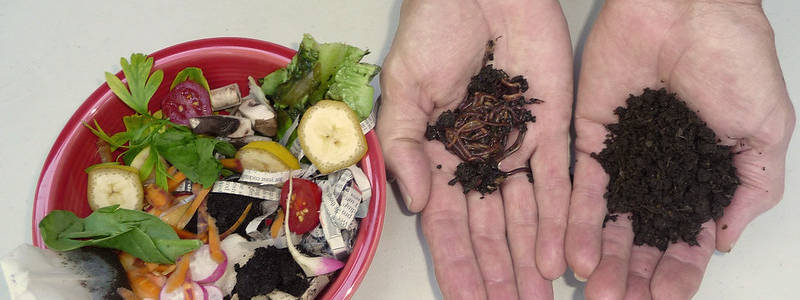
Are you tired of tossing valuable food scraps into the trash? Imagine transforming that waste into the richest, most potent fertilizer your garden has ever seen… with the help of some wiggly friends! Vermicomposting, or composting with worms, is a simple, effective, and sustainable way to boost your garden's health, reduce waste, and create nutrient-rich compost. Worm castings are exceptionally beneficial for plant growth and soil structure, making your plants healthier and more vibrant. And the best part? It's easier than you think, even for beginners.

Let's dive into the fascinating world of vermicomposting and discover how you can turn your kitchen scraps into garden gold.
What is Vermicomposting & Why It Matters?
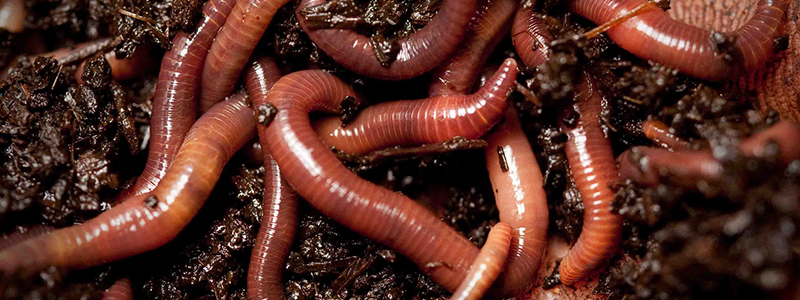
Vermicomposting is a composting method that uses worms to break down organic waste. Specifically, certain species of earthworms, like the red wiggler (Eisenia fetida), are voracious eaters of decaying organic matter. As they consume food scraps, they excrete castings, which are essentially worm manure. These castings are incredibly rich in nutrients and beneficial microbes, making them an excellent fertilizer for your garden.
The process is simple: worms consume food scraps, digest them, and then excrete the waste as castings. These castings are then collected and used to fertilize your garden.
Vermicomposting differs from traditional composting in a few key ways. Traditional composting often involves creating hot compost piles that require turning and monitoring temperatures. Vermicomposting, on the other hand, is a "cold" composting method that doesn't require high temperatures. This makes it ideal for smaller spaces or gardeners who don't have the time for traditional hot composting.
One of the main differences is that vermicomposting can be done in smaller spaces, requires less effort, and produces a higher-quality compost with a wider array of beneficial microbes. Moreover, vermicomposting thrives in sheltered conditions and requires monitoring to avoid extreme temperature and dryness.
The environmental benefits of vermicomposting are significant. By diverting food scraps from landfills, you're reducing greenhouse gas emissions and helping to conserve valuable resources. Plus, you're creating a closed-loop system in your own backyard, turning waste into a valuable resource for your garden. Worm castings are a far superior fertilizer compared to traditional compost since they contain significantly higher levels of essential nutrients like nitrogen, phosphorus, and potassium.
In summary, vermicomposting is an easy and environmentally sound way to improve your garden using resources you already have. What's stopping you from giving it a try?
Building Your Vermicomposting Bin: DIY or Buy?
The first step to vermicomposting is setting up your worm bin. You have two main options: building your own or buying a pre-made system. Both have their advantages, so let's explore each one.
DIY Bin:
Building your own vermicomposting bin is a cost-effective and rewarding project. The simplest method involves using two plastic bins.
Here's a simple DIY bin setup using two plastic bins:
- Materials: Two plastic bins (one opaque, one dark), a drill, bedding (shredded newspaper, coconut coir), and red wiggler worms.
- Drill drainage holes: In the bottom of one bin, drill several small drainage holes.
- Drill air holes: Drill air holes near the top of both bins.
- Set up: Place the bin with drainage holes inside the other bin (this acts as a catch basin for excess moisture).
- Add bedding: Add a layer of moist bedding (shredded newspaper, coconut coir) to the top bin.
- Add worms: Introduce your red wiggler worms to their new home!
When constructing your bin, ensure good air circulation and proper drainage. Vary bin sizes according to the amount of scraps you plan on using. Note that it is important to use opaque, dark bins because worms thrive in dark conditions, which encourages them to stay in the bin, feed, and produce castings.
Pre-made Bin:
If you prefer convenience, pre-made vermicomposting systems are a great option. These systems often feature stackable trays or continuous flow designs that make harvesting castings easier. Look for reputable brands that offer durable bins with good ventilation and drainage.
Regardless of whether you build or buy a bin, it’s important to place it in a sheltered location protected from direct sun and extreme temperatures. A garage, shed, or even a shady spot on your patio can work well.
Deciding whether to build or buy your vermicomposting bin depends on your budget and DIY preferences. Either way, you're one step closer to creating nutrient-rich garden amendment.
Selecting and Caring for Your Worms (Red Wigglers Rule!)
Choosing the right worms is crucial for successful vermicomposting. Eisenia fetida, commonly known as red wigglers, are the best choice for composting because they thrive in a surface-level environment, reproduce quickly, and can tolerate a wide range of conditions.
You can purchase red wigglers online from reputable worm farms, local nurseries, or even fishing supply stores. When they arrive, gently introduce them to their new bin by placing them on top of the bedding. They'll quickly burrow down into the moist environment.
Maintaining the right environment is key to keeping your worms happy and healthy. They prefer temperatures between 55°F and 77°F (13°C and 25°C) and a moisture level similar to a damp sponge.
The moisture levels must be monitored to ensure your worms stay happy and healthy. If your bin is too wet, add more dry bedding like shredded newspaper or cardboard. If it's too dry, mist the bedding with water. It is also important to be on the lookout for foul odors or escapees. Foul odors are a sign of anaerobic conditions, which means there isn't enough oxygen in the bin. Turn the bedding to improve aeration, or add more "browns" (carbon-rich materials). Worms trying to escape often indicate that something is wrong with their environment, such as the bin being too wet, too dry, or lacking food.
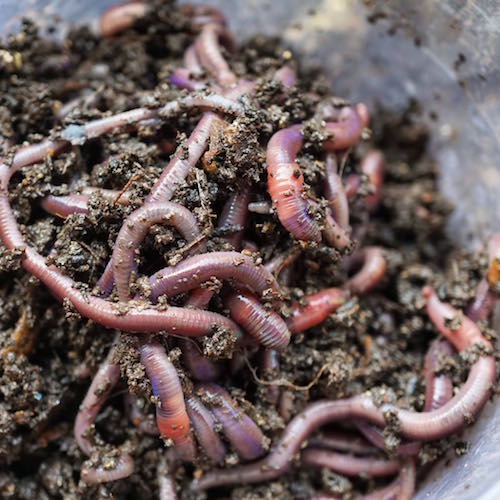
Remember, happy worms equal a healthy vermicomposting system and abundant castings for your garden. By providing the right environment and care, your worms will reward you with a bountiful supply of nutrient-rich compost.
What to Feed Your Worms (and What to Avoid!)
Feeding your worms the right diet is essential for producing high-quality castings and keeping them healthy. Worms are not picky eaters, but there are certain foods they love and others they should avoid.
Here's a list of "worm-friendly" foods:
- Fruit and vegetable scraps (apple cores, banana peels, carrot tops, etc.)
- Coffee grounds and tea bags (remove staples from tea bags)
- Crushed eggshells (provide calcium and help with digestion)
For faster digestion, cut food into small pieces before adding it to the bin. This increases the surface area and allows the worms to break it down more efficiently.
Here's a list of "worm-unfriendly" foods:
- Meat and dairy products (attract pests and create odors)
- Oily foods (can suffocate worms)
- Citrus fruits (in large quantities, can make the bin too acidic)
- Onions and garlic (can be harmful in large amounts)
Balancing "greens" (nitrogen-rich materials like food scraps) with "browns" (carbon-rich materials like shredded newspaper) is essential for a healthy bin. An ideal ratio is about 2 parts browns to 1 part greens. Always bury food scraps to prevent fruit flies and other pests from invading your bin.
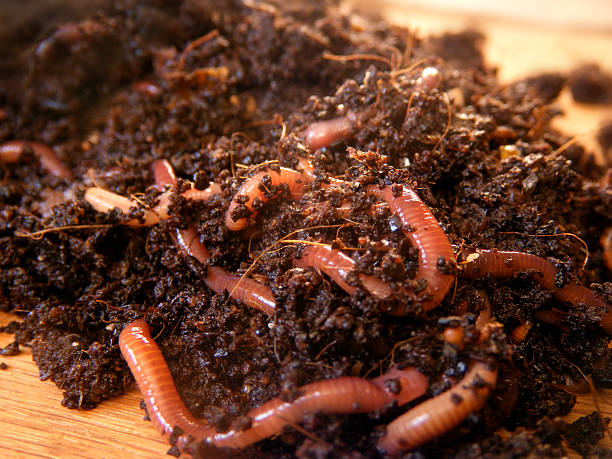
Pay attention to your worms' behavior. If they're actively feeding and reproducing, you're doing something right. If they seem sluggish or are trying to escape, adjust their diet and environment accordingly.
Harvesting and Using Your Worm Castings (Garden Gold!)
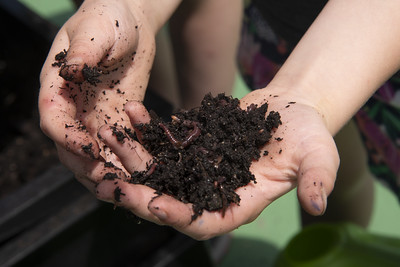
After a few months, your vermicomposting bin will be full of rich, dark castings—the garden gold you've been waiting for! It’s time to harvest this valuable resource and put it to work in your garden.
There are several methods for harvesting worm castings. One simple method is the "dump and sort" technique. Move the bin contents to one side, wait for the worms to migrate over, then harvest the castings from the empty side. The "light method" involves shining a bright light on the bin, which drives the worms down and allows you to harvest the top layer of castings. If you have a stacking bin system, you can simply add fresh food to the top bin, and the worms will migrate upwards, leaving the castings behind in the lower bins.
Regardless of the method you choose, it's important to separate the worms from the castings as much as possible. You can do this by hand or by using a screen to sift out the worms.
Worm castings are a versatile amendment that can be used in a variety of ways in the garden:
- Soil amendment: Mix worm castings into your raised beds or containers to improve soil structure, drainage, and nutrient content.
- Seed starting mix: Add worm castings to your seed starting mix to give your seedlings a boost.
- Top dressing: Sprinkle worm castings around the base of established plants as a slow-release fertilizer.
- Worm tea: Soak worm castings in water to create a nutrient-rich "tea" that can be used to water your plants.

The application rates will vary according to the needs of your plants and garden. A general rule of thumb is to use about 1-2 cups of worm castings per square foot of garden space.
Using worm castings will provide your plants with the nutrients they need to thrive, resulting in healthier, more productive crops. With patience and the right techniques, you can produce an endless supply of this natural fertilizer.
Conclusion: Reflect and Inspire
Vermicomposting offers a path to transforming your kitchen waste into a sustainable and rich resource for your garden. By adopting this simple yet effective practice, you can reduce waste, enhance the health of your garden, and lead a more sustainable lifestyle.
Even if you only have a small space, you can still reap the benefits of vermicomposting. A small worm bin can easily fit in an apartment or on a balcony, allowing you to participate in this eco-friendly practice no matter where you live.
I remember when I first started vermicomposting, I was amazed at how quickly my plants responded to the worm castings. They were greener, more vibrant, and produced more abundant harvests.

Embrace the power of worms and unlock the potential of your garden! Share your own vermicomposting experiences in the comments below, subscribe to our blog for more gardening tips, and let us know what questions you have about starting your own worm farm.