From Kitchen Scraps to Bountiful Blooms: The Lazy Gardener's Guide to Composting
Imagine a cozy autumn evening. The scent of pumpkin spice fills the air, the oven is warm, and as you clear the counter, you're faced with a pile of pumpkin guts, apple cores, and vegetable peels. Does the thought of composting conjure up images of complicated contraptions and stinky piles? You're not alone! But what if I told you that creating rich, garden-boosting compost could be surprisingly simple, even if you live in a small space? Let's unlock the secrets to effortless composting and transform those kitchen scraps into garden gold!
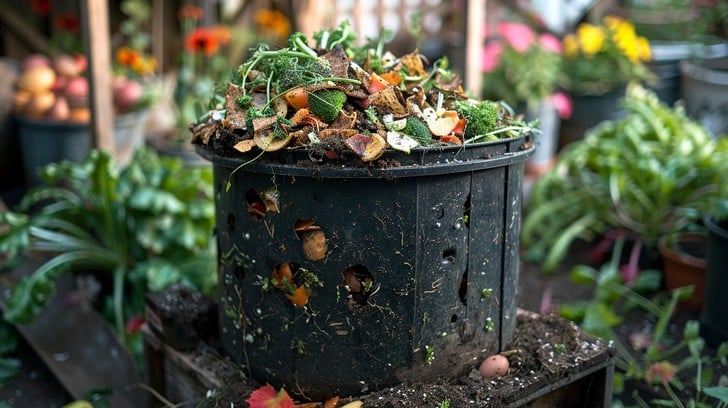
Composting 101: Why It's Essential for a Thriving Garden
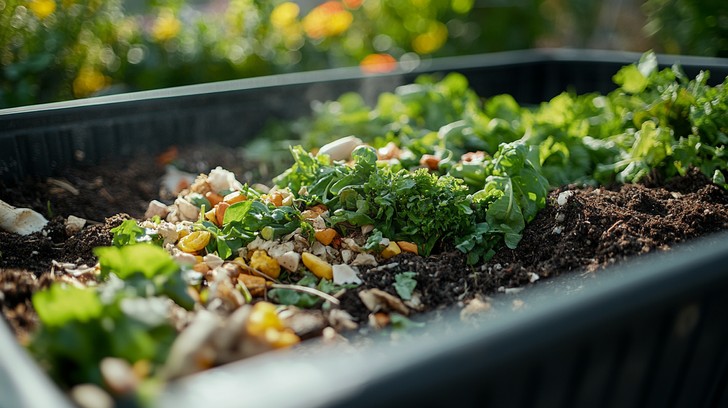
Composting is nature's way of recycling. It’s the process of breaking down organic matter – like food scraps and yard waste – into a nutrient-rich soil amendment. Why is this "garden gold" so important? Simply put, compost feeds your soil, which in turn feeds your plants. This means healthier, more vibrant plants with bigger, more flavorful seasonal harvest yields.
Here’s how composting benefits your organic gardening efforts:
- Enriched Soil: Compost adds essential nutrients and improves soil structure, helping it retain moisture and air.
- Natural Fertilizer: Forget harsh chemicals! Compost is a slow-release fertilizer, providing a steady stream of nutrients to your plants.
- Disease Suppression: Healthy soil, thanks to compost, helps plants resist diseases and pests.
- Waste Reduction: Composting significantly reduces the amount of waste sent to landfills, contributing to a more sustainable home and a healthier planet.
- Boosts Homegrown Produce: When it comes to your homegrown produce, compost adds essential nutrients needed for growth.
I remember when I first started gardening, my tomatoes were small and lackluster. After adding homemade compost, they exploded with flavor and size! That’s when I truly understood the power of this simple act.
Choosing the Right Composting Method for Your Space
The beauty of composting is its adaptability. There’s a method to suit every lifestyle and space constraint. Let's explore a few options:
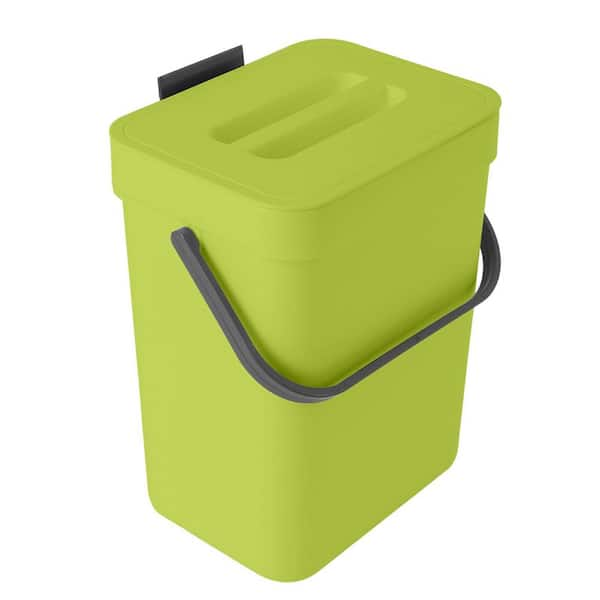
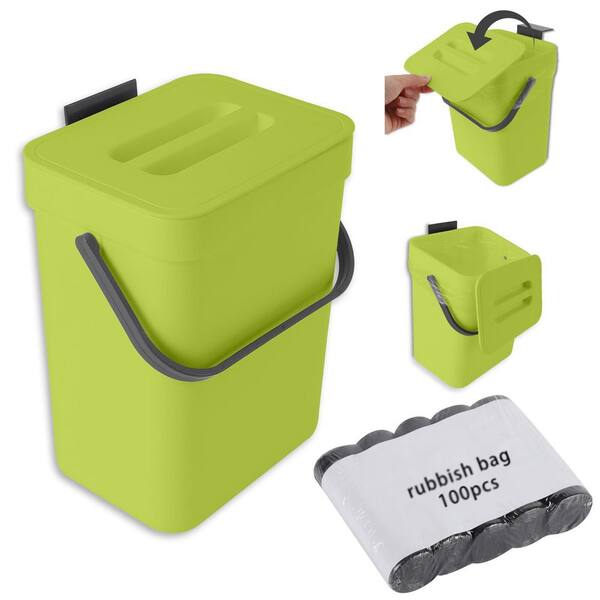
Countertop Composters: Perfect for apartment dwellers or those with limited outdoor space. These compact bins often use Bokashi bran to ferment food waste, eliminating odors and speeding up the decomposition process. (Image #8 shows an example of this technique, although it doesn't depict the composter itself.)
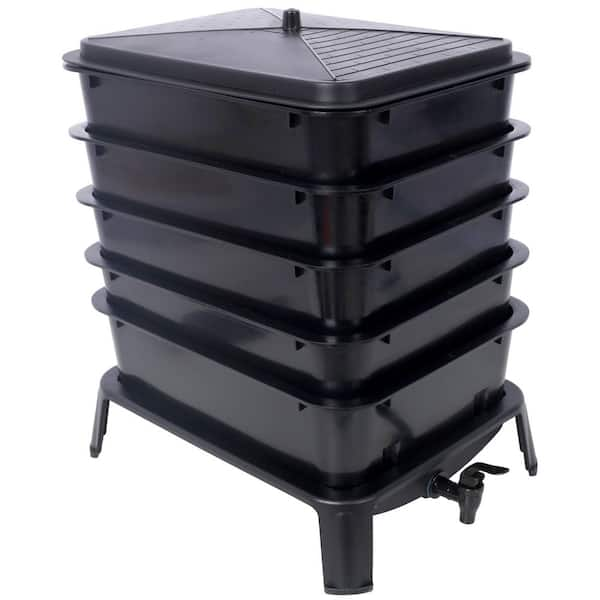
Worm Bins (Vermicomposting): Employing the amazing power of worms, these bins break down food scraps into nutrient-rich castings, a fantastic fertilizer. They can be kept indoors or outdoors, depending on the climate. Just make sure to keep the temperature in mind, as worms are susceptible to freezing!
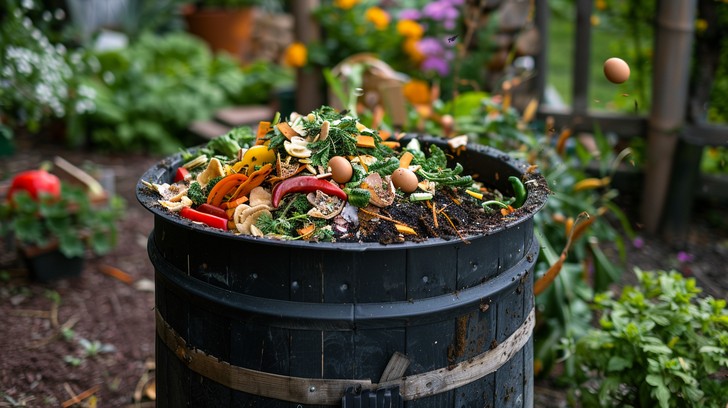
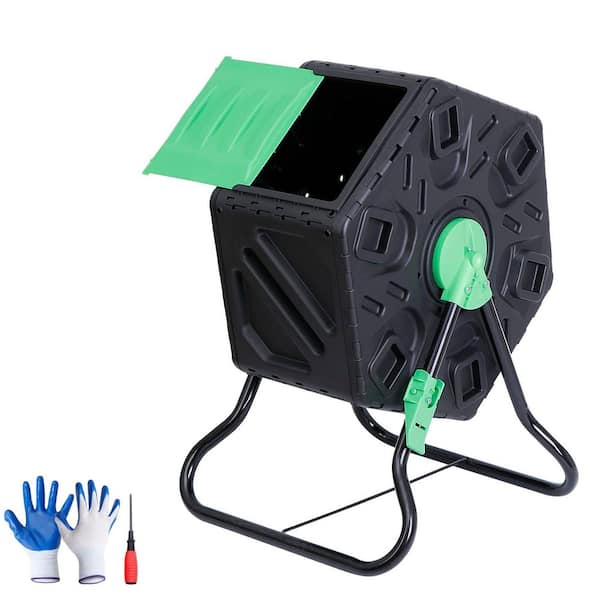
- Tumbler Composters: These rotating bins make turning compost a breeze, accelerating the decomposition process. They're ideal for those with a small yard or patio. The enclosed design also helps deter pests.
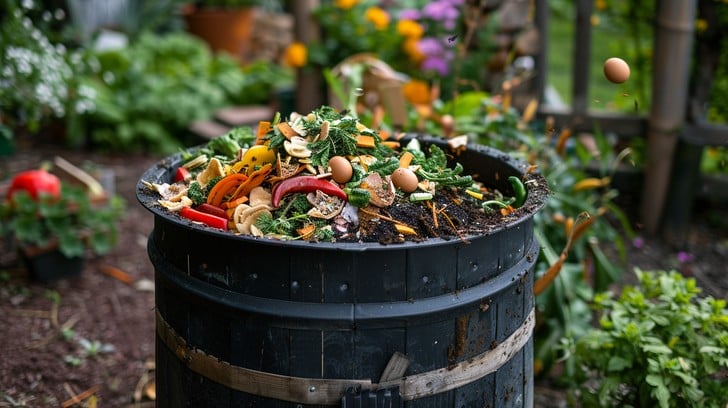
- In-Ground Composting: If you have a larger yard, consider burying your food scraps directly in the garden. This is a simple and effective way to add nutrients to the soil, although it may attract animals if not done properly.
- Traditional Compost Piles: This backyard projects option requires ample space. This can become a family project on a farmhouse life.
Each method has its pros and cons. Countertop composters are convenient but require purchasing Bokashi bran. Worm bins require a bit more maintenance but produce excellent fertilizer. Tumblers are efficient but can be more expensive.
The Dos and Don'ts of Composting: Avoiding Common Mistakes
To ensure a successful and odor-free composting experience, keep these guidelines in mind:
- Do: Use a mix of "greens" (nitrogen-rich materials like food scraps, grass clippings) and "browns" (carbon-rich materials like leaves, shredded paper, cardboard).
- Do: Chop or break down materials into smaller pieces to speed up decomposition.
- Do: Turn your compost regularly to aerate it (except for worm bins and Bokashi systems).
- Don't: Compost meat, dairy, oily foods, or diseased plants, as they can attract pests and create unpleasant odors.
- Don't: Let your compost get too wet or too dry. Aim for a consistency similar to a wrung-out sponge.
- Don't: Forget to layer your compost properly, alternating greens and browns.
One of the most common mistakes is adding too much of one type of material. I once added a huge batch of grass clippings and ended up with a slimy, smelly mess! Learning to balance the "greens" and "browns" is key.
Setting Up Your Kitchen Counter Composter in 5 Easy Steps
For those wanting a quick start, here’s how to set up a kitchen scrap composting system using a counter composter.
- Choose a suitable container: Select a countertop composter with a tight-fitting lid and a spigot for draining excess liquid (compost tea). Many aesthetically pleasing options are available.
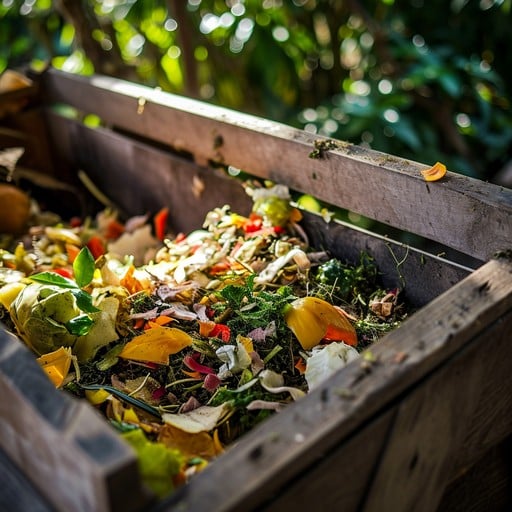
- Add Bokashi bran: Sprinkle a layer of Bokashi bran at the bottom of the composter. This beneficial bacteria aids in fermentation and reduces odors.
- Layer food scraps: Add your kitchen scraps, such as vegetable peels, coffee grounds, and fruit cores. Chop them into smaller pieces for faster decomposition.
- Sprinkle more bran: After each layer of food scraps, sprinkle another layer of Bokashi bran.
- Press down and seal: Press down the contents to remove air pockets and seal the lid tightly. Drain any excess liquid (compost tea) every few days – this can be diluted and used as a fertilizer!
How to Balance Greens and Browns for Optimal Decomposition
Achieving the right balance of "greens" and "browns" is essential for successful composting. A good rule of thumb is to aim for a 2:1 or 3:1 ratio of browns to greens.
- Greens (Nitrogen-Rich):
- Fruit and vegetable scraps
- Coffee grounds and tea bags
- Grass clippings
- Fresh manure
- Browns (Carbon-Rich):
- Dry leaves
- Shredded paper and cardboard
- Sawdust (from untreated wood)
- Straw
If your compost pile smells like ammonia, it likely has too much nitrogen (greens). Add more browns to balance it out. If it's dry and not decomposing, it may need more nitrogen (greens) and moisture.

When and How to Use Your Compost in the Garden
After a few months (or weeks, depending on your method), your compost should be dark, crumbly, and earthy-smelling. Now it's time to put it to work!
- Soil Amendment: Mix compost into your garden beds before planting to improve soil structure and fertility.
- Mulch: Spread compost around the base of plants to retain moisture, suppress weeds, and provide a slow-release fertilizer.
- Potting Mix: Add compost to your potting mix for container gardening.
- Compost Tea: Steep compost in water to make a nutrient-rich tea for foliar feeding.
Imagine the satisfaction of knowing you're nourishing your garden with the power of your own kitchen scraps – creating healthier plants, reducing waste, and contributing to a more sustainable lifestyle. Composting might seem intimidating at first, but with a little practice, it can become a rewarding and effortless part of your homesteading journey.
What are your favorite composting tips and tricks? Share them in the comments below! We'd love to hear about your experiences. As you prepare for winter and your spring gardening prep, now is the perfect time to start building your compost pile and get ready for a bountiful spring!
