From Garden to Table: Preparing Your Bountiful Autumn Harvest for Cozy Winter Recipes
A crisp autumn morning dawns on the homestead. Mist hangs low in the fields, clinging to the last of the season’s bounty. The air is sharp and clean, carrying the scent of damp earth and decaying leaves. The rhythmic thud of apples falling from the trees punctuates the quiet, a gentle reminder of nature’s abundance. There’s a deep sense of gratitude in the air as you gather the final harvest, knowing that soon the frost will settle in earnest. This feeling of thankfulness is amplified by the joy of preserving this harvest, of transforming the summer's hard work into delicious sustenance for the long, cold winter ahead.
Learn how to prepare your autumn harvest for delicious and heartwarming winter recipes, from soups and stews to pies and preserves, ensuring a taste of summer warmth throughout the cold months. Preparing the harvest is a cornerstone of farmhouse life, and a key to cozy living throughout the winter.
Section 1: Root Vegetable Prep
Root vegetables, the earthy treasures of the fall garden, form the foundation of many winter meals. Carrots, potatoes, beets, and parsnips are nutritional powerhouses that store well if properly prepared.
First, cleaning is key. Brush off as much dirt as possible while still in the garden. Once harvested, gently wash the vegetables to remove any remaining soil. Avoid scrubbing too hard, as this can damage the skin and shorten their storage life. Let them air dry completely before proceeding.
Root cellaring is the traditional method for long-term storage. If you have a root cellar, that's fantastic! But even without one, you can create a makeshift storage area in a cool, dark, and humid place like a basement or garage. The ideal temperature is between 32°F and 40°F with high humidity.
For root cellaring, layer your vegetables in bins or crates with slightly damp sand or sawdust. The sand helps maintain humidity and prevents the vegetables from drying out and also reduces the chance of any vegetables touching each other.
Personal Anecdote: I remember one year, I was so excited about my potato harvest that I rushed the drying process. I piled them into a bin while they were still slightly damp. Within a few weeks, I discovered a soggy, moldy mess! That experience taught me the importance of thorough drying and proper ventilation for successful root vegetable storage.
Pre-processing: While you can store root vegetables whole, consider dicing or slicing some for freezing. Blanching them briefly in boiling water before freezing helps preserve their color and texture. Frozen root vegetables are perfect for adding to soups, stews, and casseroles throughout the winter.
Section 2: Herbs & Greens
Don't let the end of summer mean the end of fresh flavors. Herbs and greens can be preserved to brighten up your winter cooking.
Drying Herbs: Drying herbs is a simple and effective way to preserve their flavor and aroma. Rosemary, thyme, sage, and oregano are all excellent candidates for drying.
- Air Drying: The most traditional method is to bundle the herbs together with twine and hang them upside down in a dry, well-ventilated place away from direct sunlight.
- Dehydrating: A food dehydrator speeds up the process significantly. Arrange the herbs in a single layer on the dehydrator trays and dry at a low temperature until they are brittle and crumble easily.
- Oven Drying: Spread herbs on a baking sheet and place in oven on lowest temperature. Keep door cracked to allow moisture to escape. Turn herbs occasionally.
Once dried, store the herbs in airtight containers in a cool, dark place.
Freezing Greens: Many leafy greens, such as spinach, kale, and chard, can be frozen for later use. Wash the greens thoroughly and blanch them in boiling water for a minute or two. Drain and cool them quickly in ice water. Squeeze out any excess water and pack them into freezer bags or containers.
Here's a few greens that freeze well:
- Spinach
- Kale
- Chard
Frozen greens are great additions to soups, smoothies, and frittatas.
Section 3: Apples & Pumpkins
Apples and pumpkins are the quintessential flavors of autumn, and there are many ways to preserve their goodness for winter enjoyment.
Apples: If you have an abundant apple harvest, consider making applesauce, apple butter, or dried apple slices.
- Applesauce: Peel, core, and chop the apples. Cook them in a pot with a little water until they are soft. Puree them with an immersion blender or food processor. You can add cinnamon, nutmeg, or other spices to taste.
- Apple Butter: Similar to applesauce, but cooked down for a longer period of time until it becomes thick and caramelized.
- Dried Apple Slices: Slice the apples thinly and dry them in a dehydrator or oven at a low temperature.
Pumpkins: Pumpkins are incredibly versatile and can be used in a variety of sweet and savory dishes.
- Roasting: Cut the pumpkin in half, scoop out the seeds, and roast it in the oven until tender.
- Freezing: Puree the roasted pumpkin and freeze it in freezer bags or containers.
- Pumpkin Seeds: Don't forget about the seeds! Rinse them thoroughly and toss them with olive oil, salt, and your favorite spices. Roast them in the oven until golden brown and crispy. This is a great way to enjoy roasted pumpkin seeds.
Simple Recipe for Roasted Pumpkin Seeds:
- Preheat oven to 300°F (150°C).
- Rinse pumpkin seeds to remove any stringy bits.
- Toss seeds with 1 tablespoon olive oil, ½ teaspoon salt, and ¼ teaspoon garlic powder (optional).
- Spread seeds in a single layer on a baking sheet.
- Roast for 45-60 minutes, stirring occasionally, until golden brown and crispy.
Actionable Tips:
- Root Vegetable Storage Checklist:
- Wash vegetables gently.
- Dry thoroughly.
- Store in a cool, dark, and humid place.
- Layer in sand or sawdust.
- Herb Drying Guide:
- Bundle herbs with twine.
- Hang upside down in a dry, well-ventilated place.
- Or, use a dehydrator.
- Store dried herbs in airtight containers.
- Extending Shelf Life:
- Proper drying is crucial for herbs.
- Blanching vegetables before freezing helps preserve their quality.
- Use airtight containers for all preserved goods.
Closing Reflection
As you survey your well-stocked pantry, filled with the colors and flavors of the autumn harvest, a sense of accomplishment washes over you. The knowledge that you have prepared for the winter ahead, providing nourishing and delicious meals for yourself and your family, is deeply satisfying.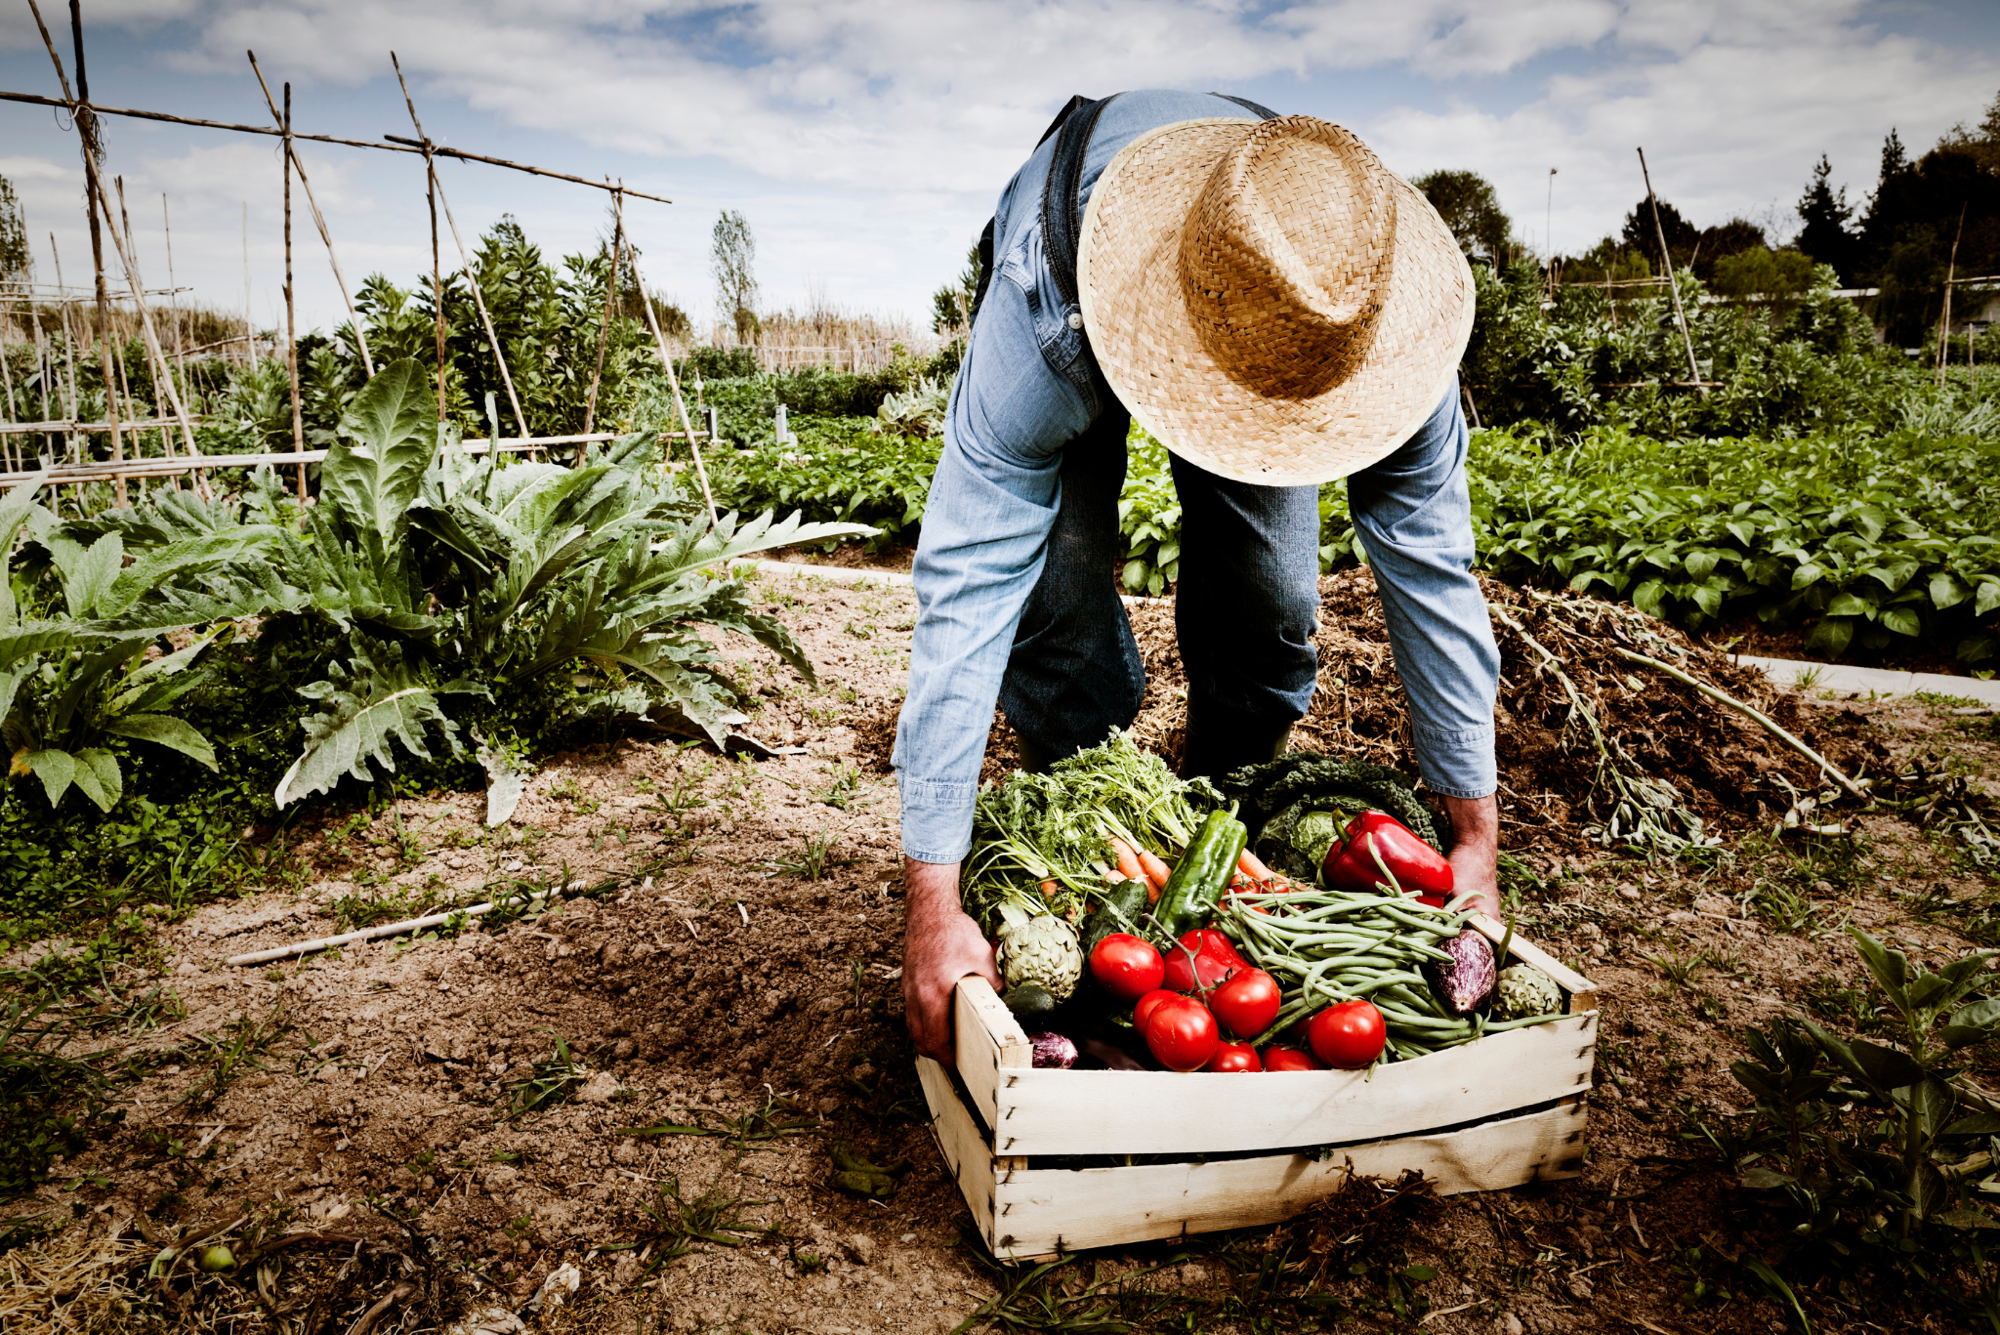
Now, we’d love to hear from you! Share your own harvest preparation tips and favorite winter recipes in the comments below.
For more ideas on creating a self-sufficient homestead, check out our blog post on Building a DIY Chicken Coop: https://example.com/chicken-coop-guide.
And if you're looking to expand your preserving toolkit, check out our set of canning jars available in the Better Homes and Harvests online store. Preparing the harvest is a cornerstone of farmhouse life, and a key to cozy living throughout the winter.