From Garden to Table: 5 Delicious and Easy Ways to Preserve Your Fall Harvest Bounty
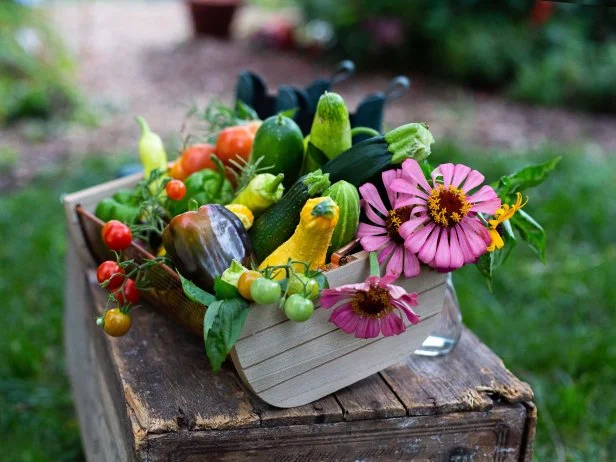
The first frost is just around the corner, but my garden is still bursting with late-season treasures – tomatoes blushing red, herbs fragrant and strong, and rows of squash ready for picking! As the days grow shorter, the urge to preserve these precious flavors for the long winter months grows stronger. The crisp autumn air carries the scent of ripening apples and the promise of cozy evenings spent by the fire. What better way to prepare for the season of rest than by carefully putting away the abundance of your fall garden?
In this post, I'll share 5 simple and delicious methods for preserving your fall harvest, ensuring you can enjoy the taste of summer long after the snow flies. These techniques are perfect for rural homeowners, backyard gardeners, DIY enthusiasts, and anyone seeking a more self-sufficient life. Get ready to transform your garden bounty into pantry staples!
1. Freezing Herbs for Winter Soups and Stews
My grandmother taught me this trick, and it's saved me countless trips to the grocery store in the middle of winter! The aroma of fresh basil instantly transports me back to her sun-drenched kitchen. Freezing herbs is one of the easiest ways to capture their vibrant flavors.
Freezing Herbs: A Simple Guide
- Harvest herbs in the morning, after the dew has dried. This is when their essential oils are most concentrated.
- Wash and dry herbs thoroughly. A salad spinner works wonders for this!
- Chop herbs and place them in ice cube trays.
- Cover with water or olive oil. Olive oil is especially good for herbs like rosemary and thyme, as it helps preserve their flavor.
- Freeze until solid, then transfer to freezer bags.
- Label and date the bags.
Pro Tip: For best results, blanch herbs briefly in boiling water before freezing to preserve their color and flavor. Just a quick dip – 15-30 seconds – is all it takes.
2. Turning Tomatoes into Delicious Sauce
What would fall be without a big batch of homemade tomato sauce? This is a classic preservation method for a reason! Nothing beats the flavor of garden-fresh tomato sauce simmering on the stove.
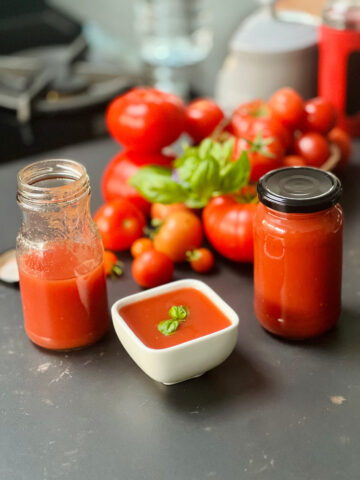
Homemade Tomato Sauce: A Step-by-Step Guide
- Wash and core your tomatoes. Roma and San Marzano varieties are ideal for sauce.
- Roughly chop the tomatoes and simmer them in a large pot over medium heat until softened.
- Use an immersion blender or food mill to create a smooth sauce.
- Add your favorite herbs and spices: basil, oregano, garlic, salt, pepper, and a pinch of sugar to balance the acidity.
- Simmer the sauce for another hour or two, until it reaches your desired consistency.
- Ladle the hot sauce into sterilized canning jars, leaving ½ inch headspace.
- Process in a boiling water bath for the recommended time, according to your altitude.
Troubleshooting Tip: If your sauce is too acidic, add a pinch of baking soda. Be careful, as it will foam up!
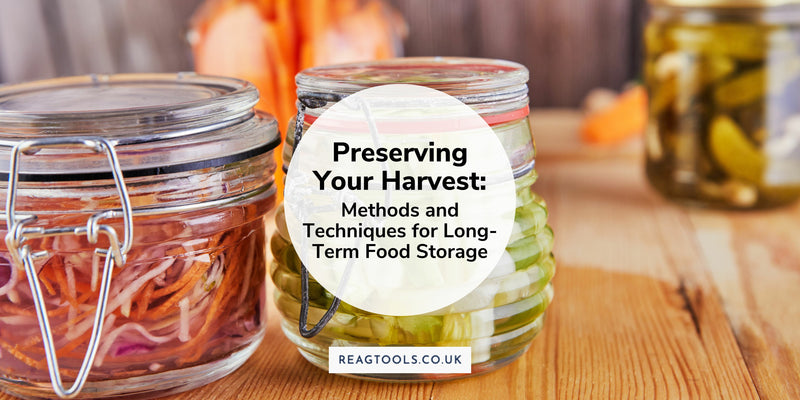
3. Pickling Vegetables for a Tangy Treat
Pickling is a fantastic way to preserve crunchy vegetables like cucumbers, beans, and peppers. The tangy brine adds a delightful zing to any meal.
Easy Pickled Vegetables: A Basic Recipe
- Wash and prepare your vegetables. Slice cucumbers into rounds, trim green beans, and leave peppers whole or halved.
- Prepare a pickling brine: Combine equal parts water and vinegar (white or apple cider vinegar work well), salt, sugar, and your favorite spices (dill, garlic, mustard seeds, peppercorns).
- Bring the brine to a boil.
- Pack the vegetables into sterilized jars, leaving ½ inch headspace.
- Pour the hot brine over the vegetables, ensuring they are completely submerged.
- Process in a boiling water bath for the recommended time, according to your altitude.
Actionable Tip: For extra crisp pickles, add a grape leaf to the jar! The tannins in the leaf help maintain their texture.
4. Canning Fruit Butter for Sweet Spreads
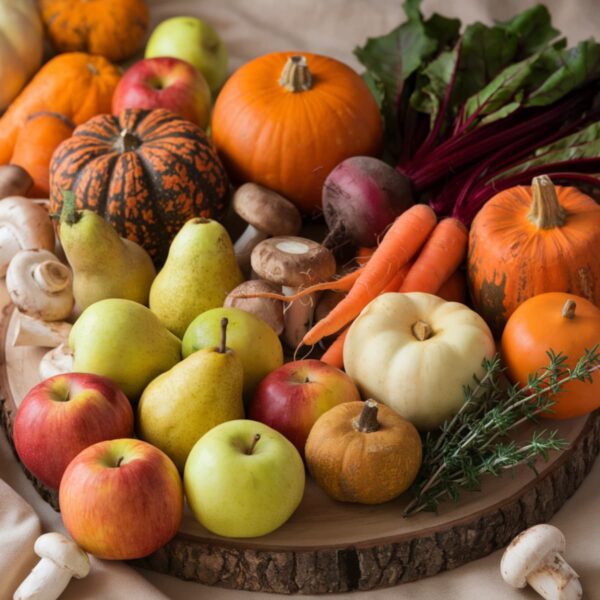
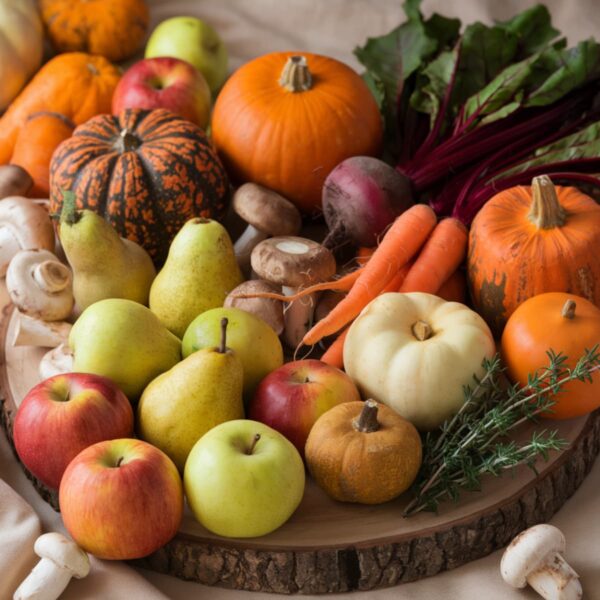
Apple butter, pumpkin butter, pear butter – the possibilities are endless! Canning fruit butter is a wonderful way to capture the sweetness of fall fruits and enjoy them throughout the year.
Canning Fruit Butter: A Delicious Process
- Wash, peel, and core your fruit. Apples, pears, and pumpkins work beautifully.
- Cook the fruit in a large pot with a small amount of water or juice until softened.
- Puree the cooked fruit using an immersion blender or food processor.
- Add sugar, spices (cinnamon, nutmeg, cloves), and a touch of lemon juice to the puree.
- Simmer the mixture over low heat, stirring frequently, until it thickens to a spreadable consistency.
- Ladle the hot fruit butter into sterilized canning jars, leaving ¼ inch headspace.
- Process in a boiling water bath for the recommended time, according to your altitude.
Safety First: Ensure you follow proper canning procedures to prevent spoilage. Use a reliable recipe and process the jars for the correct amount of time.
5. Dehydrating Apples for Healthy Snacks
Dehydrating apples is a simple and rewarding way to create healthy and delicious snacks that last for months. These apple chips are perfect for lunchboxes, hiking trips, or a quick afternoon treat.
Dehydrating Apples: A Simple Guide
- Wash, core, and slice your apples into thin, even slices. A mandoline slicer can be helpful for this.
- Dip the apple slices in a mixture of lemon juice and water to prevent browning.
- Arrange the apple slices in a single layer on dehydrator trays.
- Dehydrate at 135°F (57°C) for 6-12 hours, or until the apples are leathery and pliable.
- Store the dehydrated apples in airtight containers.
Flavor Boost: Sprinkle cinnamon or other spices on the apple slices before dehydrating for added flavor.
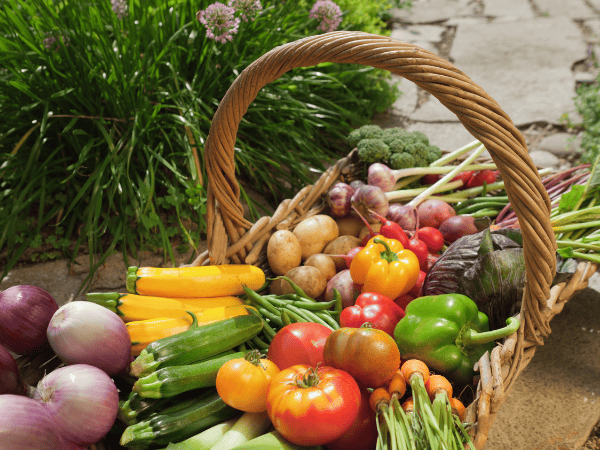
Imagine the delight of savoring a homemade tomato sauce in January, knowing it was made with tomatoes you nurtured from seed. Preserving your harvest is an act of self-sufficiency and a celebration of the seasons. It allows you to extend the joy of your garden throughout the year, nourishing your body and soul with homegrown goodness.
Now is also a great time to start planning your garden for next year! Think about which varieties thrived this year and which you'd like to try next season. Consider starting seeds indoors during the winter months to get a head start on spring planting.
What's your favorite way to preserve the flavors of fall? Share your tips and tricks in the comments below!