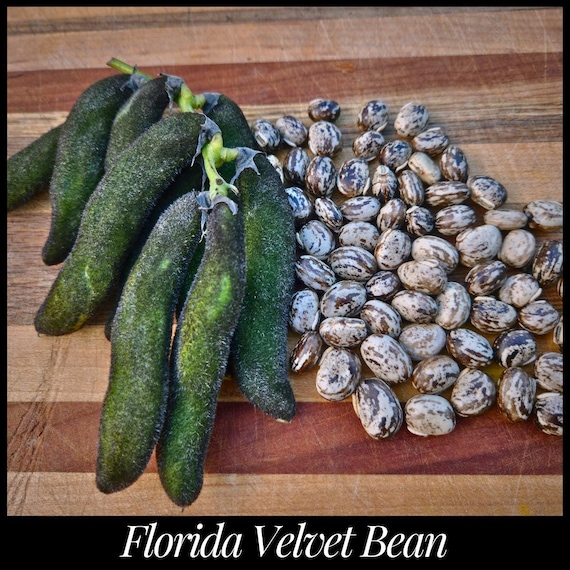
From Garden to Seed Bank: A Beginner's Guide to Seed Saving
There's nothing quite like the feeling of biting into a sun-ripened tomato, bursting with flavor, from your own backyard. Or the satisfaction of a vibrant bouquet of flowers, grown from tiny seeds you nurtured. As the days grow shorter and the garden begins to wind down, many of us feel a pang of sadness, knowing we'll have to wait until next spring to experience that magic again. But what if you could capture the essence of this year's success and bring it back, even better, next year? And what if you could do it all without spending a dime on new seeds? Seed saving, an often-overlooked skill, unlocks this possibility. It's a powerful way to connect with the natural world, preserve heirloom varieties, and adapt your plants to your specific microclimate. In this guide, we'll explore the simple steps to saving seeds, transforming you from a gardener into a seed steward, ensuring a bountiful and sustainable garden for years to come.

Why Save Seeds? Beyond the Budget
Seed saving offers many benefits that extend far beyond simple cost savings. While the rising price of seeds is certainly a compelling reason to learn this skill, the true value lies in the resilience and diversity it brings to your garden.
- Cost Savings: Let's be honest, those seed packets add up! Saving your own seeds means you'll have a supply of free seeds year after year, freeing up your gardening budget for other projects or treats.
- Adaptation and Resilience: When you save seeds from plants that thrive in your garden, you're essentially breeding them to be even better suited to your specific climate, soil, and pest pressures. Over time, these plants will become more resilient and productive in your unique environment.
- Preserving Heirloom Varieties: Heirloom varieties, passed down through generations, often boast unique flavors, colors, and characteristics not found in commercially available hybrids. By saving their seeds, you're playing a vital role in preserving biodiversity and culinary heritage. Forget the bland supermarket tomatoes; saving seeds lets you enjoy that tangy Brandywine year after year.
- Self-Sufficiency and Empowerment: Becoming a seed saver is incredibly empowering. It connects you to the entire growing cycle, making you less reliant on external sources and more confident in your gardening abilities.
- Sharing and Community: Seed saving is a fantastic way to connect with other gardeners in your community. You can exchange seeds, knowledge, and experiences, fostering a spirit of collaboration and shared abundance.
- Regenerative Benefit: Promoting plant diversity through seed saving strengthens the entire ecosystem. Diverse plant populations are more resilient to pests, diseases, and climate change, creating a healthier and more sustainable garden.
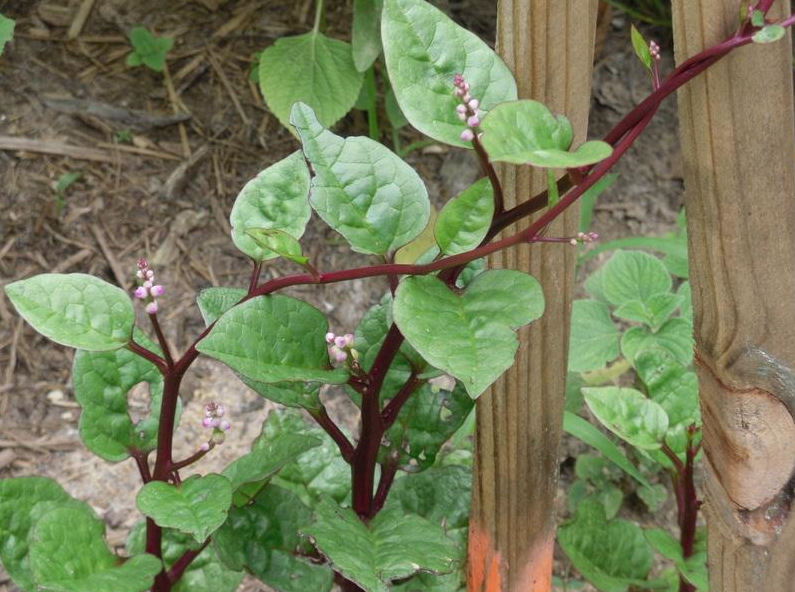
The Basics of Seed Saving: From Flower to Future Plant
Successful seed saving requires understanding some key concepts about plant reproduction and seed genetics.
- Understanding Seed Types:
- Open-Pollinated (OP) vs. Hybrid (F1): This is crucial. Open-pollinated seeds produce plants that are "true to type," meaning they'll reliably resemble their parents. Hybrid seeds, on the other hand, are the result of cross-pollinating two different parent plants. Saving seeds from hybrids is often unreliable, as the offspring may not possess the same desirable traits as the parent. When starting out, only save open-pollinated seeds.
- Regional Recommendations: Look for open-pollinated varieties that are known to thrive in your specific region. In the Pacific Northwest, for example, 'Oregon Sugar Pod' peas and 'Early Girl' tomatoes are reliable choices. For those in the Southeast, 'Georgia Southern' collards and 'Charleston Gray' watermelons are excellent options.
- Non-GMO: Open-pollinated varieties are naturally non-GMO. You can rest assured that you're saving seeds from plants that have not been genetically modified.
- Choosing the Right Plants:
- Select healthy, vigorous plants: Only save seeds from your strongest and most productive plants. These are the plants best adapted to your garden's conditions, and you want to pass those traits on to future generations.
- Consider disease resistance: Avoid saving seeds from plants that show signs of disease. You don't want to inadvertently propagate disease-prone plants.
- True-to-type: Make sure your chosen plant exhibits the characteristics you expect from that variety. If you're saving seeds from a 'Roma' tomato, ensure it has the characteristic plum shape and red color.
- Timing is Everything:
- Allow plants to fully mature: Seeds need time to fully develop and ripen on the plant. Prematurely harvested seeds may not be viable.
- Seasonal awareness: The best time to save seeds varies depending on the plant and your local climate. In the Midwest, for example, tomato seeds are typically saved in late summer or early fall, while bean seeds are harvested in the late summer after the pods have dried on the vine.
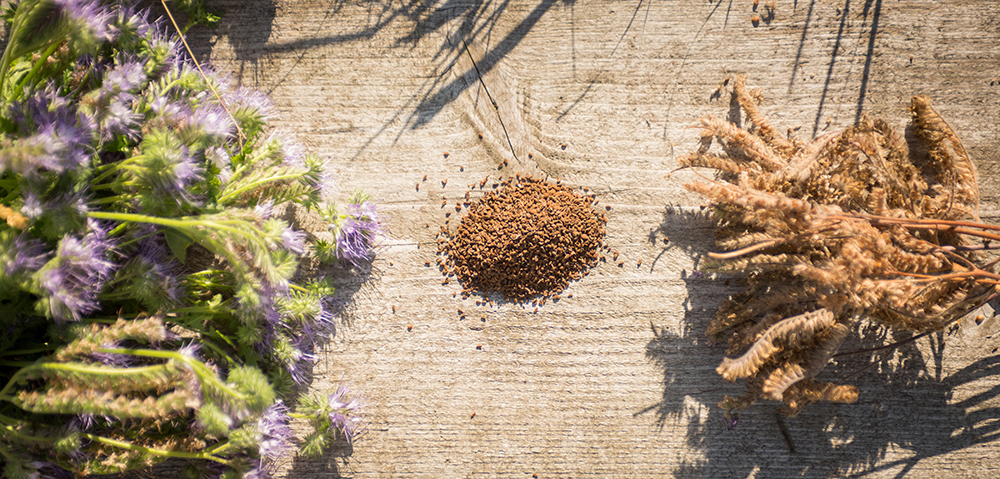
Beginner-Friendly Seeds to Save: Easy Starts to Seed Saving Success
Start with plants that are easy to save seeds from to build your confidence. Here are a few great options:
- Easy Vegetables:
- Beans: Dry bean varieties, such as 'Kentucky Wonder' pole beans, are exceptionally easy. Allow the bean pods to dry completely on the vine. Once dry, shell the beans and store them in an airtight container. For example, I remember one year my 'Kentucky Wonder' produced so many beans, I ended up with enough seeds to plant half my neighborhood!
- Step-by-step instructions on harvesting and drying bean seeds:
- Allow bean pods to dry completely on the vine until they are brittle and brown.
- Harvest the pods on a dry day.
- Shell the beans from the pods.
- Spread the beans on a tray in a well-ventilated area to dry for a further 2-3 weeks.
- Store the dried beans in an airtight container in a cool, dark, and dry place.
- Step-by-step instructions on harvesting and drying bean seeds:
- Peas: The process for saving pea seeds is similar to that of beans. Allow the pea pods to dry on the vine, then shell the peas and dry them thoroughly.
- Tomatoes: Tomato seeds require a slightly different process – fermentation. Fermenting the seeds removes the gelatinous coating and helps prevent disease.
- Provide detailed instructions and a simple method (jar, water, wait):
- Squeeze the seeds and pulp from ripe tomatoes into a jar.
- Add a small amount of water to the jar.
- Let the mixture sit at room temperature for 3-4 days, stirring occasionally. A layer of mold will form on top.
- Once the mold has formed, add more water to the jar and stir vigorously. The good seeds will sink to the bottom, while the pulp and bad seeds will float to the top.
- Pour off the pulp and bad seeds. Repeat until only the good seeds remain.
- Rinse the seeds thoroughly and spread them on a tray to dry.
- Provide detailed instructions and a simple method (jar, water, wait):
- Lettuce: Lettuce is incredibly easy to save seeds from. Simply allow the plants to bolt (flower) and collect the seeds when they are dry. Many gardeners inadvertently save lettuce seeds as they just let lettuce "go to seed."
- Beans: Dry bean varieties, such as 'Kentucky Wonder' pole beans, are exceptionally easy. Allow the bean pods to dry completely on the vine. Once dry, shell the beans and store them in an airtight container. For example, I remember one year my 'Kentucky Wonder' produced so many beans, I ended up with enough seeds to plant half my neighborhood!
- Easy Herbs:
- Calendula: Calendula flowers produce abundant seeds. Collect the dried flower heads and separate the seeds.
- Basil: Allow basil plants to flower and collect the seeds when the flower heads are dry. I've found that saving basil seeds is so easy, I often have enough to share with all my gardening friends.
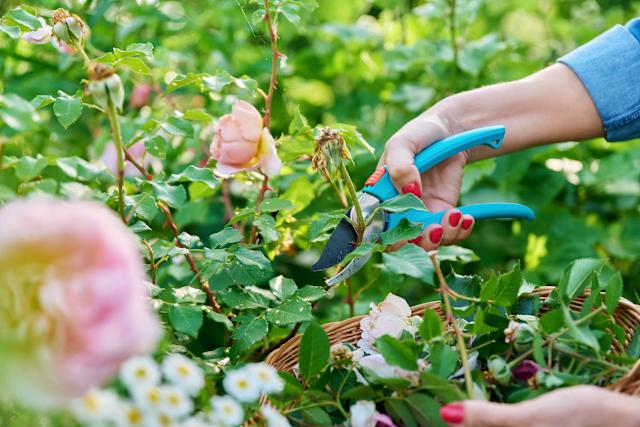
The Seed Saving Process: Cleaning, Drying, and Storing
Proper cleaning, drying, and storage are essential for ensuring seed viability.
- Cleaning Seeds:
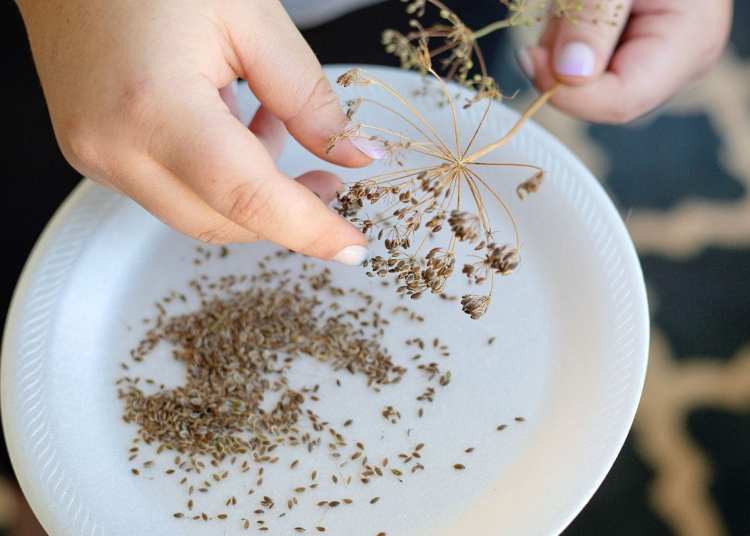
- Winnowing: This involves using wind or a fan to remove chaff and debris from your seeds. Simply pour the seeds from one container to another in front of a gentle breeze, allowing the lighter chaff to blow away.
- Screening: Use sieves or screens with different mesh sizes to separate seeds by size. This is particularly useful for cleaning seeds that are mixed with small debris.
- Drying Seeds:
- Air-drying: The simplest method is to spread the seeds on a tray in a well-ventilated area. Allow them to dry completely for several weeks.
- Desiccants: For extra insurance, you can use desiccants like silica gel or rice to absorb any remaining moisture. Place the seeds and desiccant in an airtight container for a few days.
- Storing Seeds:
- Airtight containers: Store your seeds in airtight containers, such as glass jars, envelopes, or resealable bags.
- Cool, dark, and dry place: Protect seeds from light, heat, and humidity. A cool basement or refrigerator is ideal.
- Labeling: Clearly label each container with the plant name, variety, and date of harvest. This will help you keep track of your seeds and ensure you're planting viable seeds each year.
- Seed viability: You can test seed viability by planting a small sample of seeds in a pot. If a high percentage of the seeds germinate, you know your seed stock is good.
Troubleshooting & Common Mistakes
Seed saving can have pitfalls, but don't get discouraged! Here's how to handle some common issues:
- Cross-Pollination:
- How to avoid it (distance, timing, hand pollination): Preventing cross-pollination is vital to ensuring true-to-type seeds. For some plants, like tomatoes, self-pollination is common, reducing cross-pollination risk. But for others, spatial isolation is needed.
- Specifically addressing common myths: "My garden is too small to save seeds safely!" While a large garden helps, you can still save seeds safely in small spaces by focusing on self-pollinating plants or hand-pollinating specific flowers.
- Offering practical solutions: "How to use row covers for controlled pollination." Row covers create physical barriers preventing unwanted pollination.
- Seed Viability Issues:
- Why seeds don't germinate: storage, age, improper drying. Properly dried and stored seeds have a much longer shelf life.
- "Damping Off": a very common fungal disease that affects seedlings. Sterilizing your seed-starting mix and providing good air circulation can help prevent this.
- Pests and Diseases in Seeds:
- How to inspect and prevent: Carefully inspect your seeds for any signs of pests or diseases before storing them. Discard any seeds that appear damaged or diseased.
Conclusion
Saving seeds is more than just a cost-saving measure; it's a way to connect with the natural world, preserve biodiversity, and build a more resilient and sustainable garden. It's about taking control of your food supply and ensuring that future generations can enjoy the bounty of the earth. Don't be afraid to experiment, learn from your mistakes, and most importantly, have fun! As the leaves change and the days grow cooler, it's a perfect time to start planning next year's garden and start saving seeds from this year's harvest.
Call to Action
What are your favorite seeds to save and why? Share your experiences, tips, and questions in the comments below! Have you ever saved a seed from an exceptional plant, only to find it grew even better the next year? We'd love to hear your stories. And don't forget to subscribe to our newsletter for more gardening tips, DIY projects, and inspiration for creating a cozy and sustainable home. Join our community and let's grow together!