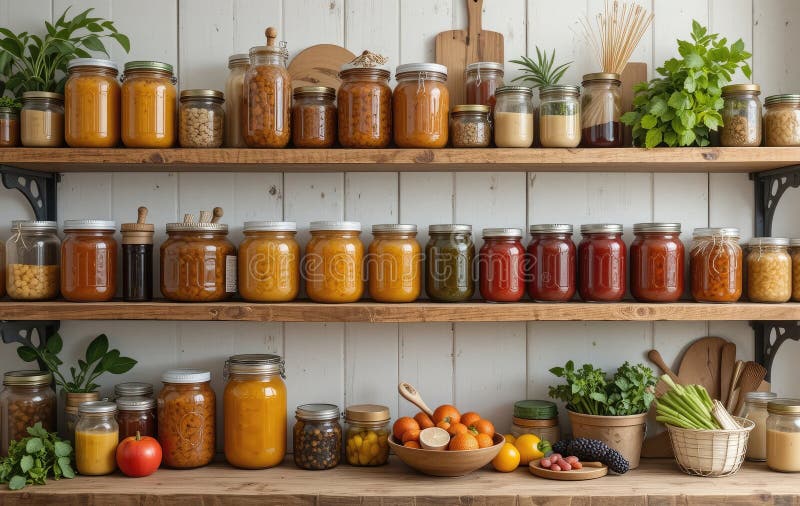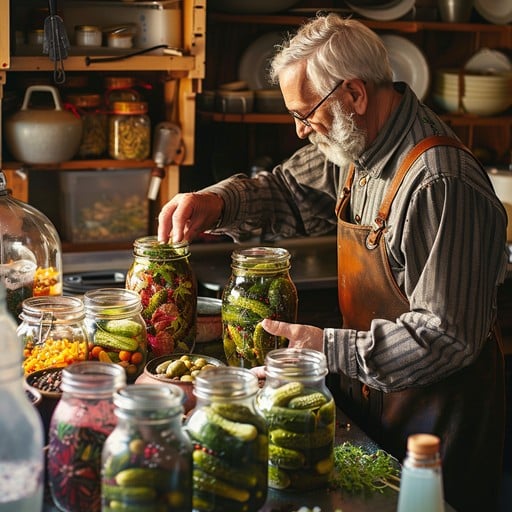
From Garden to Pantry: A Homesteader's Guide to Fall Harvest Preservation
The vibrant colors of autumn are upon us, and with them, a glorious abundance from our gardens. Baskets overflow with ruby-red tomatoes, golden squash line the porch like sunny sentinels, and the crisp scent of apples hangs heavy in the air. It's a time of immense satisfaction, knowing that our hard work throughout the summer has yielded such a bountiful reward. But all that beautiful produce won't last forever, will it? If you're anything like me, you're staring at those overflowing baskets, wondering how to possibly preserve it all before the first frost claims its due.
Don’t fret! Preserving your fall harvest doesn’t have to be a daunting task. In this post, I'll share 5 incredibly easy and manageable methods to preserve your fall harvest, even if you're a complete beginner. We'll cover techniques that require minimal equipment and effort, so you can enjoy the fruits (and vegetables!) of your labor all winter long, adding a touch of summer sunshine to those cold, blustery days. Let’s dive into some farmhouse life hacks!
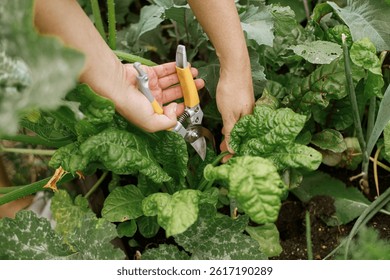
1. Freezing for Beginners: A Simple Way to Save the Season
Freezing is arguably the easiest and quickest way to preserve many fall harvest favorites. It's perfect for those of us who are short on time but still want to enjoy homegrown goodness throughout the winter. Think of freezing as hitting the "pause" button on ripeness.
What You Can Freeze: Tomatoes (especially for sauces and soups), peppers, herbs, squash (cooked), berries, and even applesauce freeze beautifully.
How to Do It:
- Prepare: Wash and chop your produce. For tomatoes, you can core them and freeze them whole or roughly chop them. For peppers, remove seeds and membranes. For squash, cook it until tender, then mash or puree. Herbs can be chopped and frozen in ice cube trays with a little water or olive oil.
- Blanch (Optional but Recommended for Vegetables): Blanching involves briefly boiling vegetables (usually for 1-3 minutes) then immediately plunging them into ice water. This helps to stop enzyme action that can degrade quality during freezing.
- Package: Use freezer-safe bags or containers. Remove as much air as possible to prevent freezer burn. Label and date everything!
- Freeze: Spread items in a single layer on a baking sheet to freeze individually before transferring to bags. This prevents clumping.
Tips for Success:
- Don't overcrowd freezer bags. Leave some headspace for expansion.
- Use a straw to suck out excess air from freezer bags before sealing.
- Frozen herbs are best used in cooked dishes, as they can lose some texture when thawed.
2. Easy Tomato Sauce: Capturing Summer in a Jar (Freezer Method)
Making tomato sauce is a fantastic way to preserve a large tomato harvest. While canning is a popular option, freezing tomato sauce is significantly simpler and faster, making it ideal for busy homesteaders. This contributes to a cozy living experience.
Ingredients:
- Lots of ripe tomatoes (any variety works!)
- Olive oil
- Onions and garlic (to taste)
- Herbs (basil, oregano, thyme – all from your organic gardening efforts!)
- Salt and pepper
Instructions:
- Roughly chop the tomatoes, onions, and garlic.
- Sauté the onions and garlic in olive oil until softened.
- Add the tomatoes and herbs. Simmer for 1-2 hours, or until the sauce has thickened to your liking.
- Use an immersion blender or food processor to blend the sauce until smooth.
- Season with salt and pepper to taste.
- Let the sauce cool completely.
- Pour into freezer-safe containers or bags, leaving some headspace.
- Label, date, and freeze.
Last year, I was overwhelmed by my tomato crop. I made batches of this sauce every weekend, and now I have enough to last me through the winter. There's nothing quite like homemade tomato sauce on a cold winter night!

3. Quick Pickled Peppers: A Zesty Bite of Fall
Pickled peppers add a delightful tangy crunch to sandwiches, salads, and charcuterie boards. This is a fun backyard project! They're also incredibly easy to make and require minimal equipment.
Ingredients:
- Peppers (any variety – bell peppers, jalapeños, banana peppers)
- White vinegar
- Water
- Sugar
- Salt
- Garlic cloves (optional)
- Pickling spices (optional)
Instructions:
- Wash and slice the peppers into rings or strips.
- In a saucepan, combine equal parts vinegar and water. Add sugar and salt to taste. Bring to a boil.
- Add garlic cloves and pickling spices (if using).
- Pack the peppers into sterilized jars.
- Pour the hot vinegar mixture over the peppers, leaving about 1/2 inch of headspace.
- Remove any air bubbles.
- Seal the jars and let them cool completely.
- Refrigerate for at least 24 hours before eating.
These quick pickled peppers will last for several weeks in the refrigerator. They're a delicious and easy way to preserve your pepper harvest. You’ll experience cozy living as you enjoy these tangy treats throughout the winter.
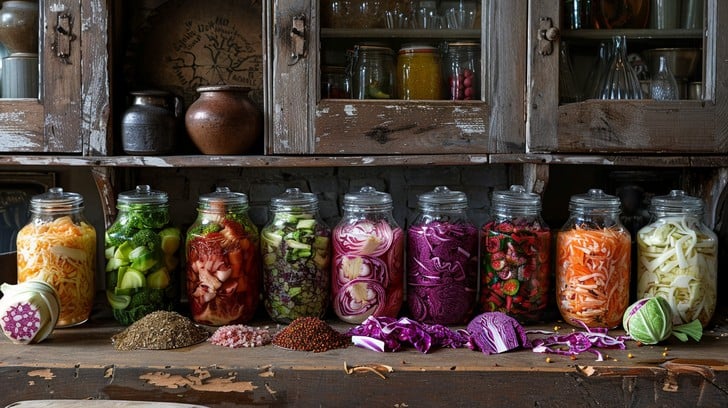
4. Dehydrating Herbs: Bringing the Garden Indoors
Drying herbs is a classic and simple way to preserve their flavor and aroma. Dried herbs are a staple in any farmhouse life kitchen, adding a touch of summer to winter meals. This is a rewarding organic gardening practice.
What You Can Dehydrate: Basil, oregano, thyme, rosemary, mint, sage – most herbs dry well.
How to Do It:
- Harvest: Cut herbs in the morning after the dew has dried.
- Prepare: Wash and dry the herbs thoroughly.
- Methods:
- Air Drying: Tie small bunches of herbs together and hang them upside down in a cool, dry, well-ventilated place.
- Oven Drying: Spread herbs in a single layer on a baking sheet and dry in a low oven (170°F or lower) for several hours, until brittle.
- Dehydrator: Use a food dehydrator according to the manufacturer's instructions.
- Store: Once the herbs are completely dry, store them in airtight containers in a cool, dark place.
I love to dry my herbs and store them in mason jars. It's so satisfying to have a pantry full of homegrown herbs to use in my cooking all winter long.
5. Composting: The Cycle Continues (Turning Waste into Garden Gold)
Okay, this isn’t exactly preserving food for eating, but it is preserving the cycle of life in your organic gardening efforts. Don't forget to compost the scraps from your preserving projects! All those tomato cores, pepper stems, and vegetable peels are valuable resources that can be transformed into nutrient-rich compost for next year's garden. Composting is a cornerstone of sustainable home practices.
How to Compost:
- Choose a Composting Method: You can compost in a pile, bin, or tumbler.
- Layer Materials: Alternate layers of "green" materials (like food scraps and grass clippings) with "brown" materials (like leaves, twigs, and paper).
- Keep it Moist: The compost pile should be damp, like a wrung-out sponge.
- Turn Regularly: Turning the compost pile helps to aerate it and speed up decomposition.
After a few months (or longer, depending on your method), you'll have rich, dark compost that you can use to enrich your garden soil. It's a truly sustainable and rewarding way to close the loop in your garden.
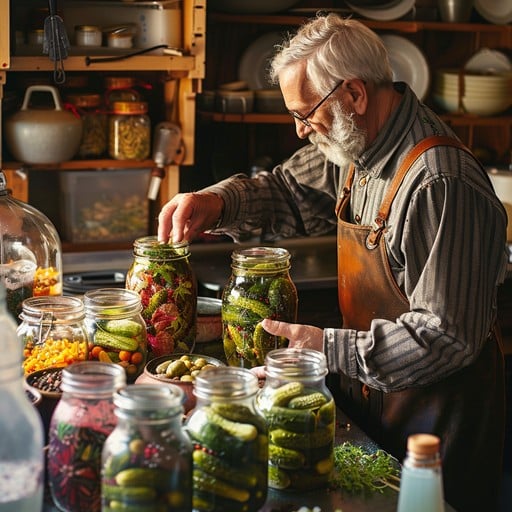
Preserving your fall harvest doesn't have to be overwhelming. With a little planning and these simple techniques, you can savor the taste of summer all winter long, adding warmth and flavor to your meals and supporting your journey towards a sustainable home. Plus, preserving your harvest means less waste and more self-sufficiency, which are both wonderful goals for any homesteader.
Don't forget to compost those scraps to enrich your soil for next year's organic gardening adventures!
What are your favorite fall harvest preservation methods? Share your tips and tricks in the comments below! And don't forget to tag us in your photos on Instagram using #BetterHomesHarvest! We can't wait to see what you're preserving this season! Enjoy the bounty!
