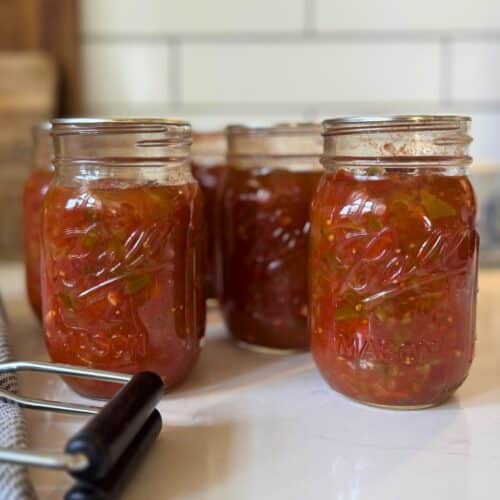
From Garden to Jar: Tomato Canning Guide for Beginners – Preserving Summer's Bounty
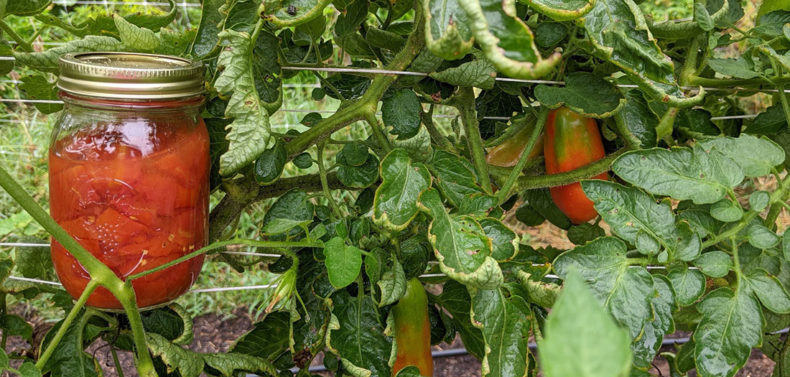
Imagine the scent of sun-warmed tomatoes, their skins practically bursting with juicy sweetness. Picture baskets overflowing with vibrant reds, yellows, and even striped heirlooms, a testament to your hard work in the garden. Now, imagine that flavor all winter long! Canning tomatoes can seem daunting, filled with anxieties about botulism and complicated procedures. But fear not! This step-by-step guide will walk you through the process of water bath canning tomatoes, empowering you to safely and confidently preserve your harvest and savor the taste of summer long after the last tomato has ripened. Extend the taste of summer, reduce food waste, and connect with traditional skills – all in one jar.
Why Canning Matters
Beyond the incredible taste of homegrown tomatoes in the dead of winter, canning offers a host of benefits. You’ll know exactly what ingredients are in your food, avoiding unnecessary additives and preservatives found in store-bought products. Canning also allows you to preserve the nutrients of your garden's bounty at its peak, and reduces food waste by preserving excess produce that would otherwise spoil. In times of uncertainty, a well-stocked pantry provides a sense of security and self-sufficiency, and canning helps you build that reserve.
Safety First: Canning Essentials
Food safety is paramount when it comes to canning. Improperly canned food can harbor dangerous bacteria, so it's crucial to follow established guidelines. For tomatoes, we will be using the water bath canning method. This method is suitable for high-acid foods like properly acidified tomatoes. Pressure canning is required for low-acid foods like green beans and meats.
Here's a checklist of essential equipment you'll need:
- Canning jars: Pint or quart jars, specifically designed for canning. Check for any chips or cracks.
- Lids: New, flat canning lids with sealing compound. One-time use only!
- Rings: Metal bands that screw onto the jars to hold the lids in place during processing. Reusable.
- Canning pot: A large, deep pot with a rack to keep jars from sitting directly on the bottom.
- Jar lifter: A tool for safely lifting hot jars from the canner.
- Funnel: For easily filling jars without spilling.
- Ladle: For scooping hot tomato mixture into jars.
- Bubble remover: A non-metallic tool (like a plastic spatula) to release trapped air bubbles.
For authoritative safety guidelines and the most up-to-date recommendations, always refer to the National Center for Home Food Preservation (NCHFP): https://nchfp.uga.edu/
STEP-BY-STEP Tomato Canning Guide
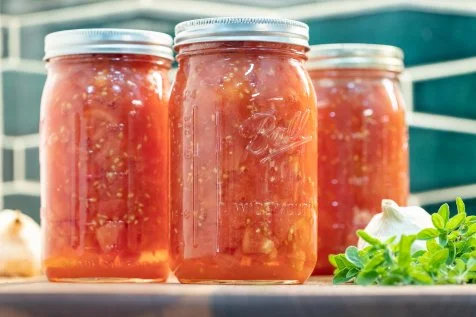
This recipe is for canning crushed tomatoes.
Ingredients:
- Ripe tomatoes (about 20 lbs for 7 quart jars)
- Bottled lemon juice or citric acid (required for safety)
- 1 tablespoon bottled lemon juice per pint jar
- 2 tablespoons bottled lemon juice per quart jar
- ½ teaspoon citric acid per pint jar
- 1 teaspoon citric acid per quart jar
- Salt (optional, to taste)
Instructions:
- Prepare the Tomatoes: Wash tomatoes thoroughly. Remove cores and any blemishes. Score the bottom of each tomato with an "X."
Blanch the Tomatoes: Bring a large pot of water to a boil. Prepare an ice bath. Blanch the tomatoes in boiling water for 30-60 seconds, or until the skins start to loosen at the scored "X." Immediately transfer them to the ice bath to stop the cooking process.
Peel and Crush: Once cooled, peel the tomatoes. The skins should slip off easily. Crush the tomatoes with your hands or a potato masher. Leave some chunks for texture.
Prepare Jars and Lids: Wash jars, lids, and rings in hot, soapy water. Rinse well. Keep jars hot until ready to fill by placing them in a simmering water bath or in a warm oven (200°F). Place lids in a saucepan of simmering (not boiling) water to soften the sealing compound.
Add Acid to Jars: This is crucial for safety! Add the recommended amount of bottled lemon juice or citric acid to each jar. This ensures the tomatoes are acidic enough to prevent botulism.
Fill the Jars: Using a funnel, pack the crushed tomatoes into the hot jars, leaving ½ inch of headspace (the space between the top of the tomatoes and the rim of the jar).
Remove Air Bubbles: Gently tap the jars on the counter to release any trapped air bubbles. Use a non-metallic spatula or bubble remover to gently run along the inside of the jar to release any remaining air.
Adjust Headspace: If necessary, add more crushed tomatoes to achieve the correct headspace.
Wipe Rims: Wipe the rims of the jars with a clean, damp cloth to ensure a good seal.
Place Lids and Rings: Center a lid on each jar. Screw on a ring fingertip tight (not too tight!).
Process in Water Bath Canner: Carefully lower the filled jars into the prepared water bath canner, ensuring the water covers the jars by at least 1 inch. Bring the water to a rolling boil.
Processing Time:
- Pints: Process for 85 minutes.
- Quarts: Process for 85 minutes.
- Adjust processing time for altitude: 0-1000 feet – Follow recipe, 1001-3000 feet – add 5 minutes, 3001-6000 feet – add 10 minutes, 6001-8000 feet – add 15 minutes, 8001-1000 feet – add 20 minutes.
Cool and Check Seals: Turn off the heat and let the jars sit in the canner for 5 minutes. Then, carefully remove the jars using a jar lifter and place them on a towel-lined surface to cool completely. Let the jars sit for at least 12 hours, undisturbed. As the jars cool, you should hear a "pop" sound as the lids seal.
Check Seals: After the jars have cooled completely, check the seals by pressing down on the center of each lid. If the lid doesn't flex or move, it's properly sealed. You can also remove the ring; if the lid stays firmly in place, it's sealed.
Label and Store: Label each jar with the date and contents. Store in a cool, dark, dry place. Properly canned tomatoes can last for at least 12-18 months.
Troubleshooting
- Jars not sealing: This could be due to improper headspace, dirty jar rims, or not tightening the rings enough. Reprocess with new lids within 24 hours, or refrigerate and use within a few days.
- Siphoning (liquid loss): This can happen if the canner boils too vigorously or if the jars are not cooled properly. It doesn't necessarily mean the jars are unsafe, but check the seals.
Beyond the Jar: Ideas for Using Your Canned Tomatoes
Your homemade canned tomatoes are incredibly versatile! Use them to make:
- Homemade pasta sauce
- Tomato soup
- Chili
- Salsa
- Stew
- Pizza sauce
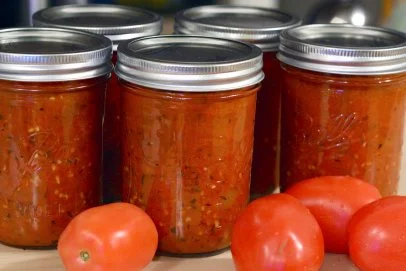
Closing Reflection
There's a special kind of satisfaction that comes from preserving your own food. It's a connection to the land, to the seasons, and to generations past. Take pride in your accomplishment and enjoy the fruits (or vegetables!) of your labor. Sharing your homemade canned tomatoes with family and friends is a true expression of love and care.
Have you tried canning tomatoes before? Share your tips and favorite recipes in the comments below! We'd love to learn from your experiences. And if you found this guide helpful, share it with a friend who might be interested in learning to can!