From Garden to Jar: The Ultimate Guide to Seed Saving for Next Year's Bountiful Harvest
The crisp autumn air carries the scent of dying leaves, a gentle reminder that the growing season is coming to an end. But before you pack away your gardening gloves, consider the magic of seed saving. Imagine holding in your hand the potential for next year's tomato harvest, carefully nurtured from seeds you saved yourself. Seed saving isn't just a practical skill; it's a way to participate in a timeless cycle of nature, ensuring your garden's legacy for generations to come. It’s about connecting with the land on a deeper level, understanding the life cycle of your plants, and becoming truly self-sufficient.
Seed saving isn't just about thriftiness (though the cost savings are a definite perk!). It's about preserving heirloom varieties, developing plants uniquely adapted to your local climate, and ensuring a bountiful, personalized harvest year after year. Let's delve into the world of seed saving and empower you to cultivate your own garden's legacy!
The Power of Preservation: Why Seed Saving Matters
Why should you dedicate time to saving seeds when you can simply buy them each spring? The reasons are plentiful and deeply rooted in the heart of homesteading. One of the most compelling reasons is the preservation of heirloom varieties. These are the plants our grandparents and great-grandparents grew, passed down through generations. They often boast unique flavors, colors, and textures that are lost in modern, commercially bred hybrids. By saving their seeds, we safeguard this invaluable genetic diversity.
Furthermore, plants grown from saved seeds are uniquely adapted to your specific microclimate. Over time, they become more resilient to local pests, diseases, and weather conditions. This natural selection process strengthens your garden and reduces your reliance on external inputs. You are essentially creating a garden tailored to thrive in your patch of earth.
Finally, seed saving reduces your reliance on commercial seed companies. This fosters self-sufficiency, a core value for any homesteader. It also lessens your environmental impact by decreasing the demand for mass-produced seeds and the associated transportation.
Selecting Your Seed-Saving Stars: What to Consider
Not all plants are created equal when it comes to seed saving. The key is understanding the difference between open-pollinated and hybrid varieties.
Open-pollinated plants are pollinated by natural means – wind, insects, birds, or even self-pollination. Their seeds will produce plants that are true-to-type, meaning they will resemble the parent plant. This makes them ideal for seed saving.
Hybrid varieties, on the other hand, are the result of cross-pollinating two different parent plants. While they often offer desirable traits like increased yield or disease resistance, their seeds will not produce true-to-type plants. You might get something completely different, or the seeds might not even germinate. So, when saving seeds, always choose open-pollinated varieties.
When selecting plants for seed saving, prioritize the healthiest, most vigorous specimens. Choose plants that exhibit the traits you desire, such as large fruit size, disease resistance, or exceptional flavor. Avoid saving seeds from plants that show signs of disease or pest infestation. Only the best will do!
Some easy vegetables and flowers for beginners to save seeds from include:
- Tomatoes (heirloom varieties)
- Peppers (bell peppers, jalapeños, etc.)
- Beans (bush beans, pole beans)
- Peas
- Lettuce
- Marigolds
- Nasturtiums
Seed Saving 101: A Beginner's Guide
Saving seeds can seem daunting at first, but it's actually quite simple once you understand the basics. Here's a step-by-step guide for saving seeds from three common garden plants:
1. Tomatoes (Wet Seed)
- Step 1: Fermentation: Select ripe tomatoes from your chosen plant. Squeeze the seeds and pulp into a jar. Add a little water, and let the mixture ferment for 3-4 days, stirring daily. A layer of mold will form on top – this is normal.
- Step 2: Washing: Once fermented, add more water and stir well. The viable seeds will sink to the bottom, while the non-viable seeds and pulp will float. Pour off the floating debris.
- Step 3: Rinsing: Rinse the seeds thoroughly with clean water until all pulp is removed.
- Step 4: Drying: Spread the seeds in a single layer on a coffee filter or screen to dry. Allow them to dry completely for 1-2 weeks in a well-ventilated area.
- Tip: Use a fine mesh sieve to separate tomato seeds from the pulp.
2. Beans (Dry Seed)
- Step 1: Harvesting: Allow bean pods to dry completely on the plant. You should hear the seeds rattle inside the pod when they are ready.
- Step 2: Threshing: Shell the beans from the pods.
- Step 3: Drying: Spread the bean seeds on a screen or tray to dry for an additional 1-2 weeks to ensure they are completely dry.
- Tip: Dry bean seeds thoroughly on a screen for at least two weeks before storing them.
3. Peppers (Dry Seed)
- Step 1: Harvesting: Allow peppers to fully ripen on the plant. The color should be vibrant and the pepper slightly soft.
- Step 2: Seed Extraction: Cut the pepper open and remove the seeds.
- Step 3: Drying: Spread the seeds in a single layer on a coffee filter or screen to dry for 1-2 weeks.
For more detailed information on saving seeds from specific plants, consult resources like Seed Savers Exchange. They offer a wealth of knowledge and guidance for seed savers of all levels.

The Secret to Longevity: Proper Seed Storage
Proper seed storage is crucial for maintaining seed viability. The key is to keep seeds cool, dark, and dry.
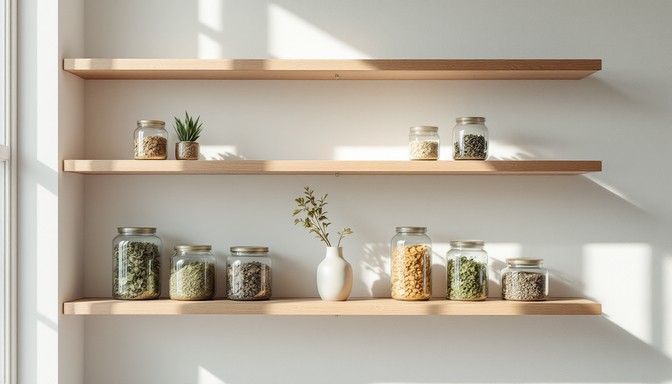
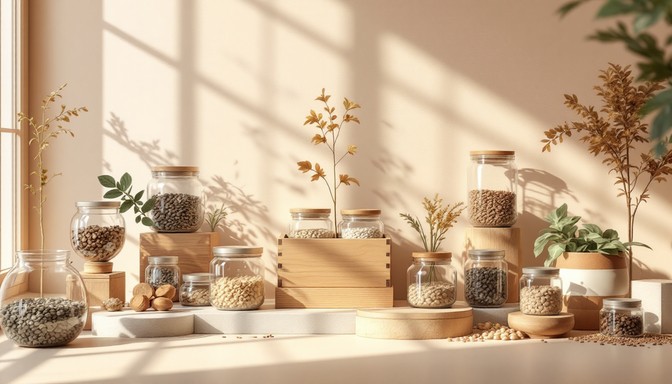
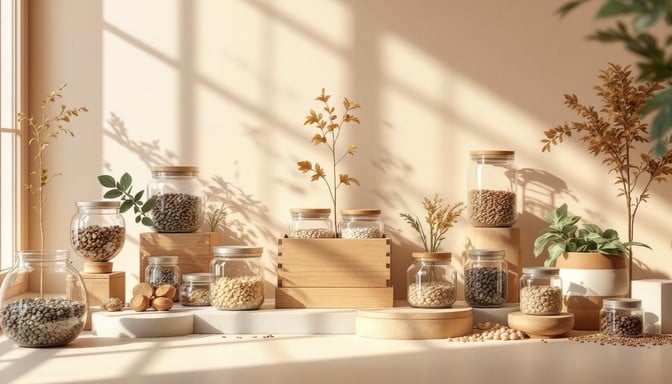
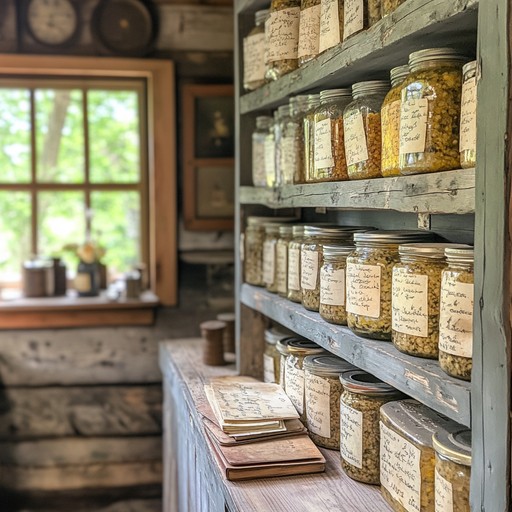
Store your dried seeds in airtight containers, such as glass jars or seed envelopes. Label each container clearly with the date and variety. Store the containers in a cool, dark place, such as a basement, closet, or refrigerator.
Adding silica gel packets to your seed containers can help absorb any excess moisture and prevent mold growth. These packets are readily available online or at craft stores. With proper storage, many seeds can remain viable for several years.
- Tip: Always label your seed packets with the date and variety to avoid confusion later.

Saving seeds is more than just a gardening task; it's a connection to our past, a commitment to our future, and a celebration of the abundance that nature provides. It's a journey of discovery, learning the intricacies of plant life and developing a deeper appreciation for the food we grow. As the days grow shorter and the nights grow longer, now is the perfect time to reflect on your garden's successes and begin planning for next year's bounty. Consider which seeds you want to save and the new varieties you want to explore.
What are your favorite seeds to save? Share your tips and stories in the comments below! Let's build a community of seed-saving enthusiasts!
