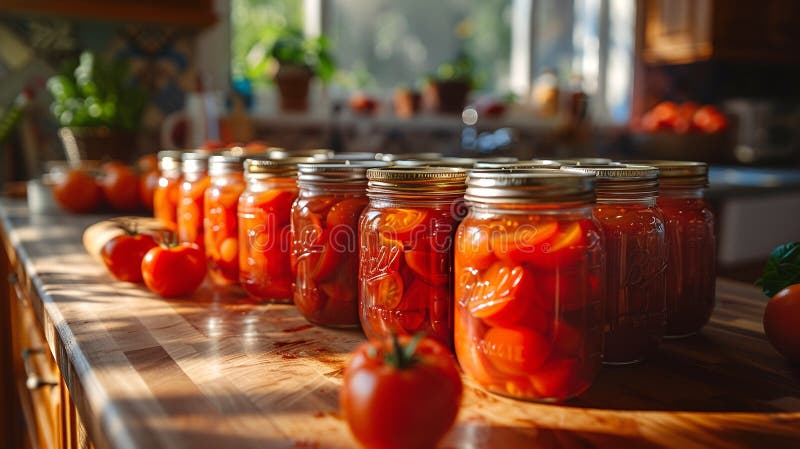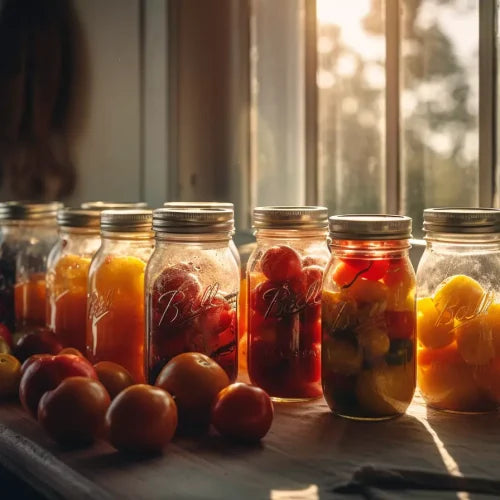
From Garden to Jar: The Beginner's Guide to Preserving Your Late Summer Bounty
The air hangs heavy with the scent of ripening tomatoes and herbs, a bittersweet symphony of late summer. As your garden overflows with vibrant colors and fragrant aromas, have you ever felt that tug – a longing to capture this abundance, to bottle the sunshine and flavor for the cold days ahead? The thought of fresh, homegrown goodness gracing your table in the depths of winter is incredibly appealing. Maybe you’ve even dreamed of gifting homemade treasures to friends and family. If so, you’re in the right place!
This guide is your starting point for preserving your late summer harvest, even if you've never picked up a canning jar before. We’ll break down the essential steps and offer practical tips, so you can confidently transform your garden bounty into delicious, shelf-stable delights. Let’s embark on this journey together and experience the joy of self-sufficiency, one jar at a time.

Harvesting the Magic: A Beginner's Journey
Preserving your late summer harvest is more than just a practical skill; it's a way to connect with the seasons, honor the fruits of your labor, and embrace a more sustainable lifestyle. It's about slowing down, savoring the moment, and creating something truly special with your own hands.
Choosing the Right Produce
The key to successful canning and food preservation begins with selecting the best quality produce. Look for fruits and vegetables that are:
- Ripe and Firm: Avoid anything overripe, bruised, or damaged. These imperfections can affect the quality and safety of your preserved goods.
- Freshly Picked: The sooner you preserve your harvest after picking, the better the flavor and nutrient retention. If you’re buying produce, choose local and seasonal options whenever possible.
- Disease-Free: Inspect your produce for any signs of disease or pests. Only use healthy, unblemished items for preserving.
Essential Equipment: Your Canning Starter Kit
Before you dive into preserving, gather the necessary equipment. While the initial investment might seem daunting, these tools will last for years and open up a world of culinary possibilities.
Here's a basic checklist:
- Canning Jars: Ball and Kerr jars are widely recommended and come in various sizes. Make sure the jars are free of chips and cracks. (LSI Keyword: Ball Canning Jars)
- Lids and Rings: Use new lids for each batch of canning to ensure a proper seal. Rings can be reused as long as they're in good condition.
- Canning Pot: A large, deep pot with a rack is essential for water bath canning. The pot should be tall enough to completely submerge the jars in boiling water.
- Jar Lifter: This tool is crucial for safely lifting hot jars in and out of the canning pot.
- Wide-Mouth Funnel: A funnel makes it easier to fill jars without spilling.
- Bubble Remover/Headspace Tool: Used to release trapped air bubbles in the jars and measure the correct headspace (the space between the food and the lid).
- Kitchen Scale: A reliable scale helps ensure accurate ingredient measurements.
- Clean Kitchen Towels: Have plenty of clean towels on hand for wiping jars and surfaces.
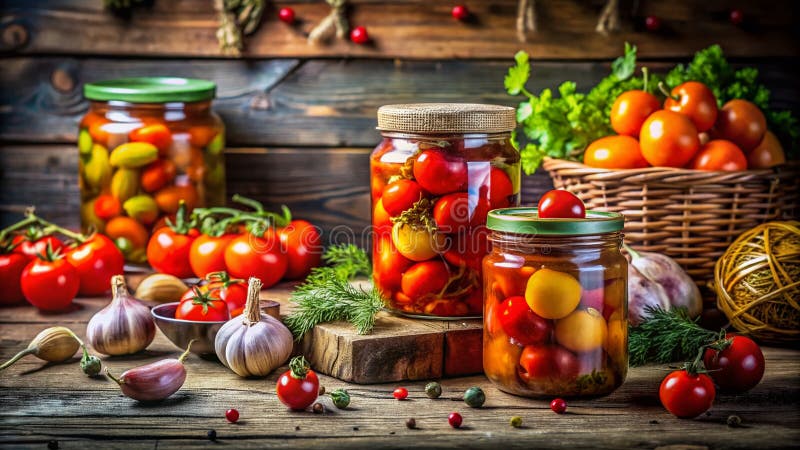
Simple Canning Methods: Water Bath Canning for Beginners
Water bath canning is a great method for preserving high-acid foods like fruits, jams, jellies, pickles, and tomatoes. The high acidity prevents the growth of harmful bacteria.
Here’s a step-by-step guide to making a simple tomato sauce:
Ingredients:
- 4 pounds ripe Roma tomatoes
- 1/4 cup olive oil
- 2 cloves garlic, minced
- 1 teaspoon dried oregano
- 1/2 teaspoon salt
- 1/4 teaspoon black pepper
- 2 tablespoons lemon juice or bottled citric acid (for safety) (LSI Keywords: Citric Acid, Acetic Acid)
Equipment:
- 6 pint-sized canning jars, lids, and rings
- Canning pot with rack
- Jar lifter
- Wide-mouth funnel
- Bubble remover/headspace tool
Instructions:
- Prepare the Jars: Wash jars, lids, and rings in hot, soapy water. Rinse well. Place jars in the canning pot, fill with water, and bring to a simmer. Keep hot until ready to use. Place lids in a separate saucepan and simmer in hot water (do not boil).
- Prepare the Tomatoes: Wash and core the tomatoes. Cut them into quarters.
- Sauté Aromatics: Heat olive oil in a large pot over medium heat. Add garlic and sauté for about 1 minute, until fragrant.
- Simmer the Sauce: Add the tomatoes, oregano, salt, and pepper to the pot. Bring to a simmer, then reduce heat and cook for about 1-2 hours, or until the sauce has thickened to your desired consistency. Stir occasionally to prevent sticking.
- Process the Sauce: Using an immersion blender or food processor, blend the sauce until smooth.
- Add Acid: Stir in the lemon juice or citric acid. This step is crucial for ensuring the safety of your canned tomatoes.
- Fill the Jars: Remove the hot jars from the canning pot using the jar lifter. Place on a heat-resistant surface. Using the wide-mouth funnel, fill the jars with hot tomato sauce, leaving 1/2 inch of headspace.
- Remove Air Bubbles: Use the bubble remover/headspace tool to gently release any trapped air bubbles.
- Wipe the Rims: Wipe the rims of the jars with a clean, damp cloth to remove any spills or residue.
- Place the Lids and Rings: Center the lids on the jars and screw on the rings until fingertip tight (not too tight).
- Process in Water Bath: Carefully lower the filled jars into the simmering water in the canning pot using the jar lifter. Make sure the water covers the jars by at least 1 inch. Bring the water to a rolling boil and process for 35 minutes for pint jars. Adjust processing time based on your altitude (refer to a reputable canning guide for specific recommendations).
- Cool and Check Seals: Turn off the heat and carefully remove the jars from the canning pot. Place them on a towel-lined surface to cool completely (at least 12-24 hours). As the jars cool, you may hear a popping sound, which indicates that the lids are sealing. After cooling, check the seals by pressing down on the center of each lid. If the lid doesn't flex or pop, it's properly sealed.
- Store: Remove the rings and store the sealed jars in a cool, dark place. Label the jars with the date and contents. Properly canned tomato sauce will last for at least 1 year.

Freezing Tips: Locking in Freshness
Freezing is another excellent way to preserve your late summer bounty, especially for vegetables that don't can well or for those who prefer a simpler preservation method. Many vegetables, like green beans and corn, freeze exceptionally well.
- Blanching: Blanching is crucial for preserving the color, texture, and flavor of frozen vegetables. Briefly submerge the vegetables in boiling water, then immediately transfer them to an ice bath to stop the cooking process.
- Packaging: Use freezer-safe bags or containers to prevent freezer burn. Remove as much air as possible before sealing.
- Labeling: Label each bag or container with the date and contents. Frozen vegetables will last for 8-12 months.
Dehydrating Delights: Concentrated Flavors
Dehydrating is a fantastic way to concentrate the flavors of fruits, vegetables, and herbs. Dried foods are lightweight, easy to store, and perfect for snacking, adding to soups and stews, or creating homemade spice blends.
- Preparation: Slice fruits and vegetables into thin, even pieces.
- Dehydrator or Oven: Use a food dehydrator for optimal results. Alternatively, you can use your oven at a very low temperature (around 170°F) with the door slightly ajar.
- Storage: Store dried foods in airtight containers in a cool, dark place.
My Canning Mishap (and What I Learned)
I remember my first attempt at canning pickles. I was so excited to use cucumbers from my garden, but I didn't properly sterilize the jars. A week later, I discovered mold growing in half of my jars! It was a disappointing experience, but it taught me the importance of meticulous sanitation. Now, I'm extra careful about every step of the process, and my pickles are always a success. Don't be discouraged by initial setbacks; every mistake is a learning opportunity.
Savoring the Season: A Taste of Self-Sufficiency
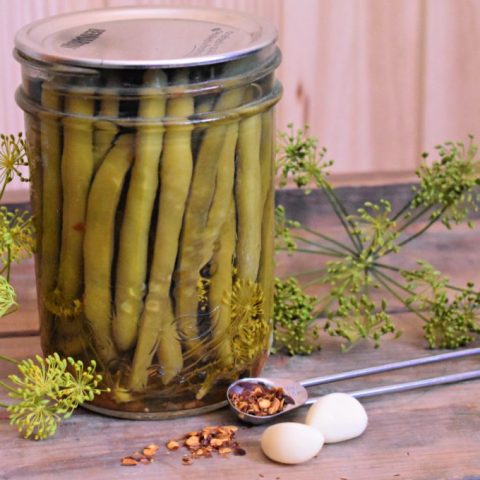
Preserving your late summer bounty is an act of love – love for your garden, love for your food, and love for the people you share it with. There's nothing quite like the satisfaction of pulling a jar of homemade tomato sauce from your pantry on a cold winter day, knowing that you created it with your own hands. Embrace the slow living ethos and the satisfaction of self-sufficiency.
What are you hoping to preserve this season? Share your canning successes (and even your mishaps!) in the comments below!
Tag us in your photos of your preserved creations with #BetterHomesHarvest for a chance to be featured!
