From Garden to Jar: Master Small-Batch Preserving for Cozy Winter Pantries
The late summer garden is a glorious sight. Tomatoes bursting with juicy sweetness, peppers blazing in a rainbow of colors, and herbs overflowing with fragrant oils. But as the days shorten and a chill creeps into the air, a question lingers: how do we hold onto this bounty? How do we capture the taste of summer sunshine to brighten the long winter months? The answer, my friends, lies in the rewarding art of small-batch preserving.
This isn't your grandmother's intimidating, multi-day canning marathon. This is a more approachable, manageable, and frankly, fun way to extend the garden season and fill your pantry with homemade goodness. Whether you're a seasoned homesteader or a curious beginner, this guide will equip you with the knowledge and confidence to embark on your own small-batch preserving journey. Let's transform that end-of-summer abundance into delicious treasures to savor all winter long!

Why Small-Batch Preserving?
Forget the daunting image of endless rows of jars. Small-batch preserving offers a host of advantages, especially for the modern homesteader with limited time and space:
- Less Intimidation: Let's face it, the thought of processing dozens of jars can be overwhelming. Small batches break down the process into manageable chunks, making it far less intimidating for beginners.
- Reduced Waste: How many times have you bought a giant jar of pickles only to have half of it go bad in the fridge? Small-batch preserving allows you to create smaller quantities that you'll actually use, minimizing food waste and saving you money. I, for one, have thrown away countless store-bought items, a mistake I hate repeating.
- Easier to Manage: Small batches require less equipment, less space, and less time. Perfect for busy schedules and smaller kitchens!
- Flavor Experimentation: This is where the real fun begins! Small-batch preserving gives you the freedom to experiment with unique flavor combinations without committing to a huge quantity. Want to try adding jalapeños to your tomato jam? Go for it! Don't like it? You've only lost a small batch.
Perhaps the best part of all is the ability to customize your recipes, truly connecting to your food source and the harvest your labor has produced.
Key Takeaway: Small-batch preserving is an approachable and rewarding way to connect with your garden (or local farmer's market!) and enjoy seasonal flavors throughout the year.

Essential Tools & Safety First
Before you dive into preserving, it's crucial to gather the right tools and understand the importance of safety. Don't worry, you likely already have many of these items in your kitchen!
Basic Equipment:
- Jars: Mason jars are the gold standard for canning. Choose various sizes (half-pint, pint, quart) depending on your needs.
- Lids & Bands: Use new lids for each batch to ensure a proper seal. Bands can be reused unless they are rusty or damaged.
- Canning Pot: A large stockpot with a rack is essential for safely processing jars.
- Jar Lifter: This tool is specifically designed to lift hot jars in and out of the canning pot safely.
- Wide-Mouth Funnel: Makes filling jars much easier and prevents spills.
- Bubble Remover (Optional): A non-metallic utensil (like a chopstick or plastic spatula) to remove air bubbles from jars before processing.
Safety Precautions:
- Sterilization: Sterilize jars and lids by boiling them in water for 10 minutes before filling.
- Processing Times: Follow tested recipes and processing times carefully. These times are crucial for ensuring the safety and shelf-stability of your preserves.
- Seals: After processing, check that each jar has sealed properly. The lid should be concave and not flex when pressed. If a jar doesn't seal, you can reprocess it with a new lid or store it in the refrigerator and use it within a few weeks.
- Headspace: Always leave the correct amount of headspace in the jar (usually ¼ to ½ inch). This allows for expansion during processing and ensures a proper seal.
For trusted canning resources, consult the National Center for Home Food Preservation (nchfp.uga.edu). Their website offers comprehensive information on canning safety, tested recipes, and troubleshooting tips.
Key Takeaway: Having the right tools and following safety guidelines is crucial for successful and safe preserving.

Recipes to Get You Started
Ready to roll up your sleeves and get preserving? Here are a few simple recipes to get you started.
3.1 Quick & Easy Refrigerator Pickles:
These pickles don't require canning, making them perfect for beginners! They're crisp, tangy, and ready to eat in just a few days.
- Ingredients:
- 1 pound cucumbers, sliced
- 1/2 cup white vinegar
- 1/4 cup water
- 2 tablespoons sugar
- 1 tablespoon salt
- 1 teaspoon mustard seeds
- 2 cloves garlic, minced
- 1 sprig dill
- Instructions:
- Combine vinegar, water, sugar, and salt in a saucepan. Bring to a boil, stirring until sugar and salt are dissolved.
- Pack sliced cucumbers, garlic, dill, and mustard seeds into a clean jar.
- Pour the hot vinegar mixture over the cucumbers, ensuring they are fully submerged.
- Let cool completely, then refrigerate for at least 24 hours before eating.
- Flavor Variations: Add red pepper flakes for a spicy kick, or substitute different herbs like thyme or rosemary for a unique flavor.
3.2 Small-Batch Tomato Sauce:
This simple tomato sauce recipe is perfect for using up your homegrown tomatoes!
- Ingredients:
- 2 pounds ripe tomatoes, roughly chopped
- 1 onion, chopped
- 2 cloves garlic, minced
- 2 tablespoons olive oil
- 1 teaspoon dried oregano
- Salt and pepper to taste
- Instructions:
- Heat olive oil in a large saucepan over medium heat. Add onion and cook until softened, about 5 minutes.
- Add garlic and cook for 1 minute more.
- Add tomatoes, oregano, salt, and pepper. Bring to a simmer, then reduce heat and cook for 30-45 minutes, or until the sauce has thickened to your liking.
- Use an immersion blender or transfer to a regular blender to puree the sauce until smooth.
- Let cool slightly. Sauce can be canned following proper canning procedures or stored in refrigerator for up to one week.
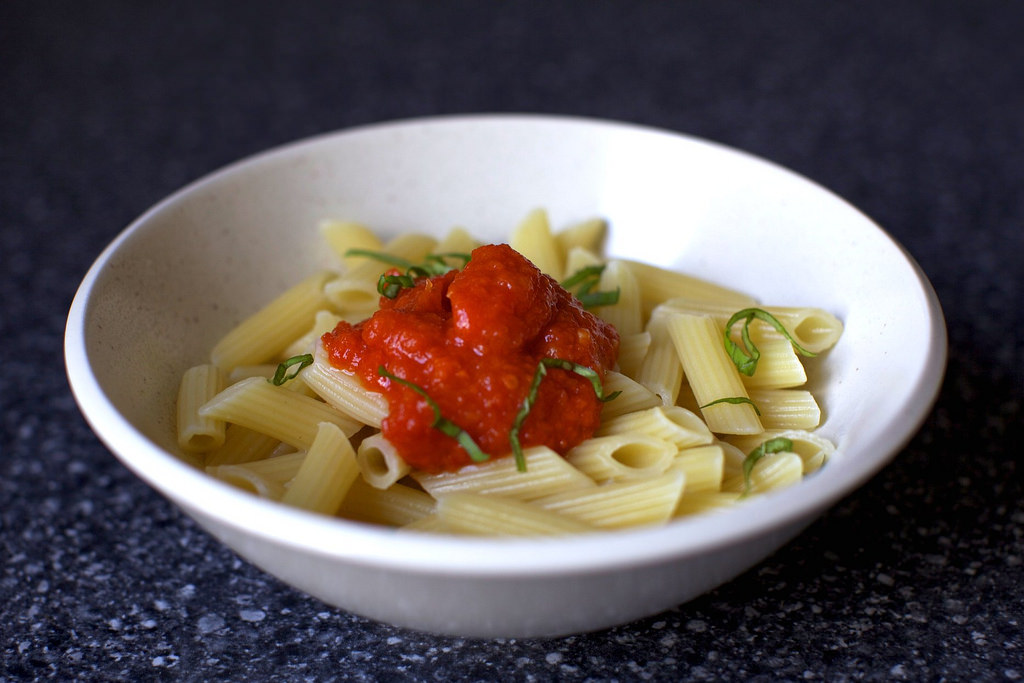
- Uses: Use this tomato sauce for pasta, pizza, soups, or as a base for other sauces.
- Flavor Profiles: Add a pinch of red pepper flakes for a spicy arrabbiata sauce, or incorporate fresh basil for a classic marinara.
3.3 Simple Herb-Infused Oil:
Infusing olive oil with herbs is a simple way to add flavor to your cooking.
- Ingredients:
- 1 cup olive oil
- 1/4 cup fresh herbs (rosemary, thyme, basil, etc.)
- Instructions:
- Wash and dry the herbs thoroughly.
- Place the herbs in a clean jar.
- Pour olive oil over the herbs, ensuring they are completely submerged.
- Seal the jar tightly.
- Store in a cool, dark place for at least 2 weeks to allow the flavors to infuse.
- Strain the oil through a fine-mesh sieve before using.
- Important: To prevent botulism, always keep fresh herbs completely submerged in the oil. It is best to store the herbs in the refrigerator and use them within one week. Commercially produced herb infused oils generally use dried herbs which greatly reduce the risk.
- Uses: Drizzle over salads, vegetables, or use as a marinade for meats and poultry.
Key Takeaway: These simple recipes provide a foundation for expanding your preserving skills and experimenting with different flavors.

Expanding Your Preserving Horizons: Beyond the Basics
Once you've mastered the basics of small-batch canning, you can explore other exciting preserving techniques:
Freezing: Freezing is a simple and effective way to preserve fruits, vegetables, and herbs. Simply wash, chop, and blanch (if necessary) your produce, then freeze in airtight containers or freezer bags. Fruits and vegetables should be spread out in a single layer before freezing to prevent clumping.
Dehydrating: Dehydrating removes moisture from food, preventing spoilage and concentrating flavors. Dehydrate herbs, tomatoes, fruits, and even vegetables using a dehydrator or your oven on a low setting.
Fermenting: Fermentation is an ancient preserving technique that uses beneficial bacteria to transform food. Try fermenting vegetables like cabbage (sauerkraut) or cucumbers (pickles) for a tangy and probiotic-rich treat.
Key Takeaway: There are many options for preserving your garden harvest beyond canning.

Capturing the Season
Small-batch preserving is more than just a way to store food; it's a celebration of the seasons. It's about connecting with the earth, nurturing our gardens, and savoring the unique flavors of each harvest. Embrace the process, experiment with different recipes, and most importantly, have fun! As the late summer sun fades and winter approaches, you'll have a pantry filled with delicious reminders of the bounty of the past season, ready to nourish you through the colder months. What better way to enjoy a cozy farmhouse life than to taste foods grown by you in your own home?
Call to Action: What are you preserving this season? Share your favorite small-batch preserving recipes or tips in the comments below! Let's build a community of sustainable living enthusiasts. Don't forget to subscribe to the Better Homes and Harvests newsletter for more gardening and homesteading inspiration.