From Garden to Jar: Apple Preserving Secrets for a Bountiful Harvest and a Cozy Winter Pantry
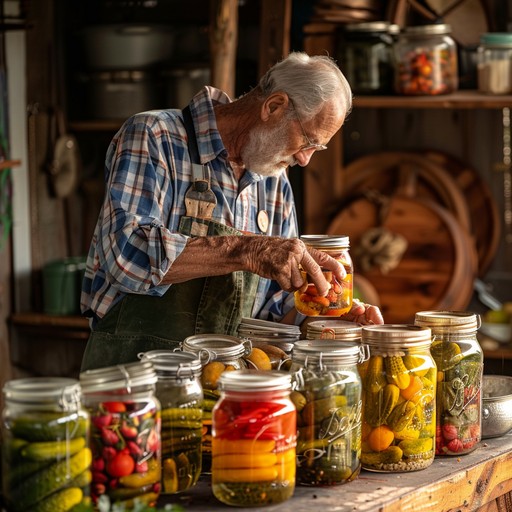
The air is crisp, carrying the scent of fallen leaves and woodsmoke. Sunlight streams through branches laden with crimson and gold, painting the orchard in a warm, autumnal glow. You breathe deeply, the sweet fragrance of ripe apples filling your lungs. Now, imagine a winter scene: snow swirling outside, a crackling fire in the hearth, and you, reaching into your pantry. Not for a store-bought jar, but for one filled with homemade applesauce, its comforting aroma filling the air – a taste of summer sunshine captured in a jar. Learn how to transform your fall apple harvest into delicious preserves and create a winter pantry that will warm your soul.

Why Preserving Matters
In a world of instant gratification, preserving food is a revolutionary act. It's a way to reduce food waste by using every part of your seasonal harvest, enjoy the flavors of summer and fall throughout the year, and connect with traditional skills passed down through generations. Preserving offers a unique satisfaction – the knowledge that you know exactly what's in your food, free from artificial flavors and preservatives. Embrace the art of preserving and create a sustainable home practice, bringing the bounty of your organic gardening efforts to your table all year long.
Apple Preserving Techniques: From Orchard to Pantry
Apples are a quintessential fall fruit, versatile and abundant. Luckily, there are many methods to preserve apples, each offering a unique flavor and texture for your winter pantry. Here are three easy-to-implement options suitable for beginners:
Canning Basics
Canning involves sealing food in jars and then heating them to a temperature that destroys harmful microorganisms and creates a vacuum seal. This process allows you to store your apple preserves safely at room temperature for an extended period. For beginners, water bath canning is the most common and easiest method, especially for high-acid fruits like apples.
What you'll need to start canning:
- Canning jars, lids, and rings: Invest in quality jars designed for canning. Make sure to use new lids for each batch.
- Canning pot with a rack: A large pot with a rack that keeps the jars from sitting directly on the bottom, ensuring even heat distribution.
- Jar lifter: A tool specifically designed to safely lift hot jars from the canning pot.
- Lid wand: A magnetic tool to safely lift lids from hot water.
- Bubble remover: A non-metallic spatula to release air bubbles from the jars before sealing.
It is very important to follow safe home canning practices to prevent the risk of botulism. Always follow tested recipes from reputable sources like the USDA Complete Guide to Home Canning.

Freezing Method
Freezing is a simple and effective way to preserve apples, especially for later use in pies, crisps, or smoothies. It's a great option if you're short on time or don't want to invest in canning equipment.
How to properly freeze apples:
- Prepare the apples: Wash, peel, core, and slice the apples into uniform pieces.
- Prevent browning: To prevent oxidation (browning), toss the apple slices with lemon juice (about 1 tablespoon per quart of apples).
- Flash freeze: Spread the apple slices in a single layer on a baking sheet lined with parchment paper. Freeze for 1-2 hours, or until solid. This prevents the slices from sticking together in the freezer.
- Package: Transfer the frozen apple slices to freezer-safe bags or containers. Remove as much air as possible to prevent freezer burn.
- Label and freeze: Label each bag or container with the date and contents. Freeze for up to 8-12 months.
Drying Method
Drying apples is a fantastic way to create a healthy and delicious snack that lasts for months. Dried apples are perfect for hiking, snacking, or adding to homemade granola.
How to dry apples:
- Prepare the apples: Wash, core, and slice the apples into thin, even rings (about 1/4 inch thick).
- Prevent browning: Soak the apple slices in a mixture of water and lemon juice (1 tablespoon lemon juice per 4 cups water) for 10 minutes. This helps prevent browning.
- Arrange on trays: Arrange the apple slices in a single layer on dehydrator trays, ensuring they don't overlap. Alternatively, you can use your oven on the lowest setting (170°F or 77°C) with the door slightly ajar.
- Dry: Dehydrate the apple slices at 135°F (57°C) for 6-12 hours, or until they are leathery and pliable. If using an oven, check frequently and rotate the trays for even drying.
- Cool and store: Let the dried apple slices cool completely before storing them in airtight containers. Store in a cool, dark place for up to 6 months.
Step-by-Step Recipe: Easy Homemade Applesauce
This classic applesauce recipe is simple, delicious, and perfect for canning or freezing.
Ingredients:
- 6 lbs (2.7 kg) apples (such as Gala, Fuji, or Honeycrisp)
- ½ cup (120 ml) water
- ½ cup (100 g) granulated sugar (optional, adjust to taste)
- 1 teaspoon (5 ml) ground cinnamon (optional)
- ¼ teaspoon (1 ml) ground nutmeg (optional)
- 2 tablespoons lemon juice
Equipment:
- Large saucepan or pot
- Potato masher or immersion blender
- Canning jars, lids, and rings (if canning)
Instructions:
- Prepare the apples: Wash, peel, core, and quarter the apples.
- Cook the apples: Place the apples and water in a large saucepan. Bring to a boil over medium-high heat, then reduce heat to low, cover, and simmer for 20-30 minutes, or until the apples are very soft.
- Mash or blend: Remove from heat. Use a potato masher to mash the apples to your desired consistency. For a smoother sauce, use an immersion blender.
- Add seasonings: Stir in the sugar (if using), cinnamon, nutmeg, and lemon juice. Taste and adjust seasonings as needed.
- Can the applesauce (optional): If canning, ladle the hot applesauce into sterilized canning jars, leaving ½ inch (1 cm) headspace. Remove air bubbles, wipe the jar rims clean, and place lids and rings on the jars. Process in a boiling water bath for 20 minutes for pint (500 ml) jars and 25 minutes for quart (1 liter) jars. Adjust processing time for altitude as needed.
- Cool and store: Remove the jars from the canning pot and let them cool completely on a towel-lined surface. Check for a proper seal (the lid should be concave and not flex when pressed). Store in a cool, dark place for up to 1 year. If freezing, allow applesauce to cool and pour into freezer safe containers or bags.
Embrace the Harvest, Embrace the Season
As the days grow shorter and the nights grow cooler, there's no better time to embrace the bounty of the fall harvest and fill your pantry with homemade goodness. Preserving apples is a rewarding way to connect with nature, reduce food waste, and enjoy the flavors of the season all year long. From canning classic applesauce to drying apple rings for healthy snacks, there are endless possibilities to explore.
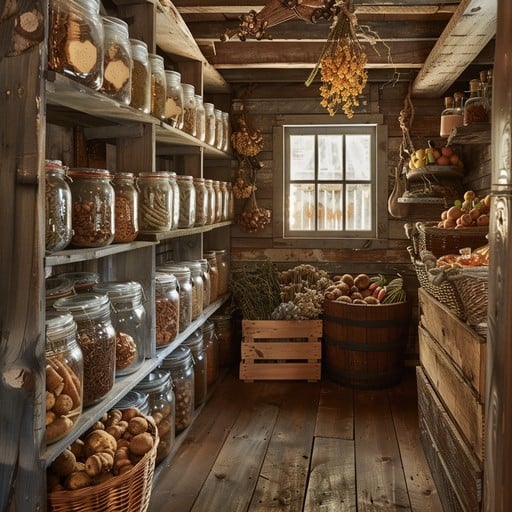
Ready to fill your pantry with homemade goodness and learn even more preserving techniques? Our "Fall Preserving Workshop" will provide you with expert guidance, community support, and a wealth of delicious recipe ideas. Whether you're a seasoned canner or a complete beginner, you'll learn everything you need to know to preserve your fall harvest safely and confidently. Sign up for our email list below and receive a special discount on our Fall Preserving Workshop!
[Sign Up Here!]
