From Garden to Jar: 5 Simple Pickling Recipes to Preserve Your Summer Harvest
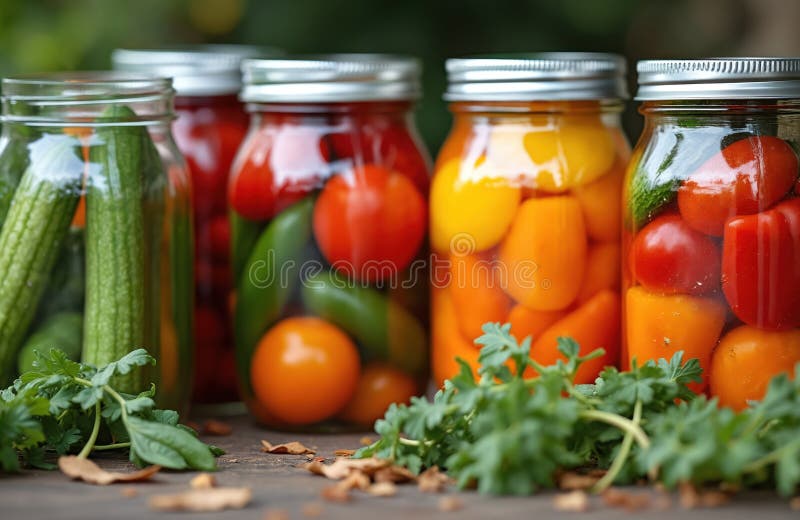
Remember those carefree summer days when your garden was bursting with life? The vibrant greens of cucumber vines snaking their way across the ground, the promise of juicy tomatoes ripening in the sun, and the sheer abundance that felt both thrilling and slightly overwhelming. You dreamed of endless salads, fresh salsas, and sharing the bounty with neighbors. But then reality hit: the cucumbers kept coming, the tomatoes threatened to burst all at once, and you were suddenly faced with the daunting task of using it all before it spoiled. Don't let your hard work go to waste! This post is your guide to transforming that garden surplus into delicious, long-lasting pantry staples. We're diving into the world of pickling, showing you that it's easier than you might think and a wonderful way to reduce food waste, connect with your harvest, and embrace seasonal living. Pickling, a practice steeped in history, is more than just a method of food preservation; it's a celebration of the season's gifts, allowing us to savor summer's flavors long after the leaves have turned.

Understanding the Basics of Pickling (Before You Begin)
Before we get to the delicious recipes, let's cover the basics. What exactly is pickling? At its core, pickling is a preservation method that uses acidity to inhibit the growth of harmful bacteria. This acidity can come from vinegar, fermentation, or a brine solution. We'll be focusing on vinegar-based pickling in this post, as it's generally the easiest and most approachable for beginners.
There are different types of pickling including vinegar-based, fermentation-based, and brine-based. Vinegar based relies on vinegar's high acidity to prevent the growth of microorganisms, making it easy to make many different types of pickles. With fermentation, foods are submerged in brine, allowing bacteria to produce lactic acid which acts as a preservative. Finally, brine pickling is like a lighter version of fermentation and uses a salt-based solution to draw out moisture and create an environment where undesirable bacteria can't thrive.
To begin, you'll need some essential equipment. This includes jars, lids, a large pot, a canning funnel, and a jar lifter (optional but highly recommended). Jars come in various sizes. Decide what kind of pickled goodies you want to enjoy to pick the best sizes. Don't forget that safe canning practices are non-negotiable! This means properly sterilizing your jars, following processing times carefully, and ensuring a proper seal. For detailed guidelines on safe canning, always refer to a reputable source like the National Center for Home Food Preservation (NCHFP). With proper safety measures you can make easy pickled vegetables for anyone to enjoy. Setting up the proper equipment and ensuring safe canning practices is essential for successful pickling.
Recipe 1: Classic Dill Pickles (Cucumbers)
No pickling adventure is complete without the quintessential dill pickle. This recipe is a classic for a reason – it's delicious, relatively easy to make, and incredibly satisfying.
Ingredients:
- 4 lbs pickling cucumbers (about 4-5 inches long)
- 8 cups white vinegar (5% acidity)
- 4 cups water
- 1/2 cup pickling salt
- 8 cloves garlic, peeled
- 8 heads of fresh dill
- 8 tsp mustard seeds
- Optional: 8 grape leaves or 4 tsp Pickle Crisp granules
Instructions:
- Wash cucumbers thoroughly and trim off the blossom end (this contains enzymes that can cause softening).
- Sterilize canning jars and lids according to manufacturer's instructions.
- In a large pot, combine vinegar, water, and salt. Bring to a boil, stirring until salt is dissolved.
- Place 1 clove of garlic, 1 head of dill, and 1 tsp of mustard seeds into each sterilized jar. Add grape leaf or Pickle Crisp, if using.
- Pack cucumbers tightly into jars, leaving 1/2-inch headspace.
- Pour hot brine over cucumbers, leaving 1/2-inch headspace. Remove air bubbles by running a spatula or knife around the inside of the jar.
- Wipe jar rims clean with a damp cloth. Place lids on jars and screw bands on until fingertip tight.
- Process in a boiling water bath canner for 10 minutes (for pint jars) or 15 minutes (for quart jars), adjusting for altitude.
- Remove jars from canner and let cool completely. Check for proper seal (lid should be concave and not flex when pressed).
- Store in a cool, dark place for at least 2 weeks before enjoying.
Serving Suggestions: Enjoy these classic dill pickles on sandwiches, in burgers, or on charcuterie boards for a tangy crunch.
:max_bytes(150000):strip_icc():format(webp)/254573-homemade-dill-pickles-DDM-4x3-1802-1-31c1d75bd6344143b19f1d534b26f57e.jpg)
Troubleshooting tip: If your pickles are coming out soft, try adding a grape leaf to each jar. The tannins in the grape leaf help to keep the pickles crisp. Pickle Crisp granules are also a good option.
Recipe 2: Sweet & Spicy Pickled Peppers (Bell or Banana)
Add a burst of flavor and color to your pantry with these sweet and spicy pickled peppers. Use a variety of colored peppers for a beautiful visual appeal.
Ingredients:
- 4 lbs bell peppers (various colors), or banana peppers
- 6 cups white vinegar (5% acidity)
- 2 cups water
- 1 cup sugar
- 1/4 cup pickling salt
- 4 cloves garlic, sliced
- 2 tbsp mustard seeds
- 2 tsp red pepper flakes (adjust to taste)
Instructions:
- Wash and core peppers. Cut into rings or strips.
- Sterilize canning jars and lids.
- In a large pot, combine vinegar, water, sugar, and salt. Bring to a boil, stirring until sugar and salt are dissolved.
- Add garlic, mustard seeds, and red pepper flakes to the brine.
- Pack peppers into jars, leaving 1/2-inch headspace.
- Pour hot brine over peppers, leaving 1/2-inch headspace. Remove air bubbles.
- Wipe jar rims clean. Place lids on jars and screw bands on until fingertip tight.
- Process in a boiling water bath canner for 15 minutes (for pint jars) or 20 minutes (for quart jars), adjusting for altitude.
- Remove jars from canner and let cool completely. Check for proper seal.
- Store in a cool, dark place for at least 2 weeks before enjoying.
Serving Suggestions: These pickled peppers are fantastic on tacos, salads, pizza, or as a colorful addition to a relish tray.
Recipe 3: Pickled Green Beans (Dilly Beans)
These crisp and refreshing pickled green beans, also known as dilly beans, make a delightful snack, appetizer, or side dish.
Ingredients:
- 4 lbs green beans, trimmed
- 6 cups white vinegar (5% acidity)
- 2 cups water
- 1/4 cup pickling salt
- 8 cloves garlic, peeled
- 8 sprigs fresh dill
- 1/2 tsp red pepper flakes (optional)
Instructions:
- Wash and trim green beans, leaving them whole or cutting them to fit the jar.
- Sterilize canning jars and lids.
- In a large pot, combine vinegar, water, and salt. Bring to a boil, stirring until salt is dissolved.
- Place 1 clove of garlic, 1 sprig of dill, and a pinch of red pepper flakes (if using) into each sterilized jar.
- Pack green beans tightly into jars, leaving 1/2-inch headspace.
- Pour hot brine over green beans, leaving 1/2-inch headspace. Remove air bubbles.
- Wipe jar rims clean. Place lids on jars and screw bands on until fingertip tight.
- Process in a boiling water bath canner for 10 minutes (for pint jars) or 15 minutes (for quart jars), adjusting for altitude.
- Remove jars from canner and let cool completely. Check for proper seal.
- Store in a cool, dark place for at least 2 weeks before enjoying.

Recipe 4: Pickled Beets (Earthy & Sweet)
Pickled beets are a beautiful and nutritious addition to your pantry. The earthy sweetness of the beets pairs perfectly with the tangy vinegar brine.
Ingredients:
- 4 lbs beets, various colors (red, golden, striped)
- 4 cups white vinegar (5% acidity)
- 2 cups water
- 1 cup sugar
- 1 tbsp pickling spice
- 1 tsp salt
- Optional: 2 cinnamon sticks, 2 star anise
Instructions:
- Wash beets and trim off tops and roots.
- Boil or roast beets until tender (about 30-45 minutes). Let cool slightly.
- Peel beets and slice into desired shapes (rounds, wedges, or cubes).
- Sterilize canning jars and lids.
- In a large pot, combine vinegar, water, sugar, pickling spice, and salt. Add cinnamon sticks and star anise, if using. Bring to a boil, stirring until sugar and salt are dissolved.
- Pack beets into jars, leaving 1/2-inch headspace.
- Pour hot brine over beets, leaving 1/2-inch headspace. Remove air bubbles.
- Wipe jar rims clean. Place lids on jars and screw bands on until fingertip tight.
- Process in a boiling water bath canner for 30 minutes (for pint jars) or 35 minutes (for quart jars), adjusting for altitude.
- Remove jars from canner and let cool completely. Check for proper seal.
- Store in a cool, dark place for at least 2 weeks before enjoying.
Serving Suggestions: Serve pickled beets in salads, as a side dish, or as a topping for goat cheese and crackers.
Recipe 5: Pickled Onions (Quick & Easy)
These pickled onions are a simple and versatile condiment that can be made in minutes. No boiling water bath is required for these refrigerator pickles!
Ingredients:
- 2 red onions, thinly sliced
- 1 cup white vinegar (5% acidity)
- 1/2 cup water
- 1/4 cup sugar
- 1 tsp salt
- Optional: fresh thyme sprigs, rosemary sprigs
Instructions:
- Slice red onions thinly.
- In a saucepan, combine vinegar, water, sugar, and salt. Bring to a simmer, stirring until sugar and salt are dissolved.
- Place sliced onions in a jar. Add thyme or rosemary sprigs, if using.
- Pour hot brine over onions, covering them completely.
- Let cool completely.
- Refrigerate for at least 2 hours before serving. Pickled onions will keep in the refrigerator for up to 2 weeks.
Serving Suggestions: Use pickled onions on sandwiches, tacos, salads, burgers, or as a colorful garnish.
:max_bytes(150000):strip_icc():format(webp)/Simply-Recipes-Quick-Pickled-Red-Onions-Lead-4-6313c1fdc27f42c781618525bc871309.jpg)
Savoring Summer's Bounty Year-Round
Preserving your own garden produce is a rewarding experience that connects you to the seasons and reduces food waste. Pickling is a skill anyone can master, and it's perfectly okay to experiment and adjust recipes to your own tastes. As summer draws to a close and the first hints of autumn appear, now is the perfect time to take advantage of the abundance of your garden and fill your pantry with delicious, homemade pickles. By preserving your vegetables, you'll have a taste of summer to enjoy all year long.

Which recipe will you try first? Comment below!