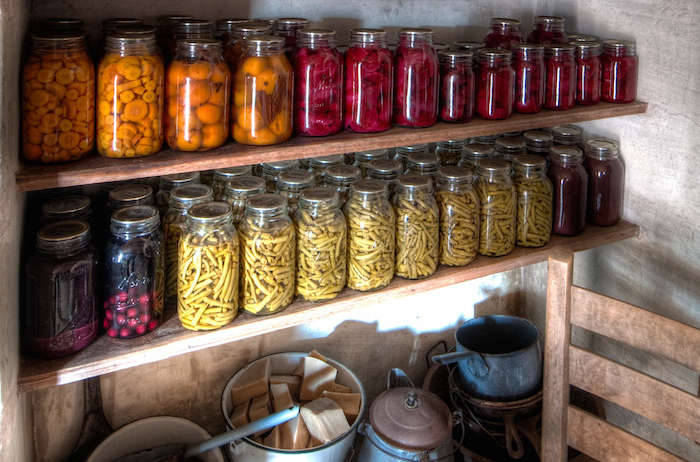
From Garden to Grub: Organizing Your Root Cellar for Winter's Bounty
The October air has a certain bite to it, doesn't it? A promise of colder days, crackling fires, and hearty meals. It's also a time of incredible abundance. The garden is overflowing with the last of the season's treasures – potatoes clinging to the earth, beets glowing like jewels, and apples heavy on the branches, their sweet scent filling the air. But what do we do with all this goodness? How do we savor the flavors of fall throughout the long winter months? That's where root cellar organization comes in, or if you're like me and space is tight, creating a temporary storage space that mimics the cool, dark conditions of a traditional root cellar!
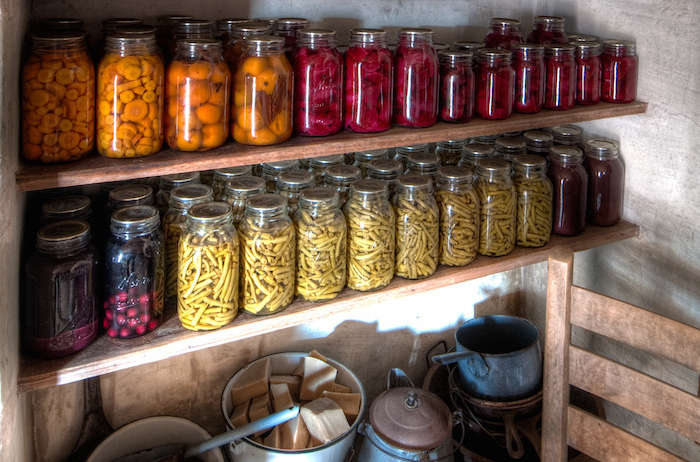
Maybe the idea of root cellar organization feels daunting. Perhaps you don't have a dedicated space, or you're worried about spoilage and wasted efforts. I understand completely. I used to feel overwhelmed by the harvest, unsure of where to begin. But I've learned over the years that even a small, well-organized space can make a huge difference in your ability to enjoy fresh, homegrown food throughout the winter. The key is to break it down into manageable steps and embrace a sustainable, slow-living approach.
Conquering the Challenges: Space, Spoilage, and the Overwhelm
Before diving into the "how," let's address some common concerns:
- Limited Space: Not everyone has a traditional root cellar. That's perfectly fine! We'll explore creating temporary spaces in your pantry, garage, or even under a spare bed.
- Spoilage: No one wants to see their hard-earned harvest rot away. Proper temperature and humidity control, along with regular monitoring, are crucial.
- Overwhelm: Harvest season can feel like a sprint. Remember, slow and steady wins the race. Focus on one vegetable at a time, and don't be afraid to ask for help from friends or family.
Step-by-Step Guide to Root Cellar (or Temporary Space) Organization:
Here's how to get your root cellar (or makeshift space) ready for winter, embracing sustainable practices along the way:
Step 1: Assess Your Harvest and Space
- Take Inventory: What did you grow (or buy in bulk from a local farmer) this year? Potatoes, onions, garlic, carrots, beets, apples, winter squash? Knowing what you have is the first step.
- Evaluate Your Space: Where will you store your harvest? A cool, dark basement corner is ideal, but a pantry, unheated garage, or even a well-insulated box in a shed can work. The ideal temperature range is between 32-40°F (0-4°C) with high humidity.
Step 2: Cleaning and Preparation
- Clean Thoroughly: Whether it's a dedicated root cellar or a corner of your pantry, clean the area thoroughly. Remove any dirt, debris, or potential pests.
- Consider Shelving: If possible, install shelving to maximize vertical space. Repurpose old shelves, build simple wooden racks, or use sturdy plastic crates.
Step 3: Choosing the Right Storage Containers
- Potatoes: Burlap sacks, wooden crates, or even large, breathable plastic bins work well. The key is darkness and good ventilation.
- Onions and Garlic: Mesh bags are ideal for onions and garlic. Hang them from the ceiling or a rack to ensure air circulation.
- Carrots and Beets: These root vegetables need moisture to prevent them from drying out. Layer them in boxes or bins with damp sand, peat moss, or sawdust.
- Apples: Wrap each apple individually in newspaper or tissue paper and store them in shallow boxes or trays. This prevents rot from spreading.
- Winter Squash: Store winter squash in a cool, dry place with good air circulation. They don't need high humidity like root vegetables.
Sustainable Storage Options:
- Repurpose: Use old wooden crates, burlap sacks, and cardboard boxes.
- Natural Materials: Opt for breathable materials like burlap, wood, and paper.
- Avoid Plastic: While plastic bins can be convenient, they can trap moisture and lead to spoilage. If you must use them, ensure they have good ventilation.
Step 4: Temperature and Humidity Control
- Temperature: Monitor the temperature regularly with a thermometer. If your space is too warm, consider adding ventilation or moving your harvest to a cooler location.
- Humidity: Maintaining high humidity (around 80-90%) is crucial for root vegetables. If your space is too dry, place a bucket of water nearby or mist the vegetables occasionally.
Step 5: Proper Storage Techniques for Specific Vegetables
- Potatoes: Cure potatoes for 1-2 weeks in a dark, humid location (60-65°F) before storing them in the root cellar. This helps to heal any cuts or bruises and extends their shelf life.
- Onions and Garlic: Ensure onions and garlic are completely dry before storing them. Braiding garlic is a great way to store it and adds a touch of rustic charm to your space.
- Carrots and Beets: Remove the leafy tops from carrots and beets before storing them. This prevents them from drawing moisture away from the roots.
- Apples: Handle apples carefully to avoid bruising them. Store them stem-side down to prevent rot.
- Winter Squash: Leave a few inches of stem on winter squash when harvesting. This helps to prevent rot and extends their shelf life.
Step 6: Troubleshooting Common Problems
- Mold: If you notice mold, remove the affected vegetables immediately. Improve ventilation and reduce humidity if necessary.
- Pests: Inspect your harvest regularly for signs of pests. Use natural pest control methods if needed.
- Rotting: Remove any rotting vegetables immediately to prevent the spread of spoilage.
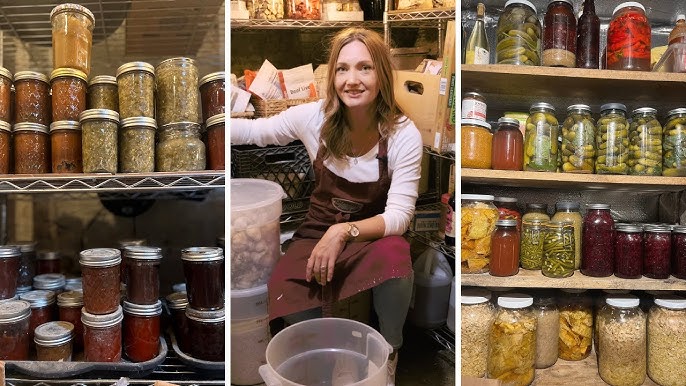
Step 7: The Temporary Root Cellar
If you lack dedicated space, get creative!
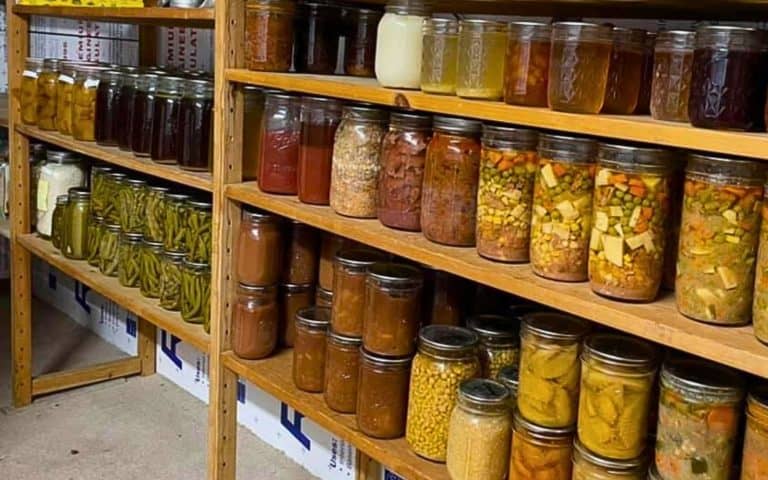
- Pantry Power: Dedicate a shelf or two in your pantry to fall harvest storage. Ensure it's the coolest, darkest spot. Store onions and garlic in mesh bags away from other items due to their strong aroma.
- Garage Gains: An unheated garage works if temperatures stay above freezing. Insulate a large bin or create a smaller “root cellar” within the garage using blankets and cardboard.
Step 8: Regular Monitoring is Key
Check on your stored produce weekly. Remove any that are starting to spoil to prevent the spread of rot. This simple act can drastically extend the life of your harvest!
Embracing Sustainable, Slow-Living Principles
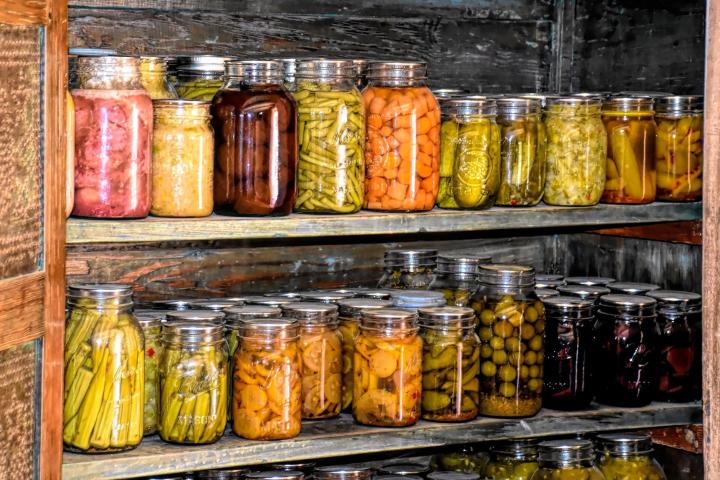
Root cellar organization is more than just storing food; it's about connecting with the seasons and appreciating the abundance of nature. It's about reducing waste, saving money, and nourishing our bodies with wholesome, homegrown food. It’s also about slowing down and taking pleasure in the simple act of preserving the harvest for the colder months. Imagine the satisfaction of pulling a perfectly stored potato from your root cellar in January, knowing that you grew it yourself and preserved it with your own hands.
A Final Word & Your Invitation
Root cellar organization, even on a small scale, allows you to enjoy the fruits (and vegetables!) of your labor long after the growing season has ended. It's a rewarding process that connects us to our food and to the natural rhythms of the year. It's a tangible expression of a slow-living lifestyle, one that values sustainability, simplicity, and connection to the earth. So, embrace the challenge, get creative, and enjoy the bounty of the harvest all winter long!
Now, I'd love to hear from you! What are your best root cellar organization tips? Do you have any creative solutions for storing food in small spaces? Share your thoughts in the comments below!
And don't forget to subscribe to the Better Homes and Harvests newsletter for more seasonal homesteading tips and inspiration!