
From Garden to Grub: Building a Budget-Friendly Root Cellar with Reclaimed Materials
There's a unique satisfaction in harvesting the fruits (and vegetables!) of your labor. After months of nurturing seedlings, battling pests, and tending to your garden, the bounty is finally ready. But the joy can quickly turn to anxiety: how do you possibly preserve all that goodness through the long, cold winter? While canning, freezing, and drying are valuable methods, there's a more traditional, cost-effective, and energy-efficient solution: the root cellar.
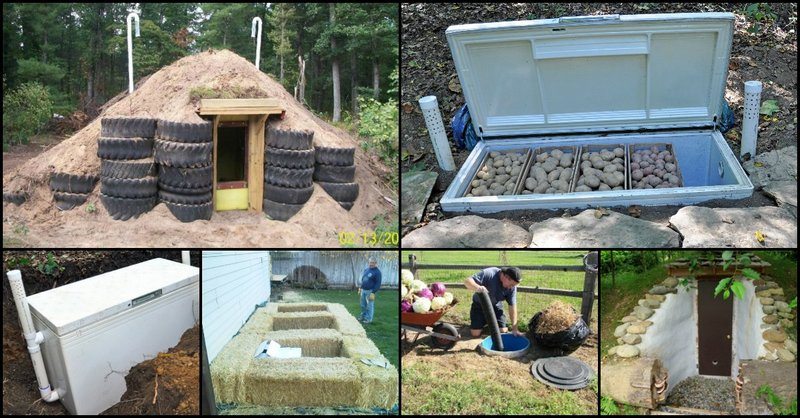
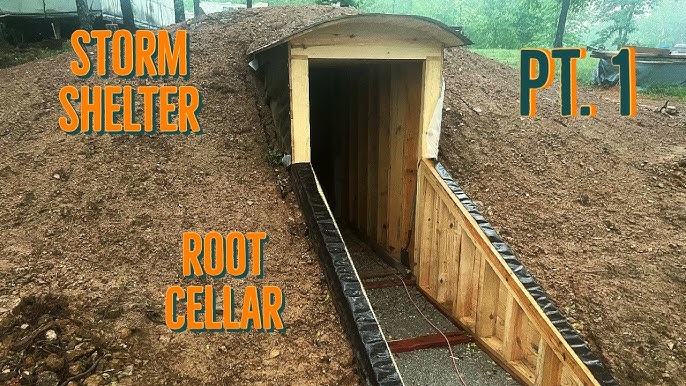
Many homesteaders shy away from root cellars, imagining damp, moldy spaces teeming with pests. But fear not! With careful planning, smart construction, and readily available reclaimed materials, you can build a compact, highly functional root cellar that will keep your root vegetables fresh and delicious all winter long. This guide focuses on a partially buried design using reclaimed concrete blocks and a repurposed door – perfect for the budget-conscious homesteader with limited construction experience.

Let's dig in (pun intended!) and build your own sustainable food storage solution!
Planning and Preparation: Laying the Groundwork for Success
Before you swing a pickaxe, meticulous planning is essential. Here's what you need to consider:
1. Location, Location, Location: Choose a location with good drainage, ideally on a slightly sloping area. A north-facing slope is preferable, as it receives less direct sunlight, helping to maintain a consistently cool temperature. Avoid areas prone to flooding or with a high water table. Also, make sure the location is easily accessible from your garden and home.

2. Size Matters: Determine the size of your root cellar based on your family's needs and the amount of root vegetables you plan to store. A small root cellar, approximately 6ft x 8ft, can be sufficient for a family of four.
3. Gather Your Reclaimed Materials: The beauty of this project lies in its cost-effectiveness. Source reclaimed concrete blocks (also known as CMUs - Concrete Masonry Units) from demolition sites, construction companies, or online marketplaces. A repurposed wooden door, complete with hinges and a handle, will serve as the entrance. Scour salvage yards or online classifieds for these treasures. Don't forget to collect other essential materials like:
- Mortar mix
- Gravel for drainage
- Wood for shelving
- Ventilation pipes (PVC or metal)
- Insulation (optional, but recommended)
- Heavy duty plastic sheeting or pond liner (for moisture barrier)
4. Essential Tools:
- Shovels
- Wheelbarrow
- Level
- Mortar trowel
- Brick hammer
- Measuring tape
- Circular saw (for cutting wood for shelving)
- Drill (for installing ventilation pipes)
- Safety glasses and gloves
Step-by-Step Construction: Building Your Root Cellar
Now for the hands-on part! Follow these detailed steps to construct your partially buried root cellar.
Step 1: Excavation and Foundation:
- Mark out the perimeter of your root cellar. Add an extra foot on all sides for working space.
- Excavate the area to a depth of approximately 3-4 feet. Remember, this is a partially buried root cellar, so you're not creating a fully underground structure.
- Create a level base and compact the soil thoroughly.
- Lay down a 4-6 inch layer of gravel for drainage. This is crucial for preventing moisture buildup.
Step 2: Laying the Concrete Block Walls:
- Mix your mortar according to the manufacturer's instructions. Consistency is key – it should be thick enough to hold its shape but pliable enough to work with.
- Begin laying the first course of concrete blocks on top of the gravel base. Ensure each block is level and properly aligned.
- Apply a generous layer of mortar between each block, both horizontally and vertically. This is called "buttering" the blocks.
- Stagger the joints between each course for added strength and stability. This is similar to how bricks are laid.
- Continue laying courses until you reach the desired height (typically 4-5 feet above ground level).
- Pay close attention to the corners, ensuring they are square and plumb (perfectly vertical).
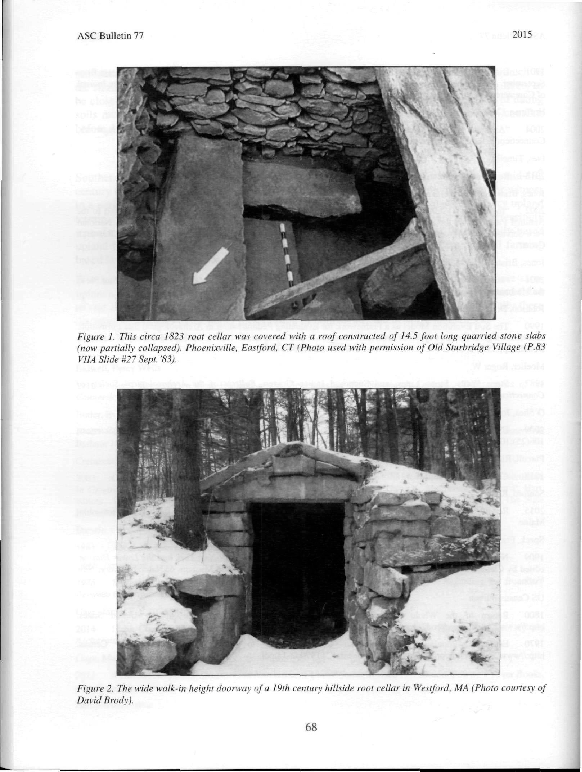
Important Mortar Tip: To enhance moisture resistance, consider adding a waterproofing admixture to your mortar mix. This will help prevent water from seeping through the concrete blocks.
Step 3: Installing the Door:
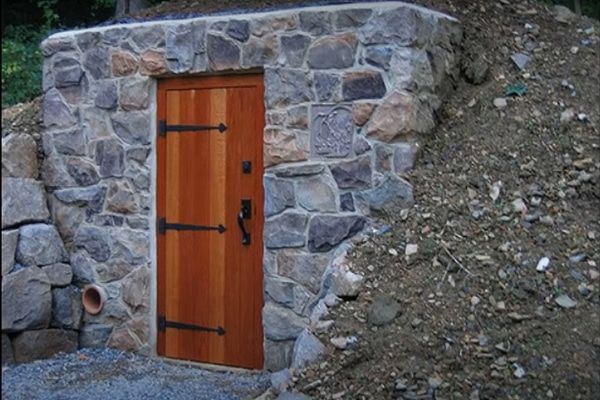
- Build a sturdy frame around the doorway opening using pressure-treated lumber. Ensure the frame is securely attached to the concrete block walls with masonry screws or concrete anchors.
- Hang your repurposed wooden door within the frame, ensuring it swings freely and closes tightly.
- Weatherstrip the door to create a tight seal and prevent drafts and pest entry.
- Consider adding a latch or lock to secure the door.
Step 4: Constructing the Roof (Simple Options):
Option 1 (Easiest): A simple shed roof made from corrugated metal or roofing panels. Angle the roof to allow for water runoff. Ensure proper overhang to protect the walls from rain.
Option 2 (More Insulation): Build a wooden frame roof and cover it with plywood. Add a layer of insulation (rigid foam or fiberglass batting) and then cover it with roofing felt and shingles. This option provides better insulation but requires more carpentry skills.
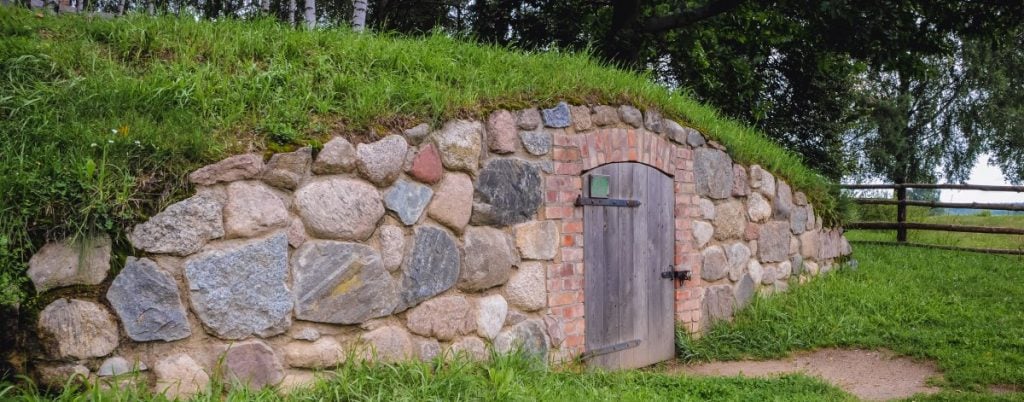
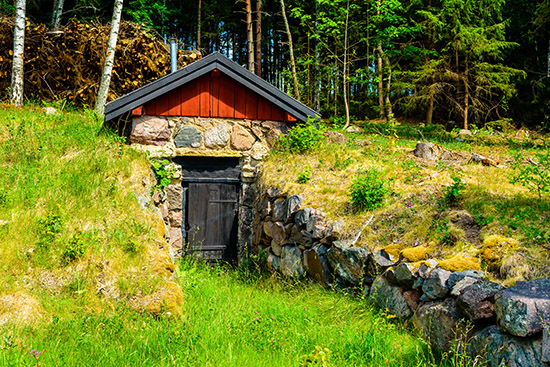
Option 3 (Living Roof): The most advanced option. Construct a sturdy, waterproofed roof and add a layer of soil to create a living roof. Plant drought-resistant, shallow-rooted plants like sedum. This provides excellent insulation and blends the root cellar seamlessly into the landscape.
Important Roofing Tip: Regardless of the option you choose, ensure the roof is strong enough to support snow loads in your area.
Step 5: Ventilation is Key:
- Install two ventilation pipes: one near the floor and one near the ceiling. This allows for natural convection, circulating cool air in and warm, moist air out.
- Use 4-inch PVC or metal pipes.
- Cover the ends of the pipes with screens to prevent pests from entering.
- Consider adding dampers to the pipes to regulate airflow as needed.
Step 6: Backfilling and Insulation:
- Backfill around the exterior walls of the root cellar with soil, compacting it as you go.
- Consider adding a layer of insulation to the exterior walls before backfilling. This will further enhance temperature regulation.
- Ensure proper drainage away from the walls to prevent water from accumulating.
Step 7: Interior Finishing and Shelving:
- Line the interior walls with heavy-duty plastic sheeting or a pond liner to create a moisture barrier (optional but highly recommended). Overlap the seams and seal them with waterproof tape.
- Build sturdy shelving units using untreated wood. Arrange the shelves to maximize storage space.
- Consider using crates, bins, or baskets to organize your root vegetables.
Cost-Effectiveness and Sustainability: A Win-Win
By using reclaimed materials, you're not only saving money but also reducing your environmental impact. Reclaimed concrete blocks can often be obtained for free or at a fraction of the cost of new blocks. A repurposed door can save you hundreds of dollars.
The long-term savings are even more significant. A root cellar eliminates the need to purchase commercially grown vegetables during the winter months, saving you money on groceries. It also reduces your reliance on energy-intensive freezing and canning methods.
Addressing Potential Challenges: Troubleshooting Your Root Cellar
Even with careful planning, challenges can arise. Here's how to address some common issues:
- Drainage Problems: If you notice water accumulating inside your root cellar, improve drainage by adding more gravel around the foundation or installing a French drain.
- Pest Infestations: Regularly inspect your root cellar for signs of pests. Seal any cracks or openings and use traps if necessary. Store vegetables in airtight containers to prevent damage.
- Temperature and Humidity Fluctuations: Monitor the temperature and humidity levels inside your root cellar. Aim for a temperature between 32-40°F (0-4°C) and a humidity level of 85-95%. Adjust ventilation as needed to maintain these conditions. A simple thermometer and hygrometer will do the trick.
- Proper Curing and Sorting: Sort through your vegetables removing any that are damaged or bruised. Proper curing techniques are essential for increasing the life of your storage vegetables.
Inspiring Action: Build Your Dream Root Cellar Today!
Building a root cellar is a rewarding project that can significantly enhance your self-sufficiency and reduce your reliance on store-bought produce. Don't be intimidated by the process – with careful planning, readily available reclaimed materials, and a little elbow grease, you can create a functional and sustainable food storage solution that will keep your family well-fed throughout the winter.
We encourage you to share your own root cellar projects and ask any questions you might have in the comments section below! We also suggest you check out our related articles on gardening tips, preserving the harvest, and other DIY homesteading projects.
As an extra incentive, download our free checklist for root cellar maintenance to help you keep your vegetables fresh and delicious all winter long! And be sure to share this article on your favorite social media platform so others can benefit from this valuable information! Happy homesteading!