From Garden to Glass: A Beginner's Guide to Making Sun-Kissed Tomato Sauce This Fall
As the leaves begin their vibrant transformation and the air takes on a crisp, cool edge, the garden offers one last, glorious burst of color: the ruby-red glow of ripe tomatoes. Imagine spending a sunny afternoon amongst the vines, gently plucking sun-warmed fruits, their skins bursting with the sweet promise of summer. This isn’t just a harvest; it’s a treasure. And what better way to preserve that treasure than by transforming it into jars of delicious, homemade tomato sauce? By following this simple guide, you'll learn how to capture the essence of your garden in a shelf-stable sauce that will brighten your winter meals with the taste of summer sunshine.

Gathering Your Harvest & Preparing Ingredients
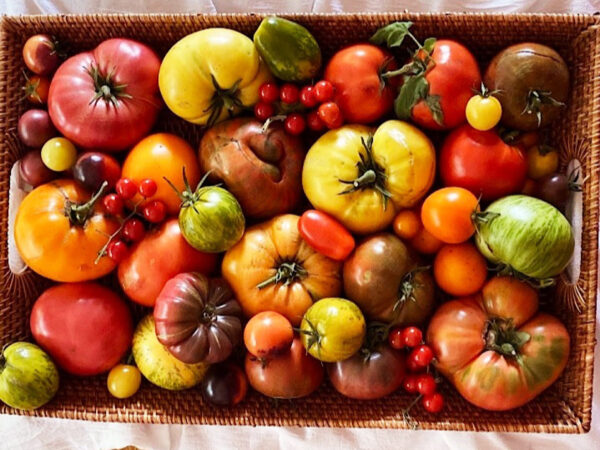
The key to exceptional tomato sauce lies in exceptional tomatoes. While any tomato can technically be used, certain varieties shine when cooked down into a rich, flavorful sauce. Roma and San Marzano tomatoes are particularly prized for their meaty texture, low seed count, and naturally sweet flavor. These varieties tend to yield a thicker, more concentrated sauce than their juicier counterparts.
Knowing when your tomatoes are perfectly ripe is crucial. Look for a deep, uniform color – whether it's vibrant red, deep crimson, or even a blush of orange – and a slight give when gently squeezed. Avoid tomatoes that are still green or feel hard to the touch. Overripe tomatoes, while usable, might contribute a slightly fermented flavor to the sauce.
Before you begin, thoroughly wash your tomatoes to remove any dirt or debris. Now comes the question of peeling and seeding. Peeling will give you a smoother sauce, while seeding reduces bitterness and creates a cleaner flavor. There are a few methods you can use:
- Blanching: Score the bottom of each tomato with an "X," then plunge them into boiling water for 30-60 seconds. Immediately transfer them to an ice bath to stop the cooking process. The skins should slip off easily.
- Roasting: Roast the tomatoes at 400°F (200°C) for 20-30 minutes. The skins will blister and become easy to peel. Roasting also intensifies the tomatoes' flavor.
- Seeding: After peeling (if desired), cut the tomatoes in half and gently scoop out the seeds with your fingers or a spoon.
Choose the method that best suits your preferences and the time you have available. Don't worry if you don't peel or seed every single tomato perfectly; a little imperfection adds character!
The Simple Sauce Recipe
Now for the heart of the matter: transforming your beautiful tomatoes into a luscious sauce. This recipe is a basic foundation that you can customize to your own taste.
Ingredients:
- 4 pounds ripe tomatoes, peeled and seeded (optional)
- 1/4 cup olive oil
- 1 large onion, chopped
- 2-3 cloves garlic, minced
- 1 teaspoon dried oregano
- 1/2 teaspoon dried basil
- 1/4 teaspoon red pepper flakes (optional)
- 1 teaspoon salt, or to taste
- 1/2 teaspoon black pepper, or to taste
- 1 tablespoon lemon juice or bottled citric acid (for canning)
Instructions:
- Heat the olive oil in a large, heavy-bottomed pot or Dutch oven over medium heat. Add the chopped onion and cook until softened, about 5-7 minutes.
- Add the minced garlic and red pepper flakes (if using) and cook for another minute until fragrant. Be careful not to burn the garlic.
- Add the tomatoes, oregano, basil, salt, and pepper to the pot. Stir well to combine.
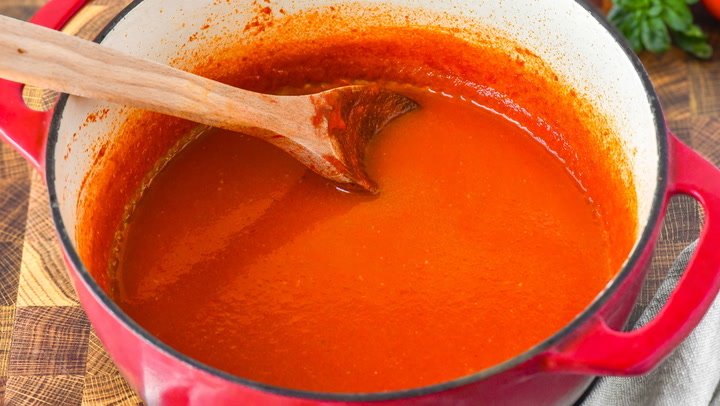
- Bring the mixture to a simmer, then reduce the heat to low, cover, and cook for at least 1-2 hours, or until the sauce has thickened to your desired consistency. Stir occasionally to prevent sticking.
- For a smoother sauce, use an immersion blender to puree the mixture directly in the pot. Alternatively, you can carefully transfer the sauce to a regular blender or food processor in batches.
- Taste and adjust the seasoning as needed. Add more salt, pepper, or herbs to your liking.
Variations:
- Fresh Herbs: Substitute dried herbs with fresh herbs for a more vibrant flavor. Add about 1/4 cup of chopped fresh basil, oregano, or thyme during the last 30 minutes of cooking.
- Roasted Garlic: Roast a head of garlic alongside the tomatoes for a deeper, sweeter flavor. Add the roasted garlic cloves to the sauce during the simmering process.
- Vegetable Medley: Add other vegetables like carrots, celery, or bell peppers to the pot along with the onions for a more complex flavor profile. Sauté them until softened before adding the tomatoes.
- Sweetness: If your tomatoes are particularly acidic, you can add a teaspoon or two of sugar or honey to balance the flavors.

Canning for Shelf Stability
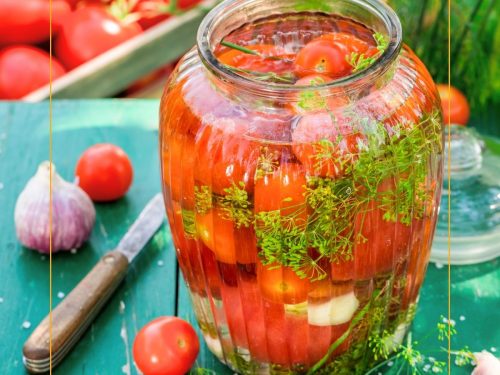
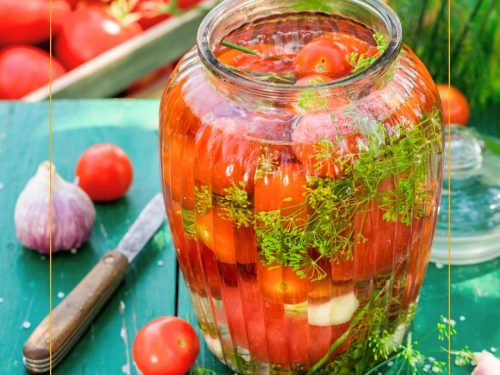
Canning is a wonderful way to preserve your homemade tomato sauce and enjoy it throughout the year. However, it's crucial to follow proper canning procedures to ensure the safety of your preserved goods. Tomato sauce is a high-acid food that can be safely processed in a water bath canner.
Important: Always consult reputable sources like the National Center for Home Food Preservation (https://nchfp.uga.edu/) for detailed canning instructions and safety guidelines.
Here's a basic overview of the canning process:
- Prepare your jars: Wash canning jars and lids in hot, soapy water. Sterilize the jars by boiling them in a water bath canner for 10 minutes. Keep the jars hot until you're ready to fill them.
- Add Acid: Because some tomatoes may not be acidic enough to can safely, it’s important to add either 1 tablespoon of bottled lemon juice or ¼ teaspoon of citric acid per pint jar to ensure proper acidity for safe preservation. Add directly to each jar before filling.
- Fill the jars: Ladle the hot tomato sauce into the hot jars, leaving 1/2 inch of headspace (the space between the sauce and the top of the jar).
- Remove air bubbles: Gently tap the jars on the counter to release any trapped air bubbles. You can also use a non-metallic utensil to run along the inside of the jar.
- Wipe the rims: Clean the rims of the jars with a damp cloth to ensure a proper seal.
- Place the lids and rings: Place the lids on the jars and screw on the rings finger-tight (not too tight!).
- Process in a water bath canner: Lower the filled jars into a boiling water bath canner. The water should cover the jars by at least 1 inch. Bring the water to a rolling boil and process for the recommended time based on your altitude and jar size (usually 35 minutes for pint jars and 40 minutes for quart jars at altitudes of 0-1000 feet).
- Cool and check the seals: Turn off the heat and let the jars sit in the canner for 5 minutes before removing them. Place the jars on a towel-lined surface and let them cool completely for 12-24 hours. As the jars cool, you should hear a "pop" sound, indicating that the lids have sealed properly.
- Check the seals: After the jars have cooled completely, check the seals by pressing down on the center of each lid. If the lid flexes up and down, it hasn't sealed properly and should be reprocessed with a new lid or stored in the refrigerator.
- Label and store: Label the jars with the date and contents and store them in a cool, dark place. Properly canned tomato sauce can last for up to a year or more.

Ways to Enjoy Your Homemade Sauce
The possibilities are endless when it comes to using your homemade tomato sauce! Of course, it's perfect for classic pasta dishes like spaghetti, lasagna, and baked ziti. But don't stop there! Use it as a base for homemade pizza, add it to soups and stews for extra flavor, or simmer it with meatballs for a comforting meal.
One of my favorite ways to use homemade tomato sauce is in a simple shakshuka. I sauté some onions, garlic, and peppers, then add a jar of my garden-fresh sauce. I make small wells in the sauce and crack eggs into each one, then let it simmer until the eggs are cooked to my liking. A sprinkle of fresh parsley and a side of crusty bread complete this delicious and satisfying meal.
Closing Reflection & Call to Action
Preserving the bounty of your garden is a deeply rewarding experience. It’s about more than just filling your pantry; it's about connecting with the seasons, embracing self-sufficiency, and savoring the flavors of home. So gather your tomatoes, put on some cozy music, and get ready to transform your harvest into jars of sun-kissed goodness. We can't wait to see your creations! Share photos of your homemade tomato sauce on social media using the hashtag #BetterHomesHarvestTomato. And don't forget to share your own favorite tomato sauce recipes or canning tips in the comments section below! Happy canning!