From Garden Gluttony to Winter Bounty: Building a Budget-Friendly Root Cellar
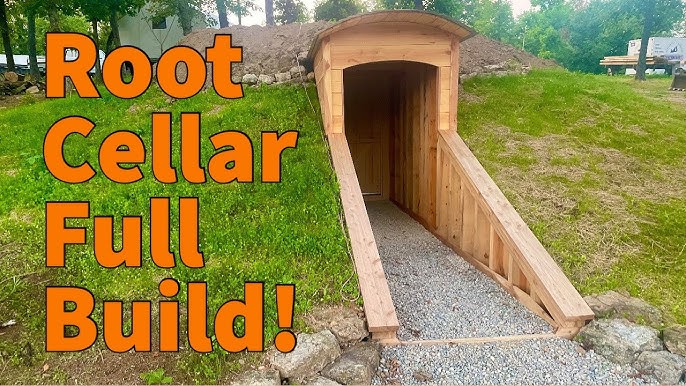
Have you ever watched your carefully nurtured garden harvest slowly succumb to rot, knowing you couldn't possibly eat it all fast enough? I certainly have. The frustration of seeing those beautiful tomatoes turn to mush or those perfect potatoes sprout before their time was a yearly heartbreak. That’s when I decided enough was enough. I needed a solution that went beyond canning and freezing. The answer, as it turned out, was buried right under my feet: a root cellar.
This isn’t just a story; it’s a practical guide. I’m going to walk you through the steps I took to build my own budget-friendly, in-ground root cellar. Whether you're a seasoned homesteader or a gardening newbie, this guide will provide you with the knowledge and inspiration to preserve your garden’s bounty throughout the winter months. Get ready to ditch the grocery store produce and embrace the flavors of your own backyard, even in the dead of winter!
What is a Root Cellar and Why Do You Need One?
A root cellar is essentially an underground structure designed to maintain a cool, consistent temperature and high humidity. This environment is ideal for storing vegetables and fruits, extending their shelf life significantly. Think of it as nature's refrigerator, predating electricity and relying on the earth's natural insulation.
Why invest the time and effort into building a root cellar when we have modern appliances? Several reasons:
- Food Preservation: Extends the shelf life of your produce, reducing waste.
- Cost Savings: Reduces your reliance on grocery store produce, especially during the off-season.
- Flavor Enhancement: Some vegetables, like potatoes, actually improve in flavor after being stored in a root cellar.
- Sustainability: A low-tech, environmentally friendly way to preserve food.
- Self-Sufficiency: Empowers you to become more independent and less reliant on external food systems.
Planning Your Root Cellar: Site Selection and Design
Before you start digging, careful planning is crucial. Here’s what you need to consider:
1. Site Selection:
- Location: Choose a spot that's relatively level, well-drained, and preferably shaded. A north-facing slope is ideal. You want to avoid areas prone to flooding or with a high water table. Consider proximity to your house for easy access during winter.
- Soil Type: Well-draining soil is essential. Avoid areas with heavy clay, which can retain moisture and lead to rot.
- Accessibility: Ensure you can easily access the site with tools and materials.
2. Root Cellar Design:
This is a rough sketch of the dimensions and some of the components.
      Roof Support Beams
       ____________________
      |                    |      ^
      |    Shelving      |      | Height (6ft)
      |____________________|      v
      |Entrance Steps        |-----> Width (8ft)
      ______________________
     /                      \  |
    /        Earth         \  | Length (10ft)
   /________________________\ |
- Size: Determine the size based on your gardening output and storage needs. A common size for a family is 8ft wide x 10ft long x 6ft high.
- Shape: Rectangular or square shapes are easiest to construct.
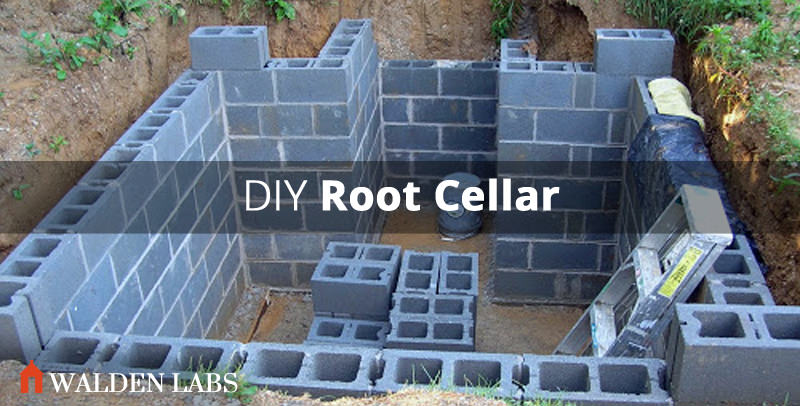
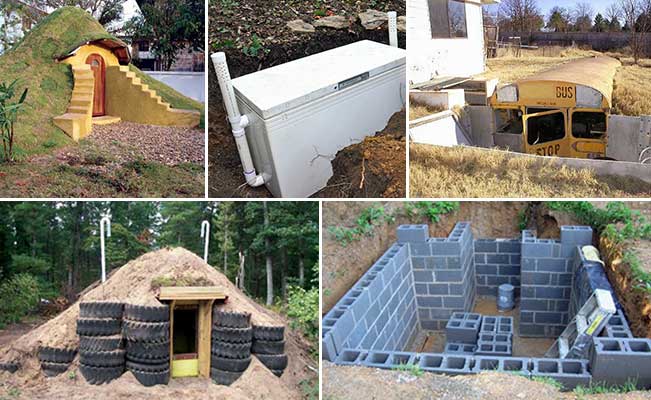
- Materials: You can use various materials, including concrete blocks, wood, or even repurposed materials like old tires or shipping containers. For this guide, we'll focus on a simple concrete block structure.
- Ventilation: Proper ventilation is essential to prevent moisture buildup and maintain optimal storage conditions. Plan for at least two vents: one near the floor for cool air intake and one near the ceiling for warm air exhaust.
- Insulation: Depending on your climate, you may need to insulate the roof and walls to maintain consistent temperatures.
Step-by-Step Construction Guide
Here's a detailed breakdown of the construction process:
Materials List (Approximate Costs):
- Concrete Blocks (8" x 8" x 16"): $300 - $500
- Mortar Mix: $50 - $75
- Gravel: $50 - $100
- Lumber (for roof framing and shelves): $200 - $300
- Roofing Material (e.g., corrugated metal): $100 - $200
- Insulation (optional): $50 - $100
- 4-inch PVC Pipe (for ventilation): $20 - $30
- Door: $50 - $150 (recycled doors can be a great option)
- Total Estimated Cost: $820 - $1555 (This can be significantly reduced by using recycled materials)
Tools You'll Need:
- Shovel
- Pickaxe
- Wheelbarrow
- Concrete Mixer (optional, but highly recommended)
- Masonry Trowel
- Level
- Measuring Tape
- Saw
- Hammer
- Drill
- Safety Glasses
- Gloves
Step 1: Excavation
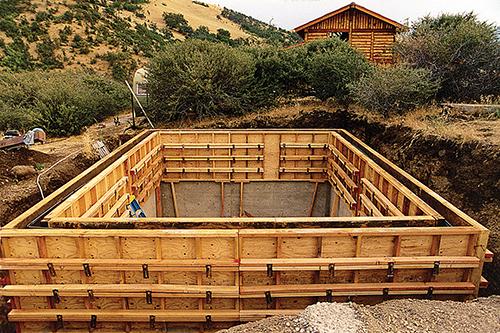
- Dig a hole to the dimensions you planned, plus extra space around the perimeter for working. For an 8ft x 10ft root cellar, dig a hole roughly 9ft x 11ft. The depth should be about 6ft.
- Ensure the walls of the excavation are stable and won't collapse. If necessary, shore them up with temporary supports.
- Remove all rocks and debris from the bottom of the excavation.
Step 2: Foundation
- Pour a 4-6 inch layer of gravel at the bottom of the excavation for drainage.
- Compact the gravel thoroughly.
- Optionally, pour a concrete slab over the gravel for a smoother floor. This isn’t strictly necessary but can make cleaning easier.
Step 3: Building the Walls
- Mix the mortar according to the manufacturer's instructions.
- Lay the first course of concrete blocks, ensuring they are level and square.
- Continue laying blocks, course by course, staggering the joints for added strength.
- Use a level frequently to ensure the walls are plumb and straight.
- Incorporate ventilation pipes into the walls as you build. Place one near the floor and one near the ceiling, on opposite walls.
Step 4: Roofing
- Frame the roof using lumber. A simple shed roof design is easiest to construct.
- Ensure the roof is strong enough to support the weight of the soil you’ll be covering it with.
- Cover the roof frame with plywood or OSB.
- Apply a waterproof membrane to the roof to prevent leaks.
- Cover the roof with soil, creating a thick layer (at least 12 inches) for insulation.
Step 5: Entrance
- Build a sturdy door frame and install a solid door. Consider using an insulated door for better temperature control.
- Construct steps leading down to the root cellar entrance. Use durable materials like concrete or treated lumber.

Step 6: Interior Finishing
- Build shelves using lumber. Ensure the shelves are strong enough to support the weight of your produce.
- Consider adding a gravel floor for better drainage and humidity control.
Step 7: Ventilation
- Ensure your ventilation pipes are clear and unobstructed.
- Consider adding screens to the vents to prevent pests from entering.
Stocking Your Root Cellar: What to Store and How
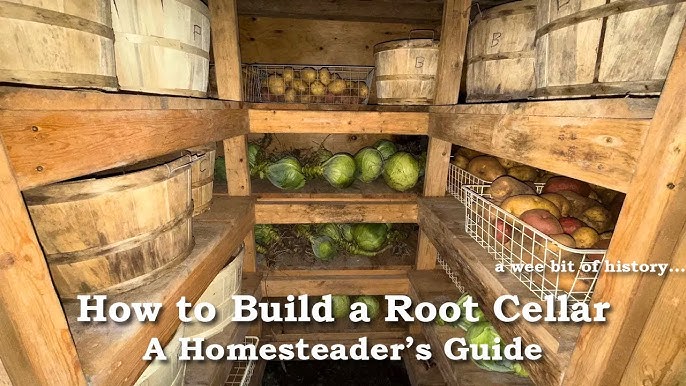
Not all vegetables are suitable for root cellar storage. Here are some of the best candidates:
- Potatoes: Store in the dark at high humidity (90-95%) and temperatures between 35-40°F.
- Carrots: Store in moist sand or sawdust at high humidity and temperatures between 32-40°F.
- Onions: Store in a dry, well-ventilated area at temperatures between 32-40°F.
- Garlic: Similar to onions, store in a dry, well-ventilated area.
- Apples: Store at high humidity and temperatures between 32-40°F. Wrap individually to prevent spoilage.
- Beets: Store in moist sand or sawdust at high humidity and temperatures between 32-40°F.
- Cabbage: Store at high humidity and temperatures between 32-40°F.
Tips for Storing:
- Harvest produce on a dry day.
- Handle produce carefully to avoid bruising.
- Remove excess soil but don’t wash the vegetables.
- Store only healthy, undamaged produce.
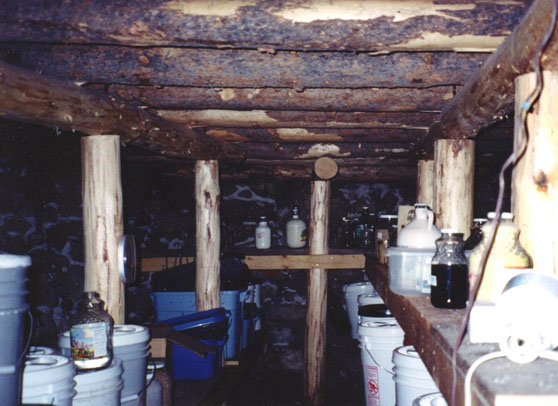
- Check your root cellar regularly and remove any spoiled items.
Troubleshooting and Tips for Success
- Moisture Control: Too much moisture can lead to mold and rot. Ensure proper ventilation and consider adding a dehumidifier if necessary.
- Temperature Fluctuations: Insulate the roof and walls to minimize temperature swings.
- Pest Control: Seal any cracks or openings to prevent rodents and insects from entering. Use traps or natural pest control methods if needed.
My Personal Challenges and Solutions:
One of the biggest challenges I faced was dealing with a slightly high water table. To combat this, I installed a French drain around the perimeter of the root cellar to divert water away from the structure. It was an extra step, but it made a huge difference in keeping the cellar dry.
Another issue was temperature control. I initially underestimated the importance of insulation. After adding a layer of rigid foam insulation to the roof, the temperature inside the cellar became much more stable.
Beyond the Basics: Expanding Your Food Preservation Skills
A root cellar is just one piece of the food preservation puzzle. Consider exploring other methods, such as canning, fermenting, and drying, to further extend the life of your garden harvest.
Conclusion: Embrace the Bounty
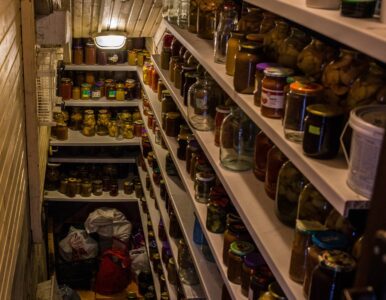
Building a root cellar is an investment in your self-sufficiency and food security. It's a way to connect with the land and enjoy the fruits (and vegetables!) of your labor throughout the year. While it requires some effort, the rewards are well worth it. Say goodbye to wilted greens and hello to fresh, homegrown goodness all winter long!

Now, I want to hear from you! Do you have experience with root cellars? What are your favorite tips and tricks for food preservation? Share your thoughts and questions in the comments below. And be sure to check out other articles on Better Homes and Harvests, such as our guide to companion planting and tips for winter gardening, to further enhance your homesteading skills. Happy harvesting!
