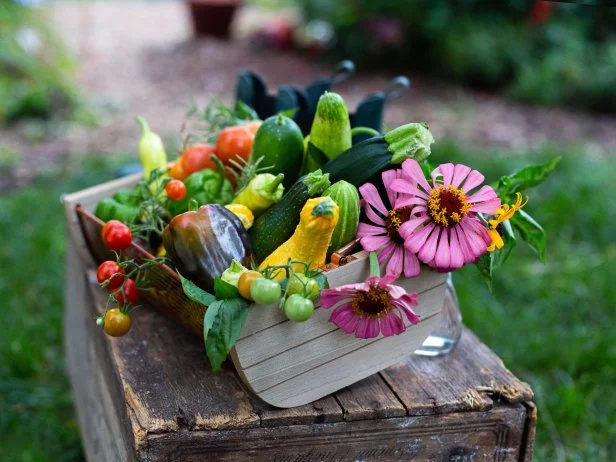
From Garden Bounty to Winter Pantry: Simple Methods for Preserving Your Fall Vegetables
The air is crisp, the leaves are turning vibrant shades of red and gold, and the garden is overflowing with the fruits (and vegetables!) of your labor. Fall is a season of abundance, but it also brings the challenge of preserving that bounty before the first frost arrives. Don't let your hard work go to waste! This year, transform your seasonal harvest into a well-stocked winter pantry. Join us as we explore three simple and effective methods for preserving fall vegetables, ensuring you can enjoy homegrown goodness long after the growing season ends. Get ready to learn about canning, fermenting, and simple storage tips – perfect for even the busiest farmhouse life enthusiast.
Canning: Capturing Summer Flavors in a Jar
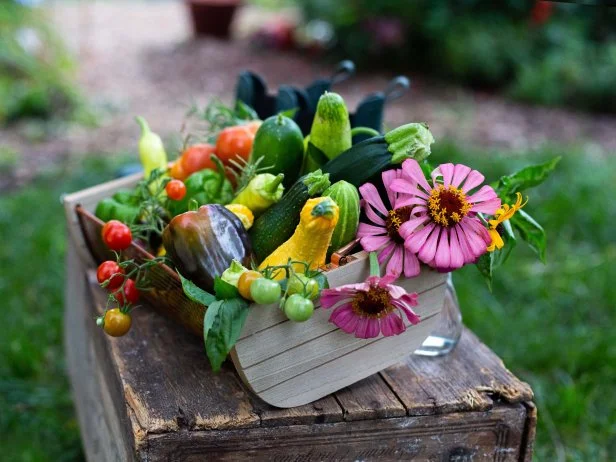
Canning might seem daunting, but it's a fantastic way to preserve tomatoes, beans, pickles and more! By creating a vacuum seal, canning prevents spoilage and allows you to enjoy your homegrown vegetable storage throughout the winter months. The great thing is, there are many simple canning recipes for fall vegetables to suit all experience levels.
Getting Started with Canning:
- Gather Your Supplies: You'll need canning jars, lids, and rings; a large stockpot or canning kettle with a rack; jar lifter; funnel; and basic kitchen utensils. A boiling water bath canner is suitable for high-acid foods like tomatoes and pickles. Pressure canning is essential for low-acid vegetables like green beans and corn to prevent botulism.
- Choose Your Recipe: Select a tested and approved canning recipe from a reputable source like the USDA Complete Guide to Home Canning. Follow the recipe precisely to ensure food safety. I've had great success with canning tomato sauce using my grandmother's recipe (passed down, of course!), but I always double-check the processing times with the USDA guidelines.
- Prepare Your Jars and Vegetables: Wash and sterilize your jars and prepare your vegetables according to the recipe. Pack the vegetables into the jars, leaving the correct headspace. Remove any air bubbles and wipe the jar rims clean.
- Process the Jars: Place the filled jars in the boiling water bath or pressure canner and process for the time specified in the recipe. Once finished, turn off the heat and let the jars sit in the canner for 5 minutes before removing them.
- Check the Seals: As the jars cool, you should hear a "pop" as the lids seal. After 12-24 hours, check the seals by pressing down on the center of each lid. If the lid doesn't flex, it's sealed. If it flexes, the jar didn't seal properly, and the contents should be refrigerated and used within a few days or reprocessed with a new lid. How long do canned vegetables last? Properly canned vegetables can last for a year or more.
Actionable Tip: Invest in a good quality jar lifter! Trust me, it makes the whole process much easier and safer. What equipment do I need for canning vegetables?
Fermenting: Harnessing the Power of Beneficial Bacteria
Fermenting is an ancient method of preserving vegetables that not only extends their shelf life but also enhances their flavor and nutritional value. By creating an environment that favors beneficial bacteria, fermenting vegetables transforms them into probiotic-rich powerhouses. Fermented vegetable recipes for beginners are easy to learn, and the result is delicious and good for you. Is it safe to ferment vegetables? Yes, as long as you follow safe fermentation practices.
Easy Fermentation Steps:
- Choose Your Vegetables: Cabbage (for sauerkraut), cucumbers (for pickles), carrots, beets, and radishes are all excellent choices for fermentation.
- Prepare the Brine: Dissolve 2-3 tablespoons of sea salt per quart of water to create your brine. The salt inhibits the growth of undesirable bacteria while allowing the beneficial bacteria to thrive.
- Pack the Vegetables: Chop or shred your vegetables and pack them tightly into a clean glass jar. Leave about an inch of headspace at the top.
- Submerge in Brine: Pour the brine over the vegetables, ensuring they are completely submerged. Use a weight (like a glass fermentation weight or a small jar filled with water) to keep the vegetables below the brine. This prevents mold growth.
- Ferment: Cover the jar loosely with a lid or cloth secured with a rubber band. This allows gases to escape while preventing insects from entering. Ferment at room temperature (65-75°F) for 1-4 weeks, depending on the vegetables and your taste preferences. Taste-test regularly. Bubbles indicate fermentation is happening.
- Store: Once fermented to your liking, transfer the jar to the refrigerator to slow down the fermentation process. Fermented vegetables can last for several months in the refrigerator. What is the best way to preserve vegetables? Fermentation is one of the healthiest ways!
Personal Anecdote: I remember the first time I tried fermenting sauerkraut. The smell in the kitchen was... intense! But after a few weeks, the flavor transformed into something incredibly tangy and delicious. Now, I ferment a big batch every fall.
Root Cellaring: Embracing Traditional Storage Techniques
Root cellaring is a time-honored method of homegrown vegetable storage that takes advantage of cool, humid conditions to keep certain vegetables fresh for months. While a dedicated root cellar is ideal, you can also adapt a cool basement, garage, or even a buried container for fall garden storage.
Root Cellaring Essentials:
- Choose the Right Vegetables: Root vegetables like potatoes, carrots, beets, turnips, parsnips, and onions are well-suited for root cellaring. Winter squash and apples can also be stored this way.
- Harvest Carefully: Handle your vegetables with care during harvest to avoid bruising or damaging them. These injuries can create entry points for spoilage organisms.
- Curing: Some vegetables, like potatoes and onions, benefit from a curing period before storage. This involves drying them in a warm, well-ventilated place for a week or two to toughen their skins.
- Storage Conditions: The ideal storage conditions for root cellaring are cool (32-40°F) and humid (80-90%). This can be difficult to achieve without a dedicated root cellar, but you can use techniques like wrapping vegetables in damp burlap or storing them in containers filled with moist sand or sawdust to maintain humidity.
- Regular Monitoring: Check your stored vegetables regularly for signs of spoilage. Remove any rotten vegetables promptly to prevent them from affecting the rest of your harvest. How do you store potatoes without a root cellar? You can store potatoes in a cool, dark basement in a breathable container.
Practical Example: I use an old chest freezer (unplugged, of course!) in my garage as a makeshift root cellar. It stays relatively cool and dark, providing a decent environment for storing potatoes and squash. Root cellaring tips for storing fall harvest: Temperature and humidity are key!
Embracing the Harvest: A Sustainable Approach
These three methods – canning, fermenting, and root cellaring – offer a wonderful way to extend your seasonal harvest, reduce food waste, and enjoy the flavors of fall throughout the winter. Each technique has its own unique benefits and challenges, so experiment and find what works best for you and your family. By taking the time to preserve your homegrown vegetables, you're not only filling your pantry but also connecting with the traditions of sustainable home and farmhouse life. Remember, the easiest ways to preserve homegrown tomatoes might be the best for your needs.
What are your favorite fall harvest preservation methods? Share your tips and experiences in the comments below! And be sure to subscribe to our newsletter for more organic gardening tips, backyard projects, and inspiration for cozy living all year round.