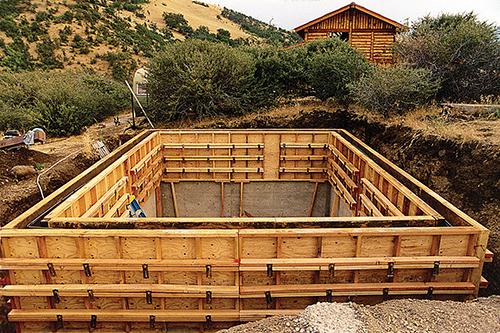
From Garden Bounty to Winter Feast: Building a Budget-Friendly DIY Root Cellar
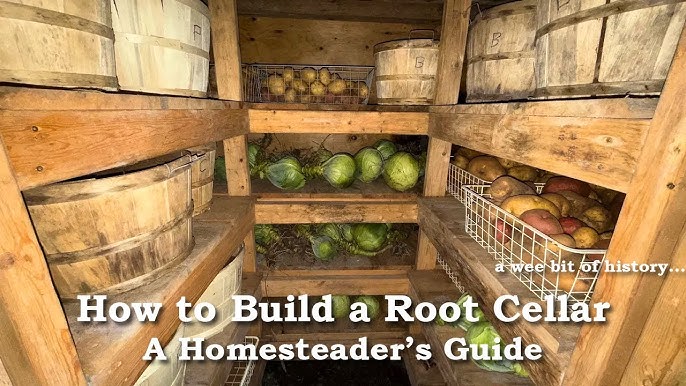
Remember that time you bought a beautiful bunch of carrots, only to find them wilted and sad in the crisper drawer a week later? Or the feeling of guilt when you had to compost the last of your summer tomatoes that never ripened in time? As homesteaders, we dream of minimizing food waste and maximizing the fruits (and vegetables!) of our labor. That's why, Sarah, and anyone else diving into beginner homesteading, a DIY root cellar is a game-changer. Imagine pulling crisp apples and perfectly preserved potatoes from your own cool, dark storage space in the dead of winter. Sounds amazing, right? This guide will show you how to build a budget root cellar using reclaimed materials, perfect for beginner homesteading.
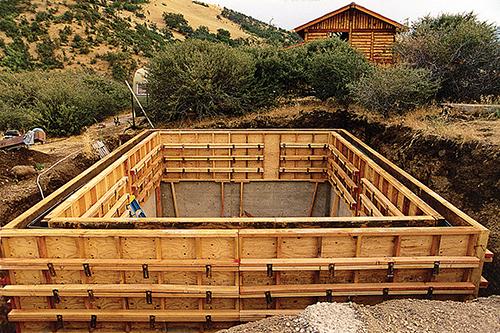
Why a Root Cellar? Addressing Your Concerns
I know what you might be thinking: "This sounds complicated. I've never built anything!" Or maybe, "Won't pests and moisture ruin everything?" These are valid concerns! But trust me, building a simple, functional root cellar is more achievable than you think, even if you're a complete beginner.
- No Power Tools? No Problem! While power tools can speed things up, this guide focuses on a design that can be built with minimal tools. We'll prioritize repurposing materials to minimize cutting and shaping.
- Pest Control is Key: Proper sealing and ventilation are your best defenses. We'll cover simple methods to deter rodents and insects naturally.
- Moisture Management: A well-drained location and proper ventilation will prevent mold and spoilage. We'll discuss how to find the right spot and ensure adequate airflow.
The benefits are immense. You'll save money on groceries by storing your own harvest longer, reduce food waste, and gain a deeper sense of self-sufficiency. Plus, there's nothing quite like the satisfaction of enjoying a meal made with produce you grew and preserved yourself!
Planning Your Budget Root Cellar
Before we start construction, let's lay the groundwork (literally!).
1. Location, Location, Location:
- Ideally, choose a spot that's naturally cool and shaded, like the north side of your house or under a large tree.
- Good drainage is crucial. Avoid low-lying areas that collect water.
- Consider accessibility. You'll be hauling produce to and from the cellar, so make sure it's relatively easy to reach.
- Even a partially underground structure will work wonders.
2. Size Matters (But Not Too Much):
- Start small! A 4x4 or 6x6 foot cellar is plenty for a beginner homesteader. You can always expand later.
- Think about the amount of produce you realistically want to store.
3. Materials List (Embrace the Reclaimed!):
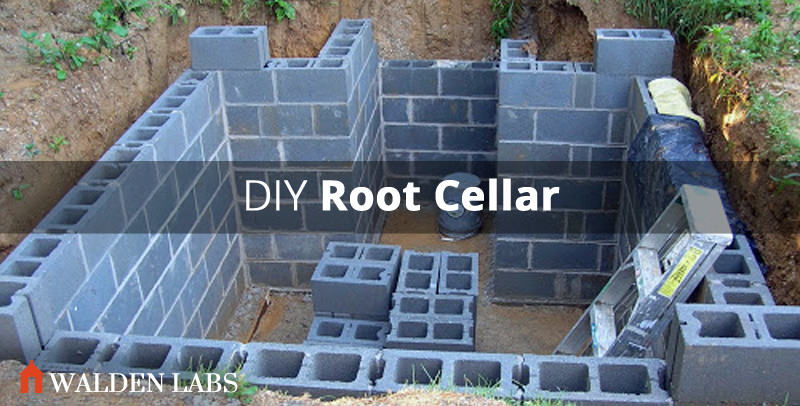
- Foundation: Reclaimed concrete blocks or sturdy pallets (untreated)
- Walls: More pallets, reclaimed lumber, or even earthbags
- Roof: Corrugated metal roofing (often found used), thick plastic sheeting, and a layer of earth for insulation
- Door: An old solid-core door or a simple wooden frame with salvaged lumber.
- Ventilation: PVC pipes or repurposed dryer vents
- Insulation (Optional): Straw bales, recycled denim insulation, or even tightly packed leaves.
- Fasteners: Screws, nails, and construction adhesive
Estimated Cost: Depending on the availability of reclaimed materials, you could build this budget root cellar for under $200!
4. Tools of the Trade:
- Shovel
- Level
- Measuring tape
- Saw (hand saw or circular saw)
- Drill/Driver
- Hammer
- Safety glasses
- Gloves
Step-by-Step Guide to Building Your Reclaimed Root Cellar
Okay, Sarah, let's get building!
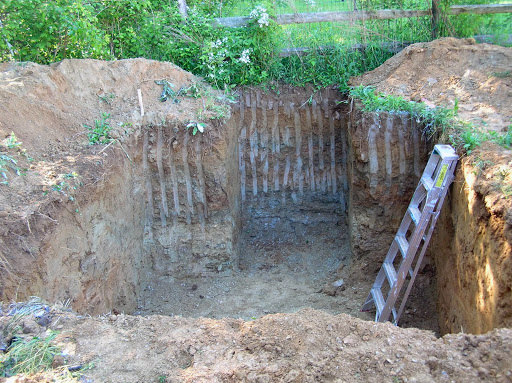
Step 1: Preparing the Site
- Clear the area of vegetation and debris.
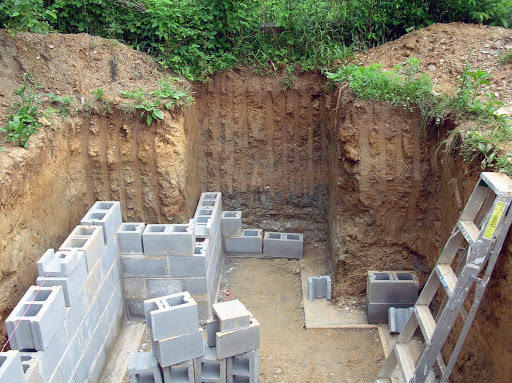
- Dig a shallow trench for your foundation (concrete blocks or pallets). This doesn't need to be deep, just enough to create a level base.
- Level the ground with sand or gravel.
Step 2: Laying the Foundation
- Place your concrete blocks or pallets in the trench, ensuring they are level. This is crucial for a stable structure.
- Fill any gaps with gravel or sand to prevent settling.
Step 3: Constructing the Walls
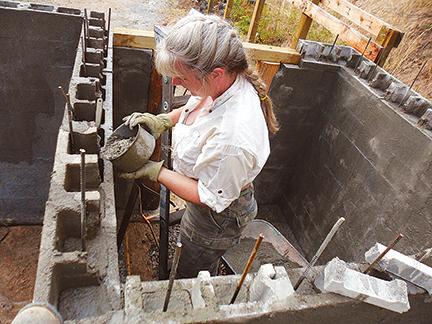
- If using pallets, stack them securely on top of the foundation, attaching them to each other with screws or nails. Consider an inward tilt to the walls for extra stability.
- If using reclaimed lumber, build a simple frame and clad it with the lumber.
- Remember to leave an opening for the door!
Step 4: Building the Roof
- This is where you can get creative! A simple roof can be built with angled lumber beams covered with corrugated metal roofing.
- For extra insulation, cover the metal roofing with a thick layer of plastic sheeting and then a layer of earth (at least 6-12 inches).
- Ensure the roof extends beyond the walls to prevent water from running down the sides.

Step 5: Installing the Door and Ventilation
- Hang your reclaimed door on hinges. Seal any gaps around the door frame with weather stripping.
- Install ventilation pipes near the floor and ceiling to promote airflow. This is crucial for preventing moisture buildup. Consider adding a screen to prevent pests from entering.
Step 6: Finishing Touches
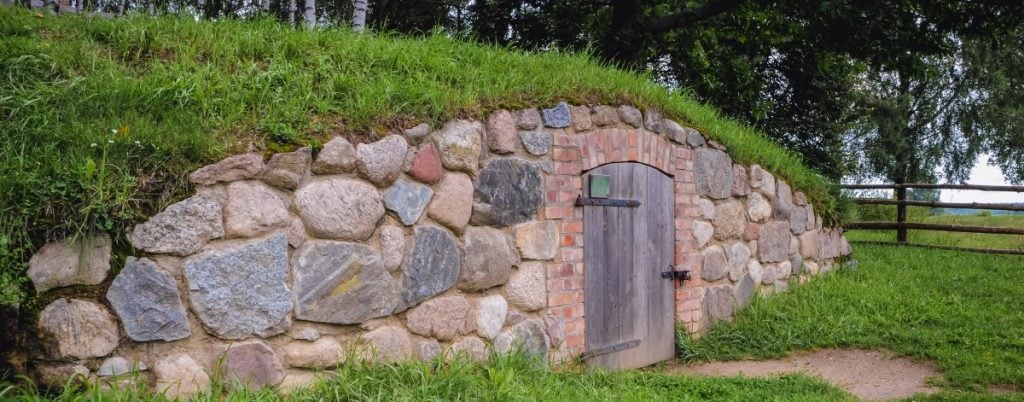
- Backfill around the walls with soil to provide insulation and stability.
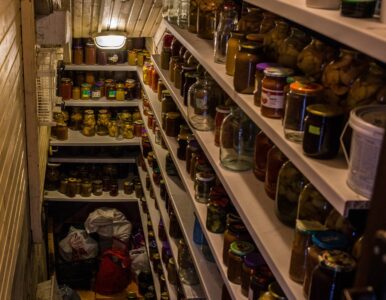
- Add shelving inside the cellar to organize your produce.
- Consider lining the floor with gravel or sand for drainage.
Root Cellar Maintenance and Best Practices
- Temperature Monitoring: Use a thermometer to monitor the temperature inside the cellar. Ideally, you want to maintain a temperature between 32-40°F (0-4°C).
- Humidity Control: Maintain a humidity level of 85-95%. You can increase humidity by sprinkling water on the floor or placing containers of water inside the cellar.
- Regular Inspections: Check your produce regularly for signs of spoilage. Remove any rotten items immediately to prevent them from affecting the rest of your harvest.
- Pest Control: Use natural pest deterrents like diatomaceous earth or herbs like mint and rosemary.
The Sweet Rewards of Your Labor
Imagine this: It's January. The wind is howling outside, and snow is piled high. But you, Sarah, are warm and cozy inside, preparing a delicious meal with potatoes, carrots, and onions that you harvested from your own garden and stored in your DIY root cellar. You’ve built a budget root cellar on your property with reclaimed materials, and now it's time to reap the fruits of your labor. You are saving money on groceries, eating healthier, and experiencing the incredible satisfaction of self-sufficiency. All thanks to your very own reclaimed root cellar. This is the dream of beginner homesteading – a dream within your reach!
Ready to take the plunge? What questions do you have about building your own root cellar? Share your thoughts and experiences in the comments below! We're all in this together!