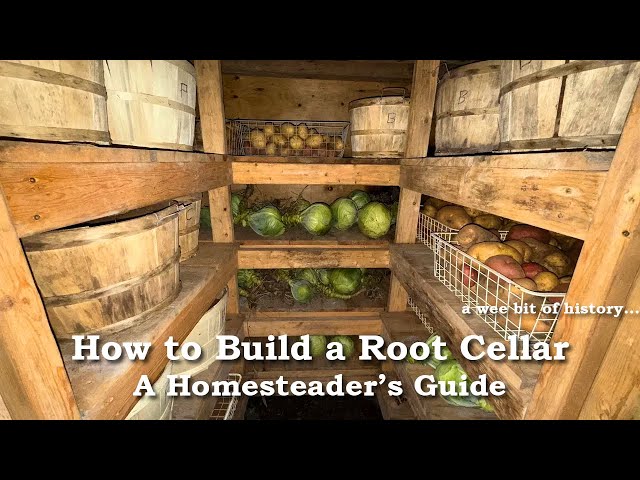
From Empty Shelves to Bountiful Harvest: Building Your Own Low-Cost Backyard Root Cellar
Remember that bone-chilling winter a few years back? The one where the grocery store shelves were practically bare, and the price of a wilted head of lettuce rivaled a fancy steak? That's when I knew something had to change. Relying solely on external food systems felt… vulnerable. That's when I started seriously considering a root cellar. Now, after a little sweat equity, I have a DIY root cellar nestled in my backyard, a constant reminder of food security and the satisfaction of preserving my harvest for the lean winter months. This post is for all you intermediate homesteaders out there ready to take the leap and build your own.
It's not just about saving money (though that's a fantastic perk!). It's about increasing your homestead's homestead resilience – reducing your dependence on outside sources and taking control of your food supply. A winter food storage solution like a root cellar allows you to enjoy the fruits (and vegetables!) of your labor long after the growing season ends. Ready to dig in? Let's get started!
Why Build a Root Cellar?
Before we dive into the nitty-gritty, let's solidify why a root cellar is a game-changer for any serious homesteader:
- Food Security: Knowing you have a supply of homegrown produce to fall back on is incredibly reassuring.
- Cost Savings: Say goodbye to exorbitant grocery bills for out-of-season vegetables.
- Improved Nutrition: Enjoy fresh, nutrient-rich food all winter long, without the additives and preservatives found in store-bought items.
- Reduced Food Waste: Properly stored produce lasts significantly longer, minimizing spoilage and waste.
- Increased Self-Sufficiency: Taking control of your food supply is a powerful step towards self-reliance.
Planning Your Root Cellar: Key Considerations
Building a low-cost root cellar doesn't have to be intimidating. Careful planning is crucial. Here's what to consider:
1. Location, Location, Location:
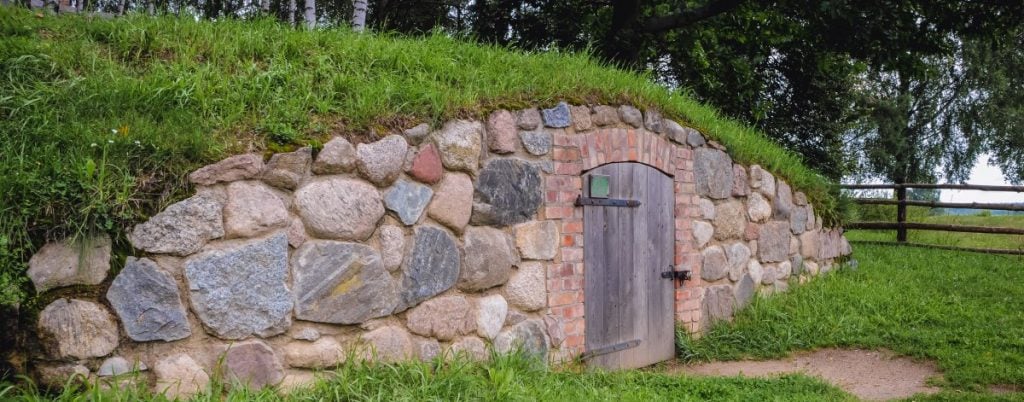
The ideal location is a north-facing slope, protected from direct sunlight. You want a spot that remains cool and consistently moist. Avoid areas prone to flooding or with poor drainage. A naturally shady area near your garden is perfect.
2. Size Matters:
Consider your storage needs. A small root cellar (e.g., 6' x 8') is often sufficient for a family, but scale accordingly. Think about the volume of produce you typically harvest and the space required for shelves, bins, and walkways.
3. Design Options:
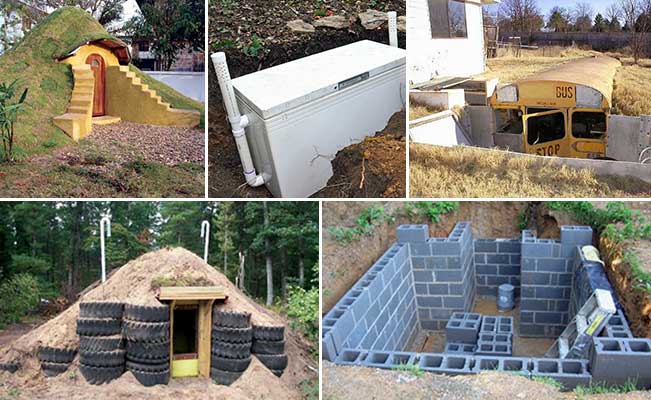
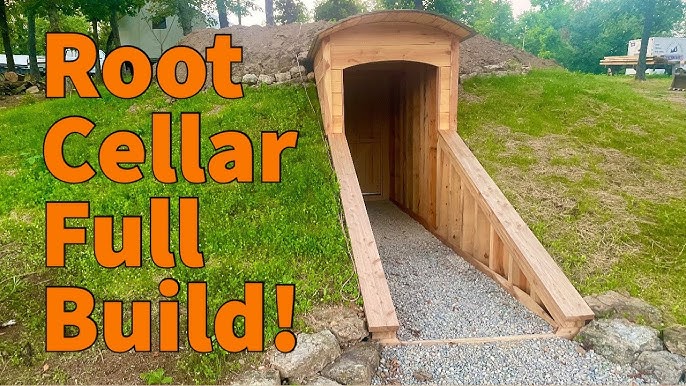
There are several root cellar designs, from simple earthen pits to more elaborate structures built into a hillside. For a low-cost approach, consider a partially buried structure using readily available materials.
4. Materials:
Think about using reclaimed or recycled materials whenever possible. Concrete blocks, wood, and even old tires can be repurposed. Proper insulation is essential to maintain a consistent temperature.
5. Ventilation and Drainage:
These are critical. We'll cover these in detail later.
Step-by-Step Guide to Building Your Root Cellar
This guide outlines a basic partially buried root cellar design. Always adapt to your specific needs and site conditions. Safety First! Always wear appropriate safety gear, including eye protection and gloves. Check your local building codes before starting any construction project.
Step 1: Site Preparation and Excavation
- Clear the chosen area of vegetation and debris.
- Excavate the site to the desired depth (typically 3-4 feet). This will depend on your design and the local frost line.
- Ensure the base is level and compacted.
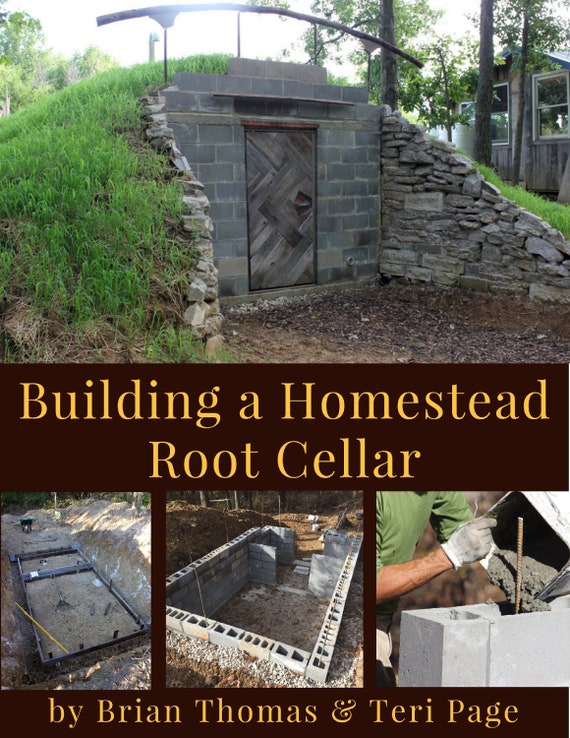
Step 2: Building the Walls
- Construct the walls using concrete blocks, wood, or other suitable materials.
- If using concrete blocks, ensure they are properly mortared together.
- Frame the walls for a wooden structure, ensuring adequate support and bracing.
Step 3: Roofing and Insulation
- Construct a roof that slopes away from the entrance to prevent water accumulation.
- Use sturdy rafters and roofing materials.
- Insulate the roof with straw bales, earth, or other insulating materials. Aim for an R-value of at least R-20.
Step 4: Entrance and Door
- Build a sturdy, insulated door to prevent drafts and maintain a consistent temperature.
- Consider a double door system for added insulation.
- Ensure the entrance is accessible and weather-protected.
Step 5: Ventilation – The Key to Success
Proper ventilation is crucial to prevent mold and maintain optimal storage conditions.
- Install two ventilation pipes: one low near the floor and one high near the ceiling. This creates a natural convection current.
- Use PVC pipe or metal ducting.
- Install dampers to control airflow.
- Screen the openings to prevent pests from entering.
Step 6: Drainage – Preventing a Soggy Mess
- Install a drainage system to prevent water from accumulating in the root cellar.
- Consider a French drain around the perimeter of the structure.
- Ensure the floor is slightly sloped towards a drain.
- A gravel floor can help with drainage and humidity control.
Step 7: Shelving and Storage
- Build shelves to maximize storage space.
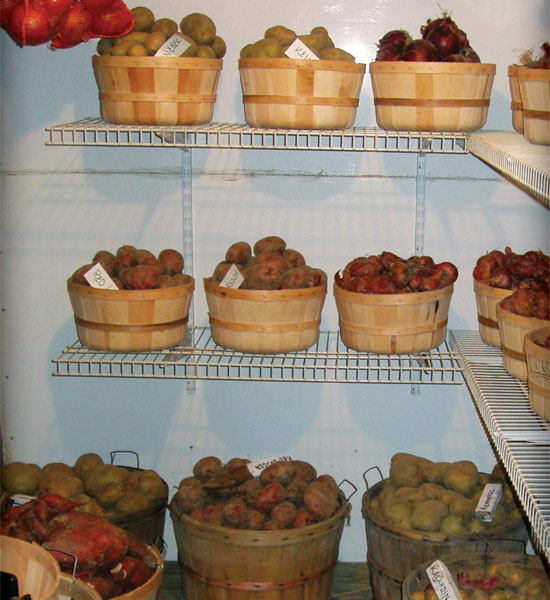
- Use wooden crates, bins, and baskets to organize your produce.
- Label everything clearly.
Common Challenges and Solutions:
- Drainage Issues: Ensure proper grading around the root cellar to direct water away. Install a sump pump if necessary.
- Ventilation Problems: Monitor temperature and humidity levels. Adjust the dampers on your ventilation pipes as needed. Ensure both inlets and outlets are clear.
- Pest Control: Seal any cracks or openings. Use traps if necessary. Practice good hygiene and remove any rotting produce promptly.
- Condensation: Increase ventilation. Add a layer of gravel to the floor.
- Choosing the Right Location: If a north-facing slope is not available, create shade with trees or a trellis.
Stocking Your Root Cellar: What to Store
Here's what I plan on storing in my root cellar this year, significantly improving our family's nutrition and slashing our winter grocery bill:
- Root Vegetables: Potatoes, carrots, beets, turnips, parsnips, rutabagas
- Alliums: Onions, garlic, shallots
- Fruits: Apples, pears
- Winter Squash: Butternut, acorn, spaghetti
- Cabbage: Stored upside down to preserve moisture
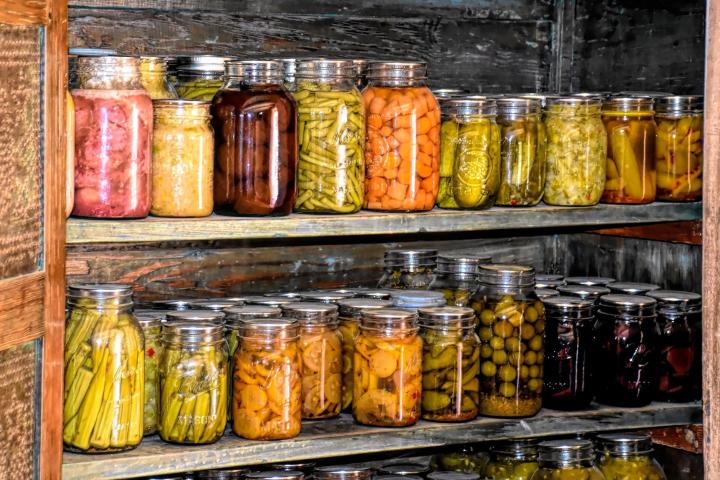
- Preserved Goods: Canned fruits, vegetables, and jams.
Proper storage techniques are key! Different vegetables require different temperature and humidity levels. Research the optimal conditions for each type of produce. Use sand, sawdust, or peat moss to maintain humidity and prevent spoilage.
Enhancing Homestead Resilience
My DIY root cellar is more than just a storage space; it's a tangible expression of homestead resilience. It empowers me to reduce my reliance on external food systems and increase my family's food security. By preserving my harvest, I ensure access to nutritious, homegrown food throughout the winter months. This not only improves our diet but also significantly reduces our grocery expenses. That’s less money spent at the store and more money to invest back into my homestead.
Furthermore, winter food storage in a root cellar reduces food waste. Properly stored produce lasts much longer, minimizing spoilage and ensuring that the fruits (and vegetables!) of my labor are enjoyed to their fullest potential. It’s a virtuous cycle – growing, preserving, and consuming – that strengthens the foundation of my homestead.
Ready to Build Your Own?
Building a root cellar is a rewarding project that will enhance your homestead for years to come. While it requires effort, the benefits of winter food storage, increased self-sufficiency, and improved food security are well worth the investment.
Now, I want to hear from you! What are your favorite food preservation techniques? Have you built a root cellar? What challenges did you face? Share your experiences and ask your questions in the comments below! Let's learn from each other and build a more resilient future, one root cellar at a time.