From Drafty to Delightful: DIY Window Insulation for a Cozier Homestead Winter
Meta Description: Stop winter drafts and save money on your homestead! This beginner-friendly DIY guide shows you how to insulate windows for a warmer, more energy-efficient home. #homesteading #DIY #energyefficiency #windowinsulation #draughtproofing
The wind howled outside, a familiar winter serenade on our little homestead. But this year, the symphony included an unwelcome high-pitched whistle – the sound of precious heat escaping through our old, drafty windows. We could practically feel the cold air seeping in, despite cranking up the wood stove. Our heating bills were astronomical, and frankly, the house just felt…uncomfortable. We knew something had to change. That's when we decided to tackle a DIY window insulation project. This isn't just about saving money (although that's a HUGE perk!); it's about becoming more self-sufficient, reducing our reliance on external energy, and creating a truly cozy and resilient homestead.
The "How": A Step-by-Step Guide to Window Insulation
This project is perfect for beginner homesteaders. No specialized skills are needed, just a bit of time and elbow grease! We'll be focusing on a combination of techniques to tackle different types of drafts.
Step 1: Gather Your Tools and Materials
Here's what you'll need. I've included estimated costs, but remember to shop around and look for deals! You can often find materials at your local hardware store or even repurpose items you already have. Sourcing materials sustainably is key for self-sufficient homesteading!
- Weather Stripping (foam, felt, or rubber): $10-20 (depending on the length needed) - Use for sealing gaps around window frames.
- Caulk (acrylic latex or silicone): $5-10 - For sealing cracks and crevices around the window frame and sill.
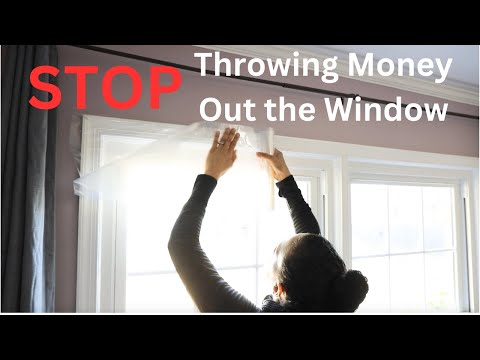
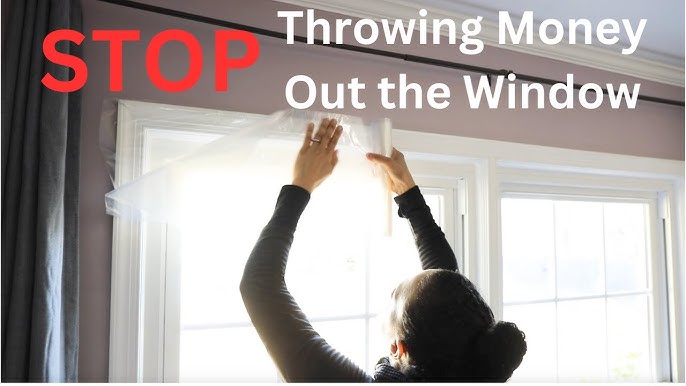
- Clear Plastic Window Film Insulation Kit: $15-30 (depending on the number of windows) - Creates an insulating air pocket.

- Double-Sided Tape: Included in the window film kit, or purchase separately for other uses.
- Heavy Curtains or Thermal Drapes: $20-50+ (depending on size and quality) - An added layer of insulation and draft blocking.
- Optional: Cellular Shades: $30+ (depending on size and brand) - Even MORE insulation, particularly useful if you dont have curtains.

- Tools:
- Utility Knife or Scissors
- Measuring Tape
- Caulk Gun (if using caulk tubes)
- Heat Gun or Hair Dryer (for shrinking window film)
- Cleaning Supplies (soap, water, and a cloth)
Step 2: Prepare the Windows
This is crucial for a good seal!
- Clean the window frames: Remove any dirt, dust, or old caulk. Use soap and water, and let it dry completely.
- Inspect for cracks and gaps: Identify any areas where air is leaking in. Pay close attention to the corners and where the window meets the wall.
- Remove old weather stripping: If there's existing weather stripping, remove it carefully with a scraper or utility knife.
Step 3: Apply Weather Stripping
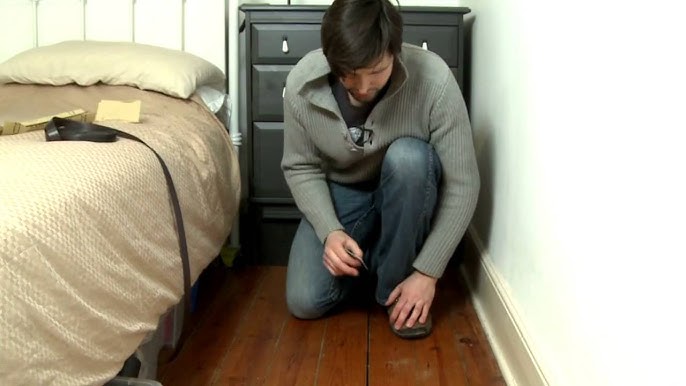
- Measure and cut: Measure the length of the window frame where you'll be applying the weather stripping. Cut the weather stripping to the appropriate length.
- Peel and stick: Remove the backing from the weather stripping and carefully apply it to the window frame. Press firmly to ensure a good seal. Focus on the areas where the window sash meets the frame.
- Check the seal: Close the window and feel for any remaining drafts. If you find any, add more weather stripping as needed.
Troubleshooting:
- Weather stripping not sticking? Make sure the surface is clean and dry. You may need to use a stronger adhesive for uneven surfaces.
Step 4: Caulk Any Gaps
- Load the caulk gun: Insert the caulk tube into the caulk gun and cut the tip at a 45-degree angle.
- Apply the caulk: Apply a thin, even bead of caulk along any cracks or gaps around the window frame and sill.
- Smooth the caulk: Use your finger (wet it first to prevent sticking) or a caulk smoothing tool to create a smooth, professional finish.

- Let it dry: Allow the caulk to dry completely according to the manufacturer's instructions.
Troubleshooting:
- Caulk cracking? Use a flexible caulk specifically designed for windows and doors.
- Messy caulk lines? Practice on a piece of cardboard before applying to the window.
Step 5: Install Window Film
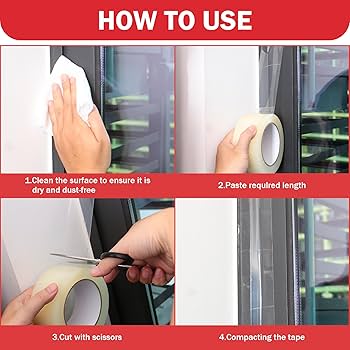
- Clean the window: Make sure the window glass is clean and dry.
- Apply double-sided tape: Apply the double-sided tape around the perimeter of the window frame.
- Measure and cut the film: Measure the window and cut the plastic film slightly larger than the window opening.
- Attach the film: Carefully attach the film to the double-sided tape, starting at the top and working your way down. Pull the film taut to avoid wrinkles.
- Shrink the film: Use a heat gun or hair dryer to shrink the film, removing any wrinkles and creating a tight seal. Start in the center and work your way outwards.
Troubleshooting:
- Wrinkles in the film? Use the heat gun or hair dryer to gently shrink the film and remove the wrinkles.
- Film not sticking? Make sure the double-sided tape is securely attached to the window frame.
Step 6: Add Curtains or Blinds (for extra insulation)
Finally, add heavy curtains or thermal drapes to provide an extra layer of insulation. Close them at night to trap heat inside and open them during the day to let the sun shine in. Cellular shades offer extra insulation too!

The "Results": A Warmer Home and a Lighter Wallet
After completing this project, the difference was immediately noticeable. The house felt significantly warmer, and the drafts were gone. We could finally sit by the windows without feeling a chill!
But the real proof was in the pudding. After monitoring our energy usage for a month, we saw a 15% reduction in our heating bill! That's a significant saving that will only increase as energy prices continue to rise. The initial investment in materials paid for itself in just a few months.
The "Homesteading Philosophy": Embracing Self-Sufficiency
This DIY window insulation project perfectly embodies the homesteading spirit. It's about taking control of our resources, reducing our reliance on external systems, and creating a more sustainable and comfortable living environment. Every small step we take towards self-sufficiency brings us closer to a more fulfilling and meaningful connection with nature and our home. It feels great to not only be saving money, but reducing the burden on fossil fuels and lowering your carbon footprint. Beginner homestead projects like these can be incredibly fulfilling.
Call to Action
Ready to tackle your own window insulation project? What are some other areas of your home you're looking to make more energy-efficient? Share your experiences, ask questions, and inspire others in the comments below! We'd love to see photos of your own DIY homesteading projects!