From Crumbling to Cozy: DIY Farmhouse Insulation for a Warmer Homestead and Lighter Wallet
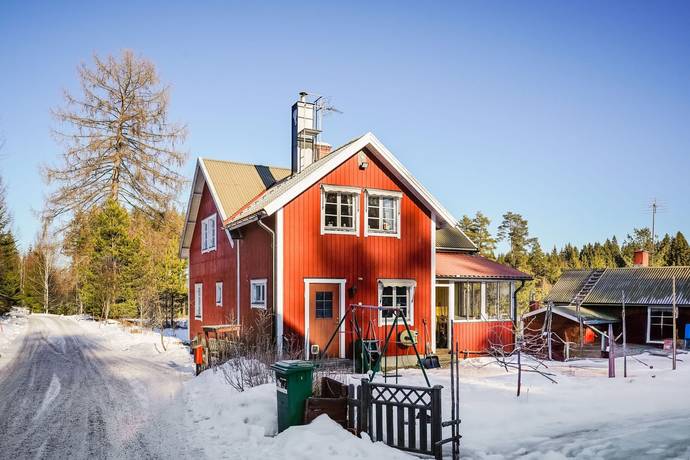
Hello, neighbors! Pull up a chair, let’s share a cup of chamomile, and I’ll tell you about a project that's been keeping me busy (and warmer!) these past few months: insulating our old farmhouse. If your place is anything like mine – built back when energy efficiency was about as much of a concern as dial-up speed – then this might be just the ticket to a more self-sufficient, resilient, and comfortable homestead.
The truth is, our heating bills were astronomical. We’re talking "mortgage payment" level astronomical. I knew something had to give. We could barely afford to keep the place at a comfortable temperature during the long winters. That's when the idea of tackling the farmhouse insulation project took root. It was daunting, I won't lie. Visions of dusty attics, itchy fiberglass, and unexpected structural surprises danced in my head. But the prospect of significant savings, increased comfort, and a smaller carbon footprint spurred me on. And honestly, there's a certain satisfaction in knowing you're improving your home with your own two hands, making it more resilient for whatever the future holds. This project directly addressed our needs for Homesteading Self-Sufficiency and Resilient Homesteading Projects.
Why Insulation Matters: More Than Just Warmth
Before we dive into the "how," let's quickly touch on the "why." Proper insulation does more than just keep you warm in winter and cool in summer. It also:
- Reduces Energy Consumption: Lower heating and cooling bills mean more money in your pocket and less strain on the environment.
- Increases Comfort: Eliminates drafts and temperature fluctuations for a more consistently comfortable home.
- Protects Your Home: Prevents moisture buildup, which can lead to mold, rot, and structural damage.
- Increases Property Value: A well-insulated home is more attractive to potential buyers.
The Project: Insulating Our Attic with Rockwool (and a few surprises!)
I chose the attic as our starting point because that's where a significant amount of heat loss occurs (heat rises, after all!). I opted for Rockwool insulation batts. Rockwool is a mineral wool insulation made from recycled rock and slag. It’s more expensive than fiberglass, but offers better fire resistance, soundproofing, and moisture resistance. Plus, it's made from recycled materials, which aligned perfectly with our DIY Sustainable Homestead goals.
Step 1: Assessment and Planning (Allow 1-2 Days)
This is crucial. Don't skip it!
- Inspect the Attic: Put on a mask, gloves, and protective eyewear. Head up to your attic and take a good look around. Identify any existing insulation, check for signs of moisture, pests, or structural issues. We found evidence of some old rodent activity (thankfully, long gone) and a few leaky spots in the roof that needed patching before we could even think about insulating.
- Measure and Calculate: Measure the square footage of the attic floor and the space between the joists. This will help you determine how much insulation you need. I used an online insulation calculator to get a rough estimate, then added a little extra to account for waste.
- Address Any Issues: Before insulating, you must address any leaks, pest infestations, or structural problems. We patched the roof leaks with roofing sealant and cleared out any debris left by the rodents.
- Plan for Ventilation: Proper attic ventilation is essential to prevent moisture buildup. Make sure your soffit vents are clear and consider adding a ridge vent or gable vents if needed.
Step 2: Gathering Materials and Tools (Allow 1 Day)
Here’s what you’ll need for this Beginner Homesteading Project:
- Rockwool Insulation Batts: Purchase the appropriate R-value for your climate zone. I aimed for R-38.
- Safety Gear: Dust mask, gloves, eye protection, long sleeves, and pants.
- Utility Knife: For cutting the insulation.
- Measuring Tape: For accurate measurements.
- Staple Gun and Staples: To secure the insulation (optional, but recommended).
- Caulk or Expanding Foam: To seal any gaps or cracks.
- Lumber (if needed): For creating dams or baffles to prevent insulation from blocking vents.
- Headlamp or Work Light: Attics can be dark!
- Optional: Insulation Support Wire: This can help keep the insulation from sagging over time.
Where to Buy: You can find Rockwool insulation and other materials at most home improvement stores like Home Depot, Lowe's, or Menards. You may also be able to find it at local building supply stores. For reclaimed lumber (if needed), check with local salvage yards – you might find what you need for a fraction of the price!
Step 3: Insulating the Attic (Allow 2-3 Days, depending on attic size)
- Prepare the Attic: Lay down plywood sheets or planks to create a safe and stable working surface. This is especially important if you're walking on exposed joists.
- Cut the Insulation: Measure the distance between the joists and cut the insulation batts to fit snugly. Use a sharp utility knife and a straight edge for clean cuts. Remember to wear your safety gear!
- Install the Insulation: Place the insulation batts between the joists, ensuring they fit snugly without being compressed. The paper facing (if present) should face down towards the living space. If using insulation support wire, install it now to prevent sagging.
- Seal Gaps and Cracks: Use caulk or expanding foam to seal any gaps or cracks around pipes, wires, or other penetrations. This will help prevent air leaks.
- Ventilation Baffles: Install ventilation baffles along the eaves to prevent insulation from blocking the soffit vents.
- Second Layer (Optional): If you need additional R-value, you can install a second layer of insulation perpendicular to the first layer.
Step 4: Cleanup and Inspection (Allow 1 Day)
- Clean Up: Remove any debris, scraps of insulation, and tools from the attic.
- Inspect Your Work: Double-check that all gaps and cracks are sealed and that the insulation is properly installed. Make sure the ventilation baffles are in place and that the soffit vents are clear.
My Struggles and Triumphs (aka "What I Learned the Hard Way")
Okay, so it wasn't all smooth sailing. I definitely had a few "aha!" moments and some "what was I thinking?" moments.
- The Rodent Issue: Finding evidence of past rodent activity was a bit unsettling. It highlighted the importance of proper sealing and pest control measures.
- The Leaky Roof: Discovering the roof leaks before insulating saved me a lot of headaches (and potentially costly repairs) down the road.
- The Itch Factor: Even with long sleeves and gloves, I still ended up with some itchy skin from the Rockwool. Next time, I'll invest in a better quality dust mask and consider wearing a Tyvek suit.
- The Satisfaction: Despite the challenges, there's a tremendous sense of satisfaction in knowing I've made a significant improvement to our home's energy efficiency and comfort. And the savings on our heating bill have been noticeable already!

Homesteading Harmony: A Step Towards Self-Sufficiency
This project is just one piece of the puzzle in our journey towards self-sufficiency. By reducing our energy consumption, we're lessening our reliance on external resources and lowering our carbon footprint. It aligns perfectly with the values of sustainable living and connection to nature that are at the heart of homesteading. This is part of a larger set of DIY Homesteading Projects.
Call to Action: Time to Get Started!
So, what are you waiting for? Don't let another winter (or summer) go by with sky-high energy bills and a drafty house! Take the first step towards a warmer, more comfortable, and more self-sufficient homestead by tackling your own insulation project.
Here are a few immediate next steps you can take:
- Inspect your attic or crawl space: Identify any areas where insulation is lacking or damaged.
- Research insulation options: Consider Rockwool, fiberglass, cellulose, or other materials.
- Get a quote from a professional (optional): If you're not comfortable doing the work yourself, get a quote from a reputable insulation contractor.
- Start small: Even insulating a single room can make a noticeable difference.
What are your biggest homesteading dreams? How can this project help you get there? Share your thoughts and experiences in the comments below! We are here to share Easy Homesteading Projects. I'm always eager to learn from my neighbors!