From Coop Dreams to Fresh Eggs: Building a Budget-Friendly Chicken Coop
Are you dreaming of fresh eggs every morning, the satisfying cluck of contented hens in your backyard, and a deeper connection to your food source? Raising chickens can be a rewarding experience for any homesteader, but the initial investment in a coop can be daunting. Don't let that stop you! This detailed, step-by-step guide will walk you through building a budget-friendly chicken coop that will keep your feathered friends safe, happy, and laying those delicious eggs. This project strengthens self-sufficiency, provides peace of mind, and connects you to the rhythm of nature. We'll cover everything from choosing the right materials to predator-proofing, ensuring your flock's safety and your peace of mind. Remember to research local ordinances regarding backyard chickens before beginning.

Planning Your Coop: Size, Location, and Design
Before you even pick up a hammer, careful planning is essential. Consider these factors:
- Number of Chickens: A general rule of thumb is 4 square feet of coop space per chicken and 8-10 square feet of outdoor run space per chicken. So, for six chickens, you'll need a coop that's at least 24 square feet and a run that's at least 48 square feet.
- Location: Choose a well-drained location that receives partial sun and shade. Avoid low-lying areas that can become waterlogged. Proximity to your house can be convenient, but consider potential noise and odor.
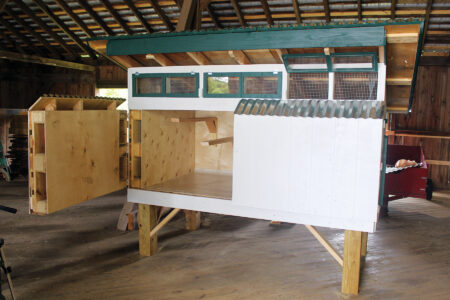
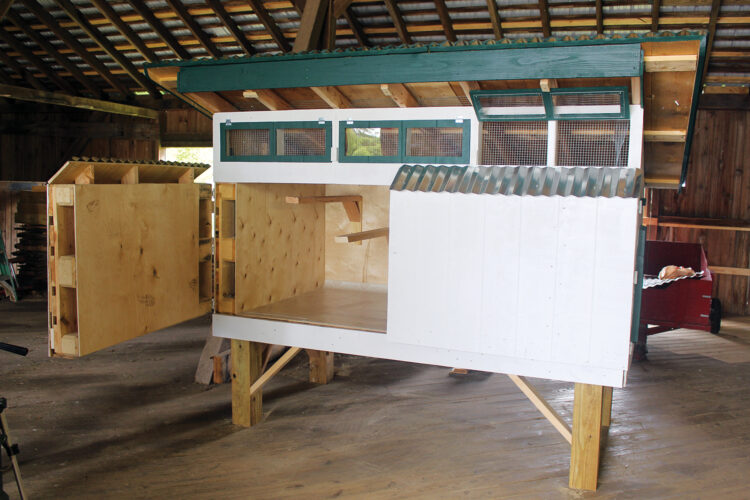
- Design: Keep it simple! A rectangular coop with a slanted roof is easy to build and provides good ventilation. Ensure adequate ventilation to prevent moisture buildup, which can lead to respiratory problems in chickens. Include a roosting bar, nesting boxes (one for every 3-4 hens), and easy access for cleaning.
Materials List: Keeping it Budget-Friendly
The key to building a budget-friendly chicken coop is to utilize reclaimed or recycled materials whenever possible. Here's a suggested list:
- Lumber: Scour local classifieds, online marketplaces, or construction sites for discarded lumber. Pallets (untreated) can be disassembled and repurposed.
- Plywood: For the coop walls and roof. Again, check for discounted or reclaimed plywood.
- Hardware Cloth: This is crucial for predator-proofing the run. Use 1/2-inch mesh hardware cloth buried at least 12 inches deep to deter digging predators.
- Roofing Material: Asphalt shingles, metal roofing, or even repurposed plastic sheeting can be used.
- Nails, Screws, and Fasteners: Stock up on these at your local hardware store.
- Hinges and Latches: For the coop door and nesting box access.
- Chicken Wire: (Optional) For additional run reinforcement, but hardware cloth is preferred for its durability.
- Paint or Stain: (Optional) To protect the wood and add aesthetic appeal. Choose a non-toxic option.
Step-by-Step Construction Guide
Now, let's get building! This guide assumes a simple rectangular coop design. Adjust as needed based on your chosen design and materials.
Step 1: Building the Frame
- Cut the lumber to the desired dimensions for the coop's base, walls, and roof supports.
- Assemble the base frame using screws or nails. Ensure it's square and level.
- Construct the wall frames, again ensuring they are square.
- Attach the wall frames to the base frame, creating a box-like structure.
- Build the roof frame with a slight slant for water runoff.

Step 2: Sheathing the Coop
- Attach plywood to the exterior of the wall frames, using screws or nails.
- Cut out openings for the door and nesting boxes.
- Reinforce the corners with additional lumber for added stability.
Step 3: Building the Roof
- Attach plywood to the roof frame.
- Install roofing material, overlapping the edges to prevent leaks.
- Ensure proper ventilation by leaving a small gap under the eaves or installing a vent.
Step 4: Creating the Run
- Build a frame for the run using lumber.
- Attach hardware cloth to the frame, burying it at least 12 inches deep to prevent predators from digging under. Extend the hardware cloth outward a foot from the coop to create a digging apron.
- Attach the run to the coop, creating a secure and enclosed space.

Step 5: Adding the Finishing Touches
- Build and install the nesting boxes. A simple box with a slightly angled roof will suffice.
- Install the roosting bar. A smooth, sturdy branch or a 2x4 with rounded edges works well.
- Build and install the coop door, ensuring it latches securely.
- Paint or stain the coop (optional).
Step 6: Predator Proofing: Keeping Your Chickens Safe
Predator proofing is paramount. Raccoons, foxes, hawks, and even dogs can pose a threat to your flock. Here are some essential measures:
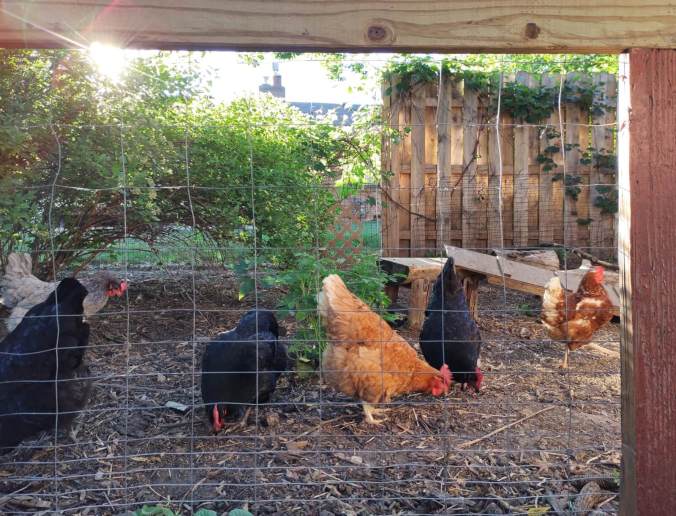
- Hardware Cloth: Use hardware cloth, not chicken wire, for the run. Chicken wire is easily torn by predators.
- Buried Hardware Cloth: Bury the hardware cloth at least 12 inches deep, extending outward to create a digging apron.
- Secure Latches: Use latches that predators cannot easily open. Carabiner clips or spring-loaded latches are good options.
- Roof Over the Run: A roof over the run provides protection from aerial predators.
- Regular Inspections: Regularly inspect the coop and run for any signs of damage or weakness.

Step 7: Integrating Chickens into Your Homestead.
Consider the role chickens play in a permaculture system. They can help control pests, eat garden waste, and provide valuable manure for compost.

My Personal Experience and Lessons Learned
When I first started homesteading, building a chicken coop seemed like a monumental task. I was intimidated by the prospect of working with lumber and worried about creating a safe and secure home for my future flock. However, with some research, planning, and a lot of elbow grease, I was able to build a functional and affordable coop using mostly reclaimed materials.
One of the biggest challenges I faced was predator proofing. I initially underestimated the persistence of raccoons and lost a few chickens before reinforcing the run with buried hardware cloth and secure latches. I learned the hard way that "good enough" is not good enough when it comes to protecting your flock.
Another lesson I learned was the importance of proper ventilation. During the winter months, I neglected to provide adequate ventilation, which led to moisture buildup and respiratory problems in my chickens. I quickly rectified the situation by adding a vent near the top of the coop, and the problem was resolved.
This DIY chicken coop project has not only provided me with a steady supply of fresh eggs but has also given me a sense of accomplishment and self-reliance. Knowing that I built a safe and comfortable home for my chickens with my own hands is incredibly rewarding.
Connecting with the Better Homes and Harvests Community
For more on building resilient homestead infrastructure, check out this article on [Building a Root Cellar for Food Storage](URL to hypothetical article on Better Homes and Harvests). And if you're interested in expanding your sustainable practices, read this piece on [Composting 101: Turning Waste into Garden Gold](URL to hypothetical article on Better Homes and Harvests).

A Call to Action
Building a budget-friendly chicken coop is a rewarding and empowering experience. It's a tangible step towards self-sufficiency and a deeper connection to your food source. I encourage you to take on this project and share your own experiences and insights in the comments below. What challenges did you face? What creative solutions did you come up with? Let's learn from each other and build a thriving community of resourceful homesteaders! Sharing your projects, even works in progress, will empower people to make their homesteading dreams into reality.