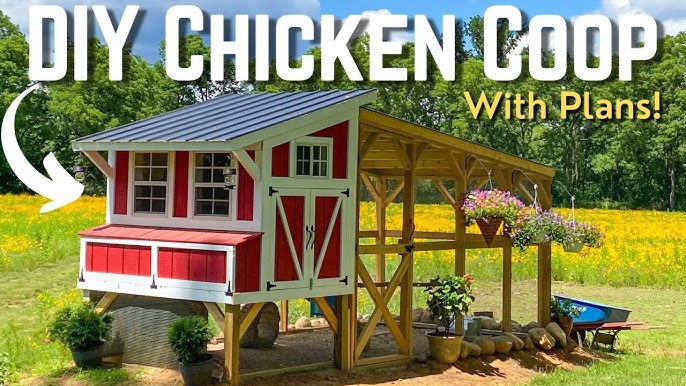
Fresh Eggs & Frugal Feathers: Building Your Own Backyard Chicken Coop!
Imagine waking up to the cheerful clucking of happy hens, the aroma of freshly brewed coffee, and the promise of a golden-yolked omelet made with eggs gathered just moments before. This idyllic scene isn't just a dream; it's the reality of countless homesteaders embracing the joy and self-sufficiency of backyard chickens. Not only will you have access to the freshest eggs imaginable, but you'll also reduce your grocery bills, connect with nature, and contribute to a more sustainable food system.
But starting can feel daunting, especially on a budget. That’s where this guide comes in. We’ll walk you through building a small, sturdy, and predator-proof [DIY chicken coop](backyard chickens) from reclaimed and locally sourced materials for under $300. This project is perfect for beginner to intermediate DIYers and designed to comfortably house 4-6 chickens. Get ready to roll up your sleeves and build a haven for your future feathered friends!
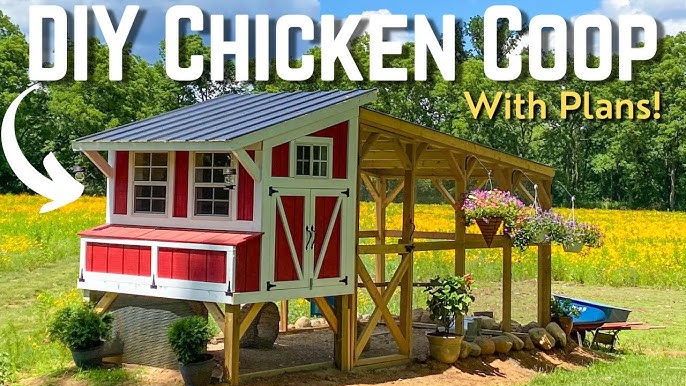
Step 1: Planning and Gathering Your Materials
Before you start swinging a hammer, it’s crucial to plan your coop design. Consider the space you have available, the number of chickens you want to keep (4 square feet per bird inside the coop, 8-10 square feet in the run), and local building codes.
Materials List (Approximate Costs):
- Reclaimed Lumber: Pallets, old fencing, scrap wood (Aim for free - $50)
- Chicken Wire/Hardware Cloth: 25 ft roll ($30 - $50) - Crucial for [predator-proof chicken coop]
- Roofing Material: Reclaimed metal roofing, shingles, or heavy-duty tarp ($20 - $40)
- Fasteners: Screws, nails, staples ($20)
- Hinges and Latches: For door and nesting box ($10 - $20)
- Sand or Wood Shavings: For coop bedding ($10)
- Paint/Sealer (Optional): For weatherproofing ($20)
Tool Recommendations:
- Measuring tape
- Circular saw or hand saw
- Drill with various bits
- Staple gun
- Hammer
- Level
- Safety glasses
- Gloves
Safety Precautions:
- Always wear safety glasses when cutting or fastening materials.
- Use gloves to protect your hands from splinters and sharp edges.
- Be mindful of your surroundings and work in a well-lit area.
- If using power tools, follow the manufacturer's instructions carefully.
Sourcing Reclaimed Materials:
- Pallets: Check with local businesses, construction sites, or online marketplaces like Craigslist and Facebook Marketplace. Look for heat-treated (HT) pallets, which are safer than chemically treated ones.
- Old Fencing: Demolition sites or neighbors replacing fences often have usable materials.
- Scrap Wood: Ask local construction companies or woodworking shops for their leftover wood.

Step 2: Framing the Base
The base is the foundation of your coop, so it needs to be sturdy and level. A simple 4ft x 6ft base is suitable for 4-6 chickens.
- Cut the Lumber: Cut four pieces of lumber (reclaimed 2x4s or similar) to create a 4ft x 6ft rectangle.
- Two pieces at 4ft
- Two pieces at 6ft
- Assemble the Frame: Using screws or nails, assemble the rectangle. Ensure the corners are square using a level.
- Add Support Beams: Cut additional pieces of lumber to fit inside the frame, spaced evenly apart for added support.
- Leveling: Place the frame on the desired location and use shims to level it. This is crucial, especially on uneven ground.
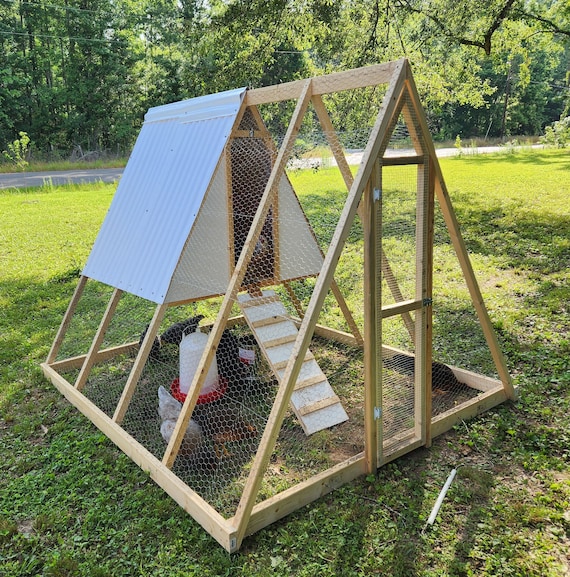
A simple rectangular frame for a chicken coop.
Step 3: Building the Walls
The walls provide protection from the elements and predators.
- Cut Wall Framing: Cut lumber to create the wall frames. A height of 4-5 feet is sufficient.
- Assemble Wall Frames: Build four separate wall frames using screws or nails. Include framing for a door and a small window (optional).
- Attach Walls to Base: Secure the wall frames to the base using screws. Ensure the walls are plumb (vertical) using a level.
- Sheathing (Optional): If you have extra reclaimed wood, you can add sheathing to the exterior of the walls for added insulation and protection.
Step 4: Constructing the Roof
A slanted roof is ideal for water runoff.
- Cut Rafters: Cut rafters from lumber to create the desired roof slope.
- Attach Rafters: Secure the rafters to the top of the wall frames, creating a sturdy roof structure.
- Roofing Material: Attach your chosen roofing material (reclaimed metal, shingles, or tarp) to the rafters. Overlap the material to prevent leaks.
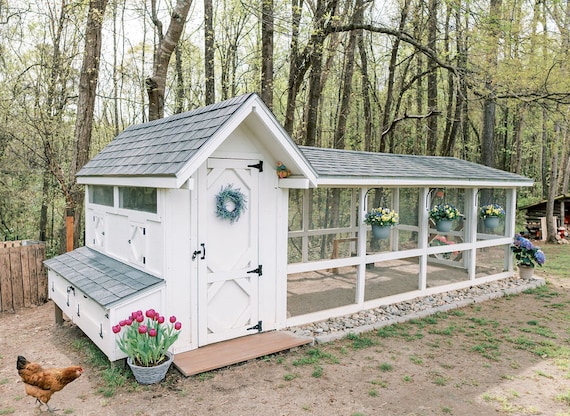
Step 5: Building the Run
The run provides chickens with outdoor space to roam and forage safely.
- Frame the Run: Build a frame around the coop using lumber.
- Attach Chicken Wire: Secure chicken wire or hardware cloth to the frame, ensuring there are no gaps for predators to enter. Bury the wire a few inches into the ground to prevent digging predators.
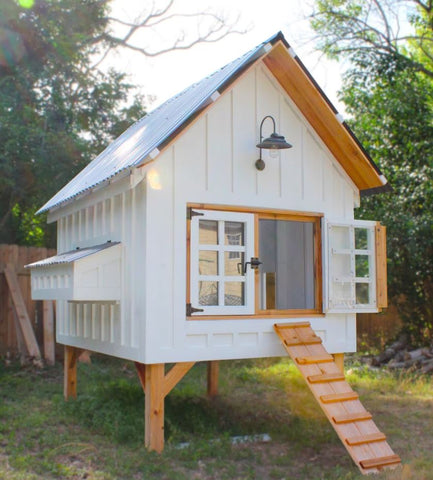
A chicken coop with nesting boxes.
Step 6: Adding the Finishing Touches
These details are crucial for chicken comfort and your convenience.
- Build a Door: Construct a door for the coop and attach it with hinges. Install a secure latch to keep predators out.
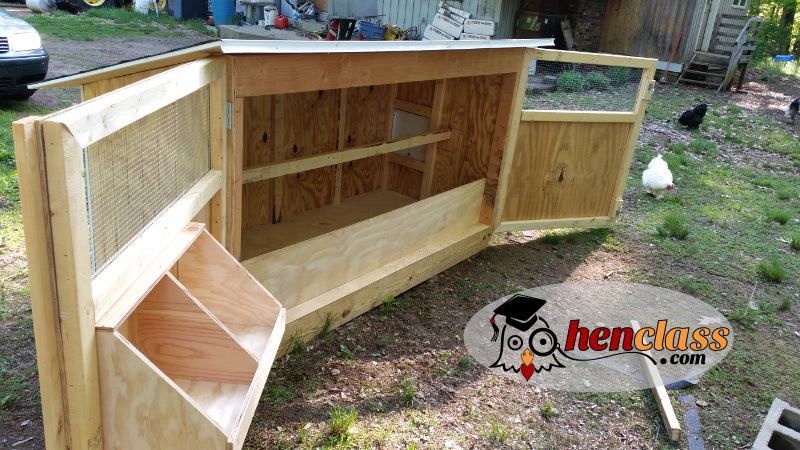
- Nesting Boxes: Build or repurpose nesting boxes (one for every 3-4 chickens). Attach them to an interior wall of the coop.
- Roosting Bars: Install roosting bars inside the coop, providing chickens with a place to perch and sleep.
- Ventilation: Ensure adequate ventilation by adding small screened openings near the top of the walls. This helps prevent moisture buildup and respiratory problems.
- Cleaning: Make cleaning easy by adding a removable floor panel or a door at the back of the coop for easy access.
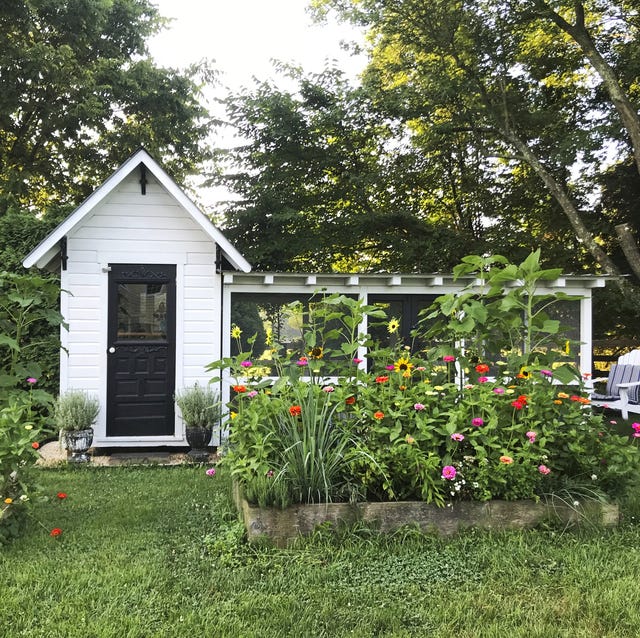
Addressing Potential Challenges
- Uneven Ground: Use shims to level the base of the coop. Consider building a slightly raised platform.
- Drafts: Seal any gaps or cracks in the walls and roof to prevent drafts, especially during winter.
- Rodents: Use hardware cloth instead of chicken wire, as it has smaller openings. Store chicken feed in rodent-proof containers. Elevate the coop slightly off the ground.
- Predators: Bury chicken wire around the perimeter of the run. Use secure latches on all doors. Consider adding an automatic chicken door opener for added security.
Choosing the Right Chicken Breed
The breed of chicken you choose will influence egg production, temperament, and suitability for your backyard coop. Here are a few excellent choices for small backyard coops:
- Rhode Island Red: Excellent egg layers and hardy birds.
- Australorp: Another great egg-laying breed, known for its gentle temperament.
- Orpington: Docile and friendly, making them great for families with children.
- Plymouth Rock: A dual-purpose breed, good for both meat and eggs.
- Silkies: A smaller, ornamental breed known for their fluffy feathers and gentle nature.
For more information on chicken breeds, check out this Better Homes and Harvests article.
Final Thoughts
Building a [DIY chicken coop] using [reclaimed materials] is a rewarding and empowering experience. You'll not only save money but also gain a deeper connection to your food and a greater sense of self-sufficiency. With a little planning, resourcefulness, and elbow grease, you can create a safe, comfortable, and productive home for your backyard chickens.
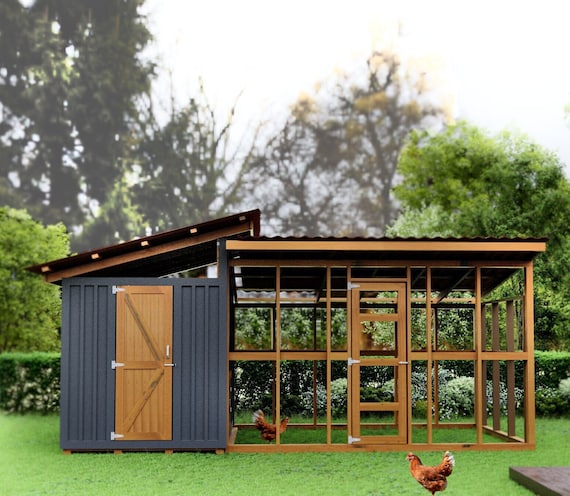
Now, it’s your turn! What are your experiences with raising backyard chickens? Have you built your own coop? What modifications did you make to the design? What alternative materials did you use? Share your tips and tricks in the comments below! We'd love to hear from you! Also check out this other fantastic Better Homes and Harvests article showing alternative chicken coop designs!