Farmhouse Charm on a Budget: DIY Mason Jar Herb Garden for Your Kitchen Window
As the days shorten and the leaves begin their fiery descent, there's a certain undeniable comfort in bringing a bit of the garden indoors. Are you dreaming of fresh herbs to brighten up your winter meals, but lack the space for a full-fledged garden? Then you're in the right place! This guide unveils the secrets to creating a charming and functional DIY mason jar herb garden, perfect for adding a touch of farmhouse life to your kitchen window – all on a budget. You'll discover how to cultivate your favorite herbs right at your fingertips, filling your home with fragrance and flavor year-round.
Why a Mason Jar Herb Garden is Perfect for Cozy Living
A mason jar herb garden isn't just a pretty addition to your sustainable home; it’s a practical way to embrace homegrown goodness. Here’s why it’s a fantastic backyard project for both seasoned homesteaders and beginners:
- Space-Saving: Perfect for small kitchens, apartments, or anyone with limited outdoor space.
- Budget-Friendly: Uses readily available materials, keeping costs down.
- Year-Round Harvest: Enjoy fresh herbs regardless of the season.
- Charming Decor: Adds a touch of farmhouse charm to your kitchen.
- Sustainable: Reduces your reliance on store-bought herbs and plastic packaging.
Gathering Your Supplies for Your DIY Herb Garden
Before you dive in, make sure you have everything you need. Luckily, this is a budget-friendly project!
- Mason Jars: Repurpose jars you already have or purchase new ones. Pint or quart-sized jars work well.
- Potting Soil: Choose a high-quality organic potting mix formulated for herbs.
- Gravel or Pebbles: For drainage.
- Herb Seeds or Seedlings: Select your favorite herbs – basil, mint, chives, rosemary, and oregano are popular choices.
- Labels: To identify your herbs.
- Twine or Ribbon (Optional): For adding a decorative touch.
Preparing Your Mason Jars for Planting
Proper preparation is key to a thriving herb garden.
- Clean the Jars: Wash your mason jars thoroughly with soap and water.
- Add Drainage: Place a layer of gravel or pebbles at the bottom of each jar. This prevents water from pooling and damaging the roots.
- Fill with Soil: Fill the jars with potting soil, leaving about an inch of space at the top.
Selecting the Right Herbs for Your Kitchen Garden
Choosing the right herbs is crucial for success. Consider these factors:
- Sunlight: Most herbs need at least 6 hours of sunlight per day. Choose herbs that thrive in the amount of light your kitchen window receives.
- Personal Preference: Grow herbs you enjoy using in your cooking.
- Growth Habits: Some herbs, like mint, can be invasive. Consider growing them in separate jars to prevent them from taking over.
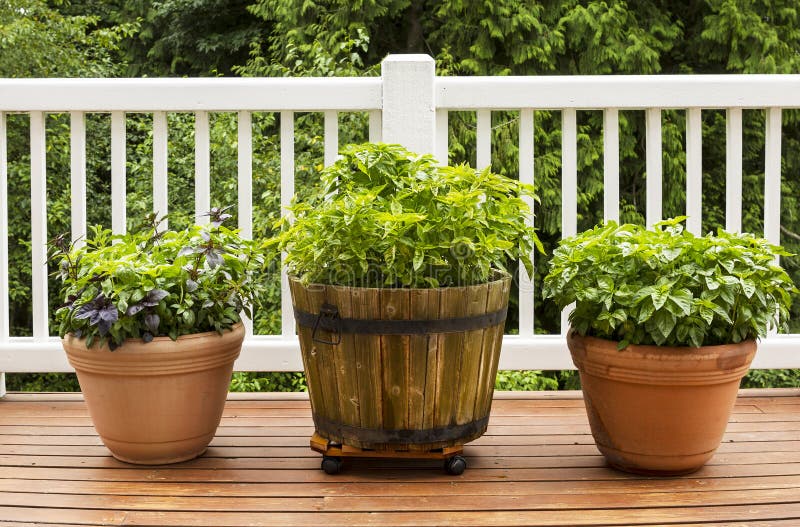
Here are a few excellent choices for a mason jar herb garden:
- Basil: A classic choice for Italian dishes.
- Mint: Perfect for teas, cocktails, and desserts.
- Chives: Adds a mild onion flavor to salads and soups.
- Rosemary: A fragrant herb that pairs well with meats and roasted vegetables.
- Oregano: Essential for pizza and pasta sauces.
Planting Your Herbs: From Seed to Sprout
You can start your herbs from seeds or purchase seedlings from a local nursery. Starting from seeds is more economical, but seedlings will give you a head start.
From Seeds:
- Sow Seeds: Sprinkle seeds on top of the soil and gently press them down.
- Water Gently: Mist the soil with water to avoid disturbing the seeds.
- Cover with Plastic Wrap: Create a mini-greenhouse by covering the jars with plastic wrap. This helps retain moisture and warmth.
- Place in a Sunny Spot: Once the seeds germinate (sprout), remove the plastic wrap.
From Seedlings:
- Gently Remove Seedlings: Carefully remove the seedlings from their containers.
- Plant in Jars: Make a small hole in the soil and place the seedling in the hole.
- Water Thoroughly: Water the seedlings immediately after planting.
Caring for Your Mason Jar Herb Garden: A Simple Routine
Maintaining your herb garden is easy with a few simple steps:
- Watering: Water your herbs when the soil feels dry to the touch. Avoid overwatering, which can lead to root rot. Water every other day, or when the top inch of soil feels dry.
- Sunlight: Ensure your herbs receive adequate sunlight. Rotate the jars regularly to promote even growth.
- Fertilizing: Feed your herbs with a diluted liquid fertilizer every few weeks.
- Pruning: Trim your herbs regularly to encourage bushier growth. Pinch off the top leaves to promote side shoots.
My Personal Experience: A Few Lessons Learned
I remember my first attempt at a mason jar herb garden. I was so excited, but I made a few mistakes. I overwatered my basil, and it quickly turned yellow. I also didn't provide enough sunlight, so my herbs grew leggy and weak. I learned that proper drainage and adequate sunlight are crucial for success. Now, I have a thriving herb garden that brings me joy every day. My favorite is the rosemary; its scent fills the kitchen when I brush past it!
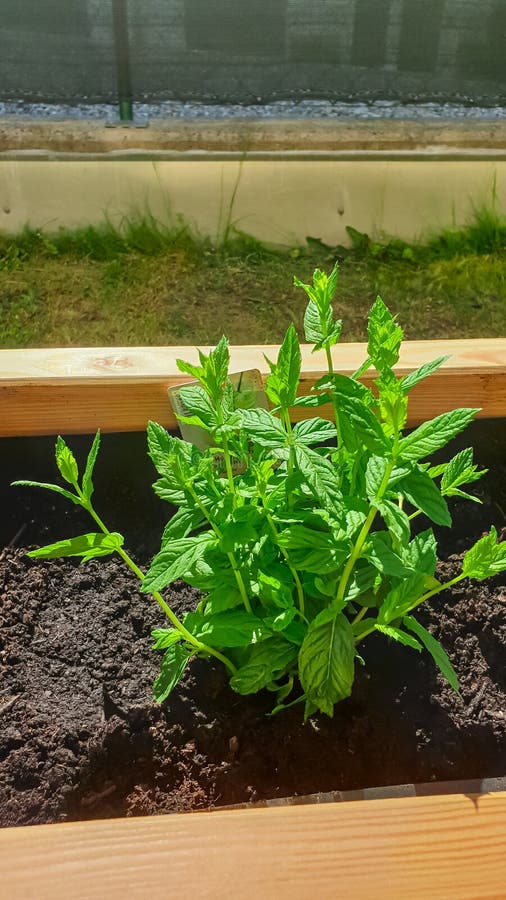
Actionable Tips for a Thriving Herb Garden
Ready to get your hands dirty? Follow these step-by-step tips for creating your own farmhouse-chic mason jar herb garden:
- Drill Drainage Holes (Optional): If you're concerned about drainage, carefully drill a few small holes in the bottom of each mason jar before adding gravel. Use a diamond-tipped drill bit and proceed with caution.
- Layer Drainage Material: Add about 1-2 inches of gravel or small pebbles to the bottom of each jar. This prevents the roots from sitting in standing water.
- Choose the Right Soil: Use a well-draining potting mix specifically formulated for herbs. Avoid using garden soil, as it can become compacted in containers.
- Plant Herbs Correctly: Gently remove the herbs from their nursery pots and loosen the root ball. Plant them at the same depth they were growing in the original containers.
- Water Strategically: Water deeply when the top inch of soil feels dry, but avoid overwatering. Ensure excess water can drain out of the drainage layer.
- Provide Adequate Light: Place your herb garden in a sunny window that receives at least 6 hours of direct sunlight per day. Supplement with grow lights if necessary.
- Fertilize Regularly: Feed your herbs with a balanced liquid fertilizer every 2-4 weeks during the growing season.
- Prune and Harvest: Pinch off the top leaves regularly to encourage bushier growth and to harvest fresh herbs for your culinary creations.
- Label Clearly: Use waterproof labels to identify each herb. This prevents confusion and ensures you're harvesting the correct plant.
- Get Creative with Decor: Embellish your mason jars with twine, ribbon, or paint to match your farmhouse decor.
A Final Touch of Farmhouse Cozy
As the days grow shorter and the nights get cooler, there's nothing quite like the warmth and fragrance of fresh herbs in your kitchen. Creating a DIY mason jar herb garden is a simple yet rewarding way to bring the beauty of the garden indoors and add a touch of farmhouse charm to your sustainable home. So, gather your supplies, get creative, and enjoy the bountiful harvest that awaits!
Now, tell me: What are your favorite herbs to grow in your kitchen garden? Share your tips and experiences in the comments below! And don't forget to share a photo of your finished mason jar herb garden with us on Instagram using #BetterHomesAndHarvests!
