Extending the Harvest: Simple Cold Storage Solutions for Your Root Cellar Dreams
[VISUAL: bushel basket root vegetables burlap sack]
That satisfying crunch of a carrot pulled fresh from the garden? We all want to savor that homegrown goodness long after the growing season ends. As homesteaders and gardeners, we often find ourselves facing a wonderful problem: a bountiful harvest that threatens to overwhelm our kitchens. Canning is a fantastic option, but what about those of us looking for simpler methods, or perhaps a way to preserve the texture and flavor of certain vegetables more naturally?
Cold storage offers a solution, providing a practical and accessible way to extend the shelf life of your precious fruits and vegetables. You don't need an elaborate, professionally built root cellar to enjoy the benefits of cold storage. This post will show you simple, affordable methods to extend the shelf life of your fruits and vegetables without elaborate root cellars. From modifying your refrigerator to using readily available materials like coolers and garbage cans, you'll discover how to keep your harvest fresh and delicious for months to come. Let's dive in and unlock the secrets of keeping that garden-fresh flavor alive throughout the colder months! We'll focus on seasonal harvest, homegrown goodness, food preservation, and creating a sustainable home and cozy living experience.
Understanding the Principles of Cold Storage
[VISUAL: diagram principles cold storage temperature humidity darkness]
Before we delve into the practicalities, let's quickly grasp the science behind cold storage. Essentially, it's all about slowing down the natural processes that cause produce to spoil. By controlling four key factors – temperature, humidity, darkness, and ventilation – we can significantly extend the storage life of our harvests.
- Low Temperature: Lower temperatures slow down the respiration rate of fruits and vegetables, reducing the speed at which they ripen and eventually decompose. Think of it like putting your produce into a state of hibernation.
- High Humidity: Maintaining the right humidity level prevents moisture loss, which keeps your vegetables from wilting and shriveling. Different vegetables have different humidity requirements, which we'll cover later.
- Darkness: Light exposure can trigger sprouting in some vegetables (like potatoes) and can also degrade the nutritional value of others. Keeping your produce in a dark environment helps preserve its quality.
- Good Ventilation: Proper airflow prevents the build-up of ethylene gas (a natural ripening agent) and reduces the risk of mold and bacterial growth.
Understanding why cold storage works empowers you to adapt these principles to your specific circumstances and available resources. It’s not just about following a recipe; it's about understanding the ingredients and adjusting the method for optimal results.
Low-Cost Cold Storage Alternatives for Modern Homesteaders
[VISUAL: insulated cooler root vegetables leaves]
The good news is, you don’t need a fancy, purpose-built root cellar to take advantage of cold storage. Many effective and affordable alternatives can be created using items you likely already have around your home and garden. The key is to creatively apply those underlying principles we discussed above. Let's explore a few of my favorite low-cost cold storage alternatives:
Modified Refrigerator: Your refrigerator can be surprisingly effective for storing certain vegetables. The key is to understand its limitations and adapt its usage. Turn up the temperature slightly (aim for 35-40°F) to avoid freezing delicate produce. Store vegetables in the crisper drawers to maintain higher humidity. Remove ethylene-producing fruits like apples from the refrigerator, as they can accelerate the ripening of other vegetables.
Insulated Coolers: These are incredibly versatile. You can bury them partially or completely in the ground in a sheltered location in your garden for a DIY mini-root cellar. The earth's temperature will help keep the cooler consistently cool. Alternatively, you can place them in an unheated shed or garage. Line the bottom with damp leaves or straw to help maintain humidity. Pro tip: Add a thermometer inside the cooler to monitor the temperature.
Garbage Cans (with ventilation): Believe it or not, a clean, plastic garbage can, modified for ventilation, can make a surprisingly effective storage container, especially for root vegetables. Drill several small holes in the bottom and sides for air circulation. Place a layer of moist sand or sawdust in the bottom, then layer your root vegetables, ensuring they don't touch. Cover with another layer of moist sand or sawdust. This provides the darkness, humidity, and insulation needed for successful storage.
Unheated Garage/Basement: These spaces can be suitable if they maintain a relatively consistent cool temperature (ideally between 32-40°F). Monitor the temperature with a thermometer. You may need to add insulation (such as blankets or tarps) to protect produce from freezing during extremely cold weather. Use a humidifier to increase humidity if the air is too dry. Store produce in boxes or crates, elevating them off the floor to improve airflow.
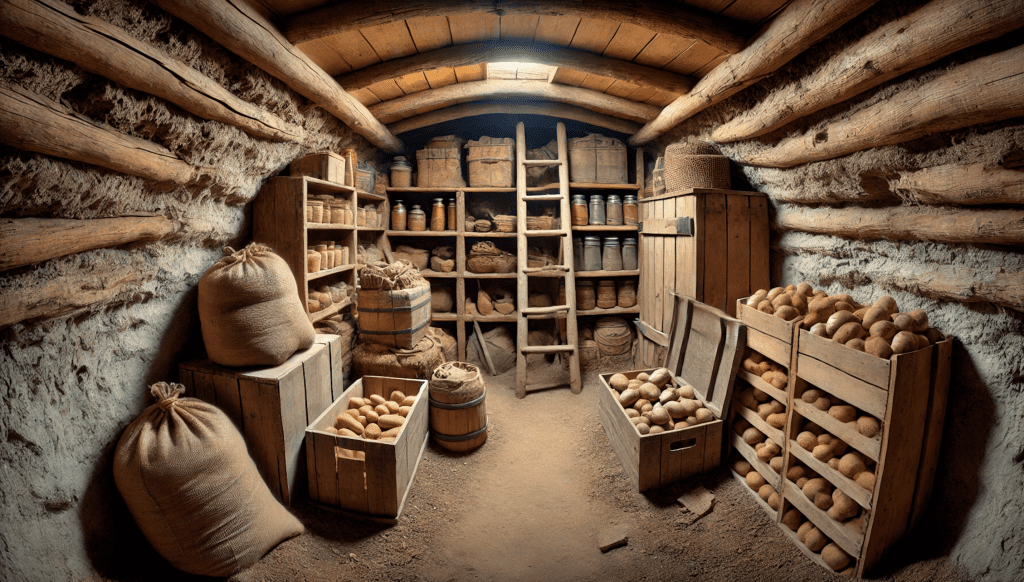
Root cellaring doesn't require a dedicated root cellar, but knowing which method is best for which fruit or veggie is important.
Preparing Your Produce for Cold Storage
[VISUAL: harvesting carrots cleaning soil farm gloves]
Proper preparation is just as important as the storage method itself. The quality of your produce when it goes into storage will directly affect how long it lasts. Here are some key things to keep in mind:
Harvesting at the Right Maturity Stage: Vegetables harvested too early or too late won't store well. Research the optimal harvest time for each vegetable you plan to store. For example, potatoes should be fully mature before harvesting, while carrots can be harvested at various stages of growth.
Gentle Handling to Avoid Bruising: Bruises and cuts create entry points for decay-causing organisms. Handle your produce carefully during harvesting and cleaning. Use padded containers to transport your harvest from the garden to your storage area.
Drying or Curing Produce Before Storage: Certain vegetables, such as pumpkins, winter squash, and onions, benefit from a curing period before being stored. Curing involves exposing them to warm, dry air for a week or two to harden their skins and reduce moisture content.
Cleaning and Sorting Produce: Gently remove any excess soil from your vegetables, but avoid washing them unless absolutely necessary. Water can promote decay. Carefully sort through your harvest, removing any damaged, bruised, or diseased items. Even one bad apple (literally!) can spoil the whole bunch.
High-quality produce and careful preparation are essential for successful cold storage. Skipping these steps is like building a house on a shaky foundation.
Specific Storage Tips for Common Garden Vegetables
[VISUAL: apples stored wood shavings cellar]
Now that we've covered the basics, let's get into the specifics of storing some common garden vegetables. Remember, each vegetable has unique storage requirements, so it's important to tailor your approach accordingly:
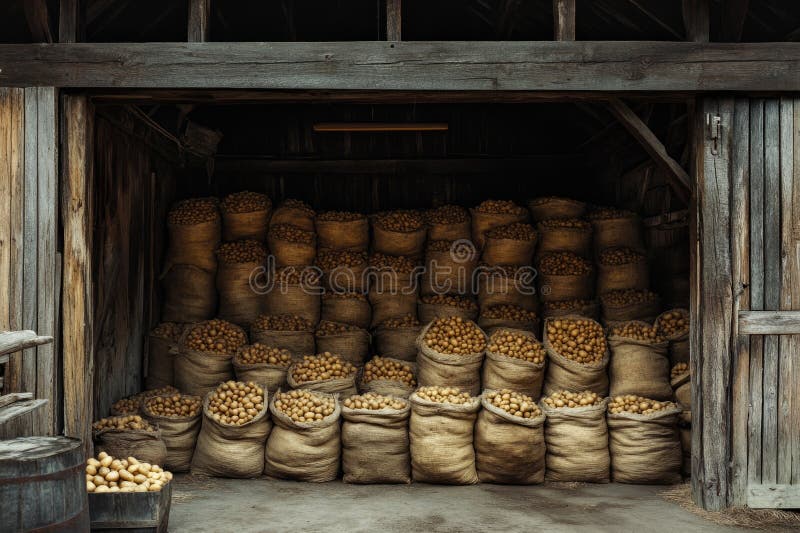
Potatoes: Store in dark, cool (35-40°F), and humid conditions (80-90%). Avoid light exposure, which can cause them to turn green and produce solanine, a toxic compound. Store them in burlap sacks or ventilated crates. Don't store them near apples, as the ethylene gas they produce can cause potatoes to sprout.
Carrots & Beets: Store in moist sand or sawdust in a cool, dark place (32-40°F) at 90-95% humidity. This helps prevent them from drying out and becoming limp. Cut off the leafy tops before storing, leaving about an inch of stem.
Onions & Garlic: Store in a dry, well-ventilated location (32-40°F). They need air circulation to prevent mold growth. Braiding onions and garlic and hanging them in a cool, dry place is a traditional and effective storage method.
Apples: Wrap individually in newspaper or paper towels to prevent bruising and the spread of rot. Store in cool, humid conditions (32-40°F). Check regularly for any signs of spoilage and remove affected apples immediately.
Winter Squash: Cure properly (as described above) and store in a cool, dry place (50-60°F). Unlike many other vegetables, winter squash prefers slightly warmer temperatures. Store them on shelves or pallets to allow for good air circulation.
Tailoring storage methods to the specific needs of each vegetable will significantly improve its shelf life and help you enjoy your homegrown bounty for longer.
Troubleshooting Common Cold Storage Issues
Even with the best planning and preparation, problems can sometimes arise during cold storage. Here's how to address some common issues:
Sprouting (potatoes, onions): Sprouting is a sign that the storage environment is too warm or too light. Remove the sprouts as soon as you see them. For potatoes, you can also try rubbing them with mint or placing them in a paper bag with an apple (contrary to our previous advice - use it as last resort!) to inhibit sprouting.
Rotting (carrots, beets): Rotting is usually caused by excessive moisture or damage. Remove any affected produce immediately to prevent the rot from spreading. Ensure proper ventilation to reduce humidity.
Mold growth: Mold growth indicates poor ventilation or high humidity. Improve airflow by adding more ventilation holes to your storage containers or using a dehumidifier in your storage space.
Regularly inspect your stored produce (at least once a week) to identify and address problems early. Proactive monitoring and quick action are key to minimizing losses during cold storage.
Embracing the Abundance
[VISUAL: full shelves vegetables stored root cellar]
Extending the harvest is a rewarding way to connect with the seasons and savor the fruits (and vegetables!) of your labor. By embracing these simple techniques, you can create a more resilient and delicious homestead pantry, contributing to a more sustainable home and enhancing your cozy living experience. As the weather cools, now is the perfect time to gather your seasonal harvest and prepare for winter storage. Don't be intimidated - start small and experiment to find what works best for you. Every successful homesteader started somewhere, and every small step towards self-sufficiency is a victory worth celebrating!
What are your favorite cold storage tips? Share your experiences and questions in the comments below!