Extending the Harvest: Building a Reclaimed Window Cold Frame for Winter Lettuce and Spinach
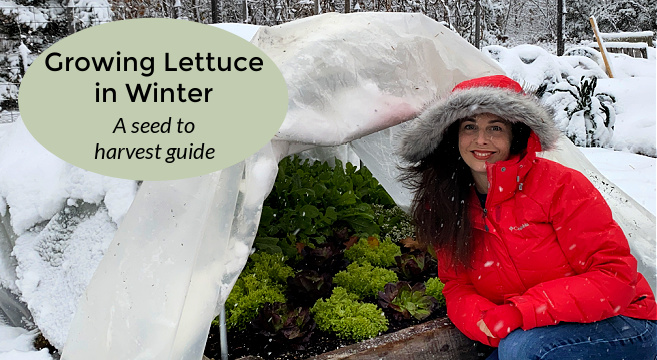
Imagine crisp, refreshing salads gracing your table even as the snow falls outside. The idea of enjoying freshly harvested lettuce and spinach in the heart of winter might seem like a distant dream, but with a little ingenuity and a touch of homesteading spirit, it’s entirely within reach. The secret? A simple, effective cold frame. And what's even better, you can build it yourself using reclaimed materials, breathing new life into discarded windows while extending your growing season. This year, we'll focus on two varieties perfect for cold frame growing: 'Winter Density' lettuce and 'Tyee' spinach.
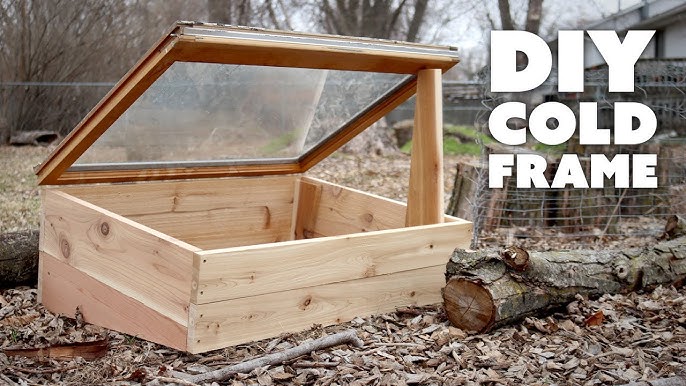
Building the Cold Frame: A Sustainable Solution
One of the most rewarding aspects of homesteading is the ability to repurpose and reuse materials, reducing waste and creating something useful. A cold frame built from reclaimed windows embodies this philosophy perfectly. Not only is it a cost-effective way to extend your harvest, but it's also a fantastic way to give old windows a new purpose.
Step-by-Step Construction
Here’s how to construct a simple cold frame using those forgotten windows gathering dust in your garage or shed:
Gather Your Materials: You’ll need four windows – two for the sides, one for the back (ideally slightly taller), and one for the hinged top. Pine or cedar lumber is recommended for the frame due to its durability and resistance to rot. You'll also need screws, a drill, a saw, hinges, and exterior paint or sealant.
Build the Wooden Frame: Cut the lumber to the appropriate lengths. We recommend a width of around 4 feet to accommodate standard garden beds, and a length of 6-8 feet. The height should slope from approximately 18 inches at the back to 12 inches at the front to maximize sunlight capture. This slope is crucial for efficient warming of your cold frame.
Assemble the Frame: Assemble the wooden frame using screws. Ensure the corners are square and the structure is sturdy.
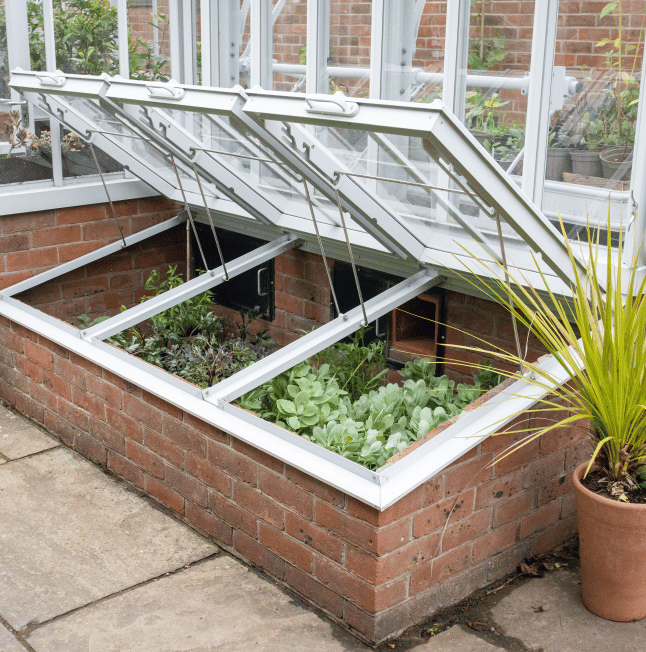
Attach the Windows: Secure the side and back windows to the frame. The back window, being slightly taller, should be positioned to create the desired slope for the top window.
Create the Hinged Top: Attach hinges to the top window and the back of the frame, allowing it to open and close easily. This is essential for ventilation and access to your plants.
Weatherproof the Frame: Apply exterior paint or sealant to the wooden frame to protect it from the elements and prolong its lifespan.
Ventilation: Attach a small wooden prop or chain to keep the lid partially open on warmer days. Proper ventilation is crucial to prevent overheating and fungal diseases.
Ease of Construction
Don't be intimidated by the prospect of building your own cold frame. This project is designed to be simple and accessible, even for beginners. With readily available tools and a little patience, you can create a functional and attractive addition to your homestead.
Planting 'Winter Density' Lettuce and 'Tyee' Spinach
Now that your cold frame is ready, it's time to plant your winter crops. We’ve selected two stellar varieties known for their resilience and flavor: 'Winter Density' lettuce and 'Tyee' spinach.
The Benefits of 'Winter Density' Lettuce
'Winter Density' lettuce is a romaine-type lettuce prized for its exceptional cold hardiness. Its crisp texture and excellent flavor make it an ideal choice for cold frame growing. It can withstand surprisingly cold temperatures, providing you with fresh salad greens throughout the winter months.
The Advantages of 'Tyee' Spinach
'Tyee' spinach is a fast-growing variety known for its bolt resistance and mild flavor. It thrives in the cool conditions of a cold frame and provides a nutritious and delicious addition to your winter meals.
Planting Time and Technique
The best time to plant 'Winter Density' lettuce and 'Tyee' spinach in your cold frame is late summer or early fall. This allows the plants to establish themselves before the first frost.
Soil Preparation: Amend the soil in your cold frame with plenty of compost to improve drainage and fertility.

Spacing: Sow the seeds or transplant seedlings, spacing them 6-8 inches apart.
Watering: Water gently, being careful not to overwater. Overwatering can create a humid environment that promotes fungal diseases. Aim for consistently moist soil, but not soggy.
The Importance of Proper Watering
In a cold frame environment, maintaining the right moisture balance is key. Avoid overwatering, which can lead to fungal diseases. Water deeply but infrequently, allowing the soil to dry out slightly between waterings. Monitor the moisture levels regularly and adjust your watering schedule accordingly.
Slug and Snail Prevention with Copper Tape
Cold frames provide a cozy, sheltered environment that unfortunately attracts slugs and snails. These pests can quickly decimate your precious lettuce and spinach if left unchecked. Fortunately, there's a simple and effective solution: copper tape.
The Copper Barrier
Slugs and snails dislike crossing copper because it creates a mild electrical shock. By applying copper tape around the inside perimeter of your cold frame, you create an impassable barrier that keeps these pests at bay.
Application Instructions
Clean the Surface: Ensure the inside perimeter of your cold frame is clean and dry.
Apply the Tape: Apply the copper tape, pressing firmly to ensure a continuous, unbroken barrier. Overlap the ends slightly to create a complete circuit.
Regular Inspection: Regularly inspect the tape for any breaches or damage. Replace the tape as needed to maintain its effectiveness.
The Science Behind Copper's Effectiveness
The aversion slugs and snails have to copper is due to a chemical reaction between their slime and the copper. This reaction creates a small electrical charge that deters them from crossing the barrier. It's a natural and effective way to protect your plants without resorting to harmful chemicals.
From Garden to Table: The Rewards of Self-Sufficiency
Building a reclaimed window cold frame is more than just a gardening project; it's an investment in self-sufficiency and seasonal eating. Imagine stepping outside on a chilly winter day and harvesting fresh, crisp lettuce and spinach from your own backyard. It’s a truly rewarding experience that connects you to the rhythms of nature and provides you with healthy, homegrown food throughout the year.

So, gather your reclaimed windows, prepare your soil, and embrace the joy of extending your harvest. With a little effort and ingenuity, you can enjoy fresh, homegrown salads all winter long, a testament to the power of homesteading and seasonal living. The taste of fresh, homegrown food, even in the depths of winter, is a reward well worth the effort.