Extending the Harvest: A Beginner's Guide to Cold Frames
The first hard frost. It’s a beautiful, if bittersweet, moment. The landscape transforms, painted with hues of crimson and gold, but it also signals the end of the seasonal harvest. Or does it? Imagine stepping outside on a crisp December morning, not to a barren garden bed, but to a miniature oasis teeming with fresh, vibrant greens. This is the magic of cold frame gardening – a cornerstone of the farmhouse life and a ticket to homegrown goodness all year round.
A cold frame is essentially a miniature greenhouse, a simple structure designed to protect plants from the elements and extend the growing season. Forget dreary winter meals! By utilizing a cold frame, you can enjoy access to fresh, homegrown produce in the cooler months, protect tender plants from unexpected frosts, and even get a head start on your spring seedlings. This post is your comprehensive guide to building and using a cold frame, equipping you with the knowledge to enjoy a longer, more abundant harvest. Embrace the joys of cozy living and sustainable practices, one backyard project at a time!

Understanding Cold Frames: The Basics
So, what exactly is a cold frame, and how does it differ from a greenhouse or hoop house? While all three structures aim to extend the growing season, they operate on different scales. A greenhouse is typically a larger, permanent structure with heating and ventilation systems, offering a fully controlled environment. A hoop house, also larger than a cold frame, uses flexible hoops covered in plastic to create a tunnel-like shelter. A cold frame, on the other hand, is a smaller, often portable structure that relies primarily on solar energy for heat.
The magic of a cold frame lies in its ability to trap solar energy. The clear cover allows sunlight to penetrate, warming the soil and air inside. The insulated walls, whether made of wood, straw bales, or other materials, help to retain this heat, creating a microclimate that is significantly warmer than the surrounding environment. This allows you to grow plants that would otherwise succumb to frost.
The ideal location for your cold frame is a south-facing spot that receives ample sunlight throughout the day. It should also be sheltered from strong winds to prevent heat loss. Good drainage is essential to prevent waterlogging, which can lead to root rot.
Ventilation is also crucial, even on cold days. On sunny days, the temperature inside a cold frame can rise rapidly, potentially overheating your plants. To prevent this, you'll need to open the lid or sides of the cold frame to allow for air circulation. A simple rule of thumb: if you're comfortable in a light jacket inside the cold frame, your plants are likely happy too. Understanding these basics is the first step towards mastering cold frame gardening for season extension.

DIY Cold Frame Options: Build Your Own!
One of the most rewarding aspects of homesteading is the ability to create things yourself. Building a cold frame is a perfect backyard project that doesn't require advanced carpentry skills. Here’s a beginner-friendly option using upcycled materials:
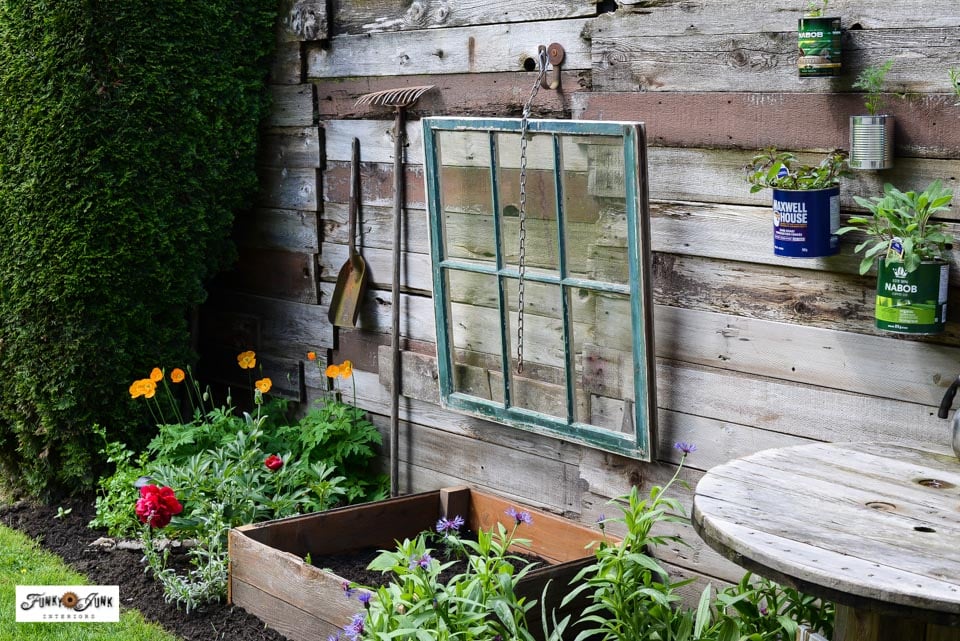
Upcycled Window Cold Frame
This project repurposes old windows and scrap wood, making it both sustainable and budget-friendly.
Materials:
- Old windows (single or multiple panes)
- Scrap wood (for the frame) – 2x4s work well
- Screws or nails
- Hinges
- Handles (optional)
- Measuring tape
- Saw
- Drill
Instructions:
- Measure Your Windows: Determine the dimensions of your windows. This will dictate the size of your cold frame.
- Build the Frame: Cut the wood to create a rectangular frame that will house the windows. The back of the frame should be taller than the front, creating a sloped roof for optimal sunlight exposure and water runoff. A good rule of thumb is to have the back about 12-18 inches tall and the front 6-12 inches tall.
- Assemble the Frame: Screw or nail the wood pieces together to create the frame. Ensure the corners are square and the frame is sturdy.
- Attach the Windows: Attach the windows to the frame using hinges. This will allow you to easily open and close the cold frame for ventilation. Position the hinges along the top edge of the back frame.
- Add Handles (Optional): Attach handles to the windows for easier opening and closing.
- Finishing Touches: Sand any rough edges and apply a coat of paint or sealant to protect the wood from the elements. You can also add insulation to the inside of the frame for extra warmth.
Safety Precautions: Always wear safety glasses when working with tools and materials. Be careful when handling old windows, as the glass may be fragile.
This simple DIY project allows you to create a functional and attractive cold frame from readily available materials. The satisfaction of growing your own food, even in the dead of winter, is well worth the effort.

What to Grow in Your Cold Frame (and When!)
The success of your cold frame depends on choosing the right plants for the season. Here's a guide to what to grow and when:
Fall/Winter:
- Leafy Greens: Spinach, kale, lettuce, arugula, and other leafy greens thrive in cold frames, providing a continuous supply of fresh salads throughout the winter.
- Herbs: Parsley, cilantro, thyme, and oregano are cold-hardy herbs that will add flavor to your winter dishes.
- Root Vegetables: Radishes and carrots can be grown in cold frames, although they may take longer to mature in the cooler months.
Early Spring:
- Seedlings: Start your tomato, pepper, and flower seedlings in the cold frame to get a head start on the growing season.
- Herb Starts: Transfer cuttings of your favorite herbs to the cold frame to propagate new plants for your organic gardening.
Timing is everything. In most regions, you can start planting leafy greens in your cold frame in late summer or early fall for a winter harvest. For early spring seedlings, start sowing seeds indoors in late winter and then transplant them to the cold frame a few weeks before the last expected frost.
When selecting plants, choose cold-hardy varieties that are specifically bred for cooler temperatures. Look for varieties with names like "Winter Density" lettuce or "Lacinato" kale.
By carefully selecting the right plants and timing your planting accordingly, you can maximize the yield from your cold frame and enjoy a bountiful harvest throughout the year.

Cold Frame Care and Maintenance: Ensuring Success
Building a cold frame is only half the battle. To ensure a successful harvest, you need to provide proper care and maintenance.
- Ventilation: Ventilation is critical to prevent overheating and disease. On sunny days, even in winter, the temperature inside a cold frame can soar. Open the lid or sides of the cold frame to allow for air circulation when the temperature exceeds 50°F (10°C). Close it again in the late afternoon to trap heat overnight. A simple thermometer inside the cold frame will help you monitor the temperature.
- Watering: Water plants inside a cold frame sparingly, as the enclosed environment can increase humidity and promote fungal diseases. Water early in the day so the foliage can dry before nightfall. Avoid overwatering, which can lead to root rot.
- Pest and Disease Control: Monitor your plants regularly for signs of pests or diseases. Common cold frame pests include aphids and slugs. Control them with organic gardening methods, such as handpicking, insecticidal soap, or diatomaceous earth. Prevent fungal diseases by ensuring good ventilation and avoiding overwatering.
- Insulation: During extremely cold periods, you may need to provide extra insulation to protect your plants from freezing. Cover the cold frame with blankets, straw bales, or bubble wrap on particularly cold nights.
Regular monitoring and maintenance are essential to keeping your cold frame plants healthy and productive. A few minutes of attention each day will make a big difference in the long run.

Embrace the Year-Round Garden
Cold frame gardening is more than just a way to extend the growing season; it's a gateway to year-round homegrown food and a deeper connection with the natural world. The simple act of tending to plants in the dead of winter is a powerful reminder of the resilience and abundance that can be achieved through simple homesteading practices. As summer winds down and the cooler days of autumn begin to arrive, now is the perfect time to begin planning for a cold frame garden.
So, embrace the challenge, build your own cold frame, and experience the joy of harvesting fresh, organic produce all year long. It’s a small step towards a more sustainable home and a more rewarding life.

Ready to extend your harvest? Download our free Cold Frame Planting Guide for your region! Happy Gardening! #BetterHomesHarvestsColdFrames