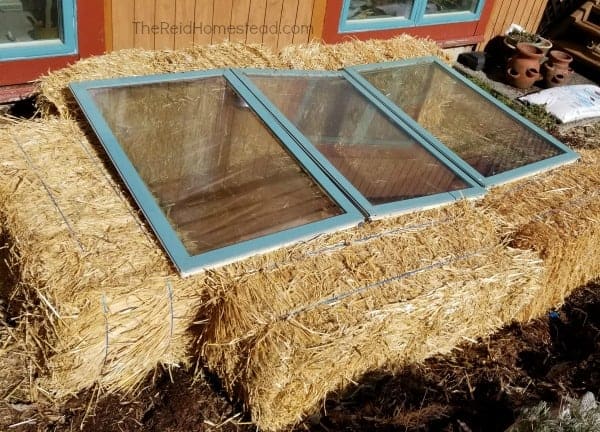
Extend Your Harvest: Building a Simple Straw Bale Cold Frame for Year-Round Goodness
The first frost of the season always carries a sting. Not just the icy bite in the air, but the deeper pang of knowing the vibrant colors of your garden, the culmination of months of hard work, are about to fade. I remember one November morning, stepping out to find my prized pumpkin vines, laden with hopeful green globes, cloaked in a shimmering layer of frost. A wave of disappointment washed over me – those pumpkins weren’t going to make it to Thanksgiving. That was the moment I knew I needed a solution, something to push back against the inevitable chill and extend the growing season on my homestead. That's when I discovered the power of the humble cold frame.
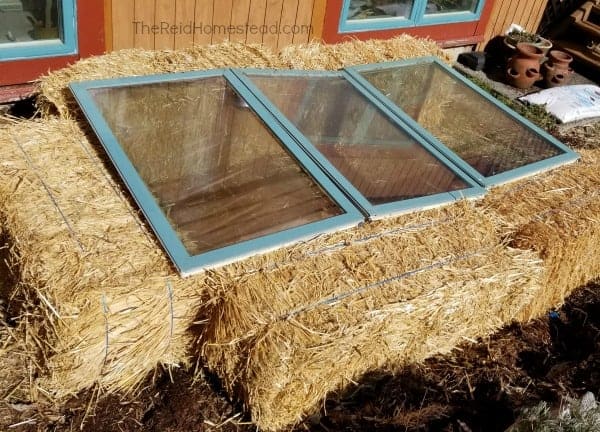
Today, we're not just talking about gardening; we're talking about resilience, self-sufficiency, and taking control of your food supply. This Better Homes and Harvests guide will walk you through building a simple, yet incredibly effective, straw bale cold frame. This project is achievable for homesteaders of all skill levels and will significantly extend your growing season, allowing you to enjoy fresh, homegrown vegetables well into the colder months. So, grab your gloves, and let's get building!
Why a Cold Frame? Unlocking the Secrets of Season Extension
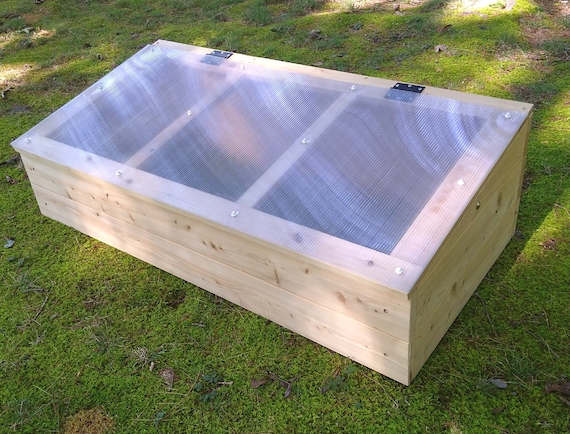
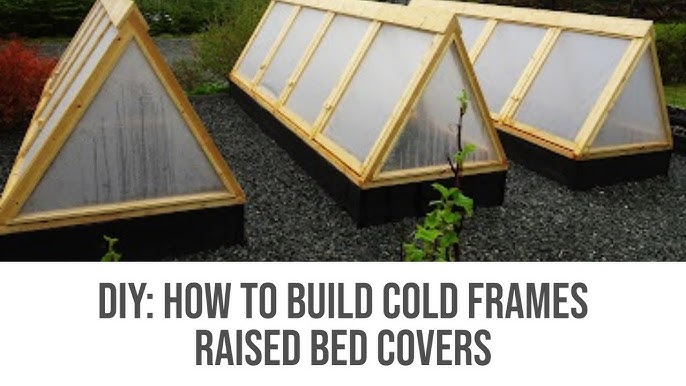
A cold frame is essentially a mini-greenhouse, a protected environment that traps solar heat, shielding your plants from frost, wind, and snow. This allows you to:
- Start Seeds Earlier: Jumpstart your spring garden by starting seeds weeks before the last frost.
- Extend the Harvest: Keep enjoying fresh greens, root vegetables, and herbs long after the first frost.
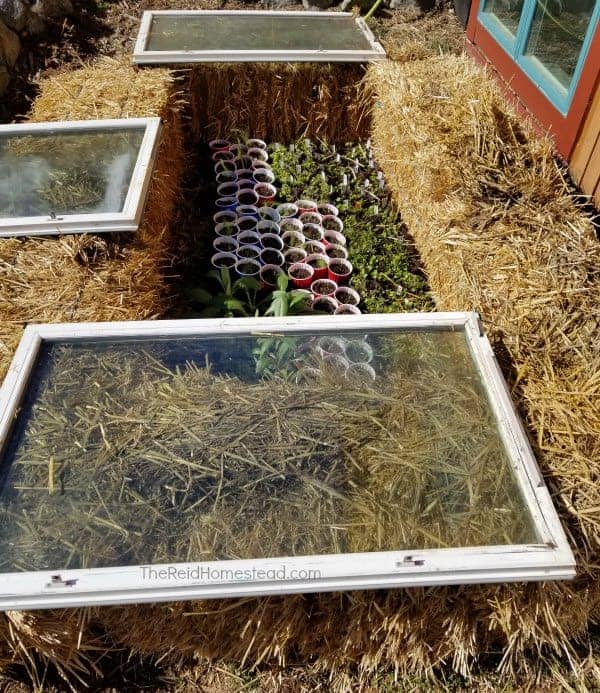
- Harden Off Seedlings: Gradually acclimate your seedlings to outdoor conditions before transplanting them into the garden.
- Protect Tender Plants: Shelter vulnerable plants from harsh weather conditions.
For the homesteader, extending the growing season means increased food security, reduced reliance on grocery stores, and the satisfaction of providing fresh, healthy food for your family year-round. It’s a tangible step towards a more self-sufficient and sustainable lifestyle.
The Straw Bale Cold Frame: A Simple and Sustainable Solution
We're opting for a straw bale cold frame for its simplicity, affordability, and the fact that it utilizes a readily available, often locally sourced, material. Straw bales provide excellent insulation, helping to maintain a stable temperature inside the frame. Plus, at the end of the season, the straw can be used as mulch or compost, returning nutrients to your garden.
Step-by-Step Guide: Building Your Straw Bale Cold Frame
This project can be completed in a single afternoon with minimal tools and materials.
Materials:
- Straw Bales: 4-6 straw bales (ensure they are straw, not hay, as hay contains seeds)
- Lumber: (4) 2x4s (8 feet long for the frame top)
- Clear Plastic Sheeting or Old Windows: To create a transparent cover
- Hinges: 2-4 hinges to attach the cover to the frame
- Screws or Nails: For assembling the frame
- Optional: Scrap wood for shimming/stabilizing
Tools:
- Gloves
- Measuring Tape
- Saw (hand saw or circular saw)
- Drill or Hammer
- Staple Gun (if using plastic sheeting)
- Utility Knife
Step 1: Prepare the Site
Choose a sunny location for your cold frame, ideally facing south to maximize sun exposure. Level the ground where you plan to build the frame. Good drainage is essential to prevent waterlogging.
Step 2: Arrange the Straw Bales
Arrange the straw bales in a rectangular shape, forming the walls of your cold frame. The bales should be positioned with the cut edges facing upwards for maximum insulation. Leave a space for access.
Step 3: Build the Wooden Frame
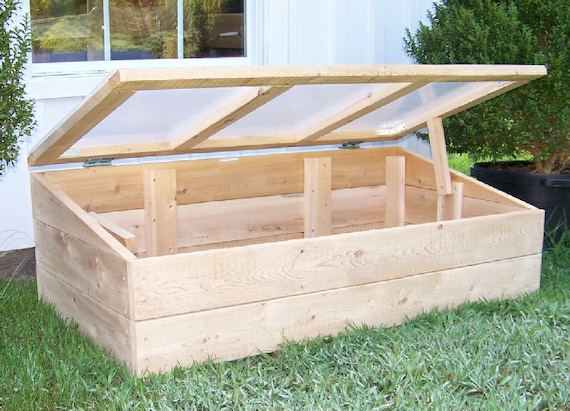
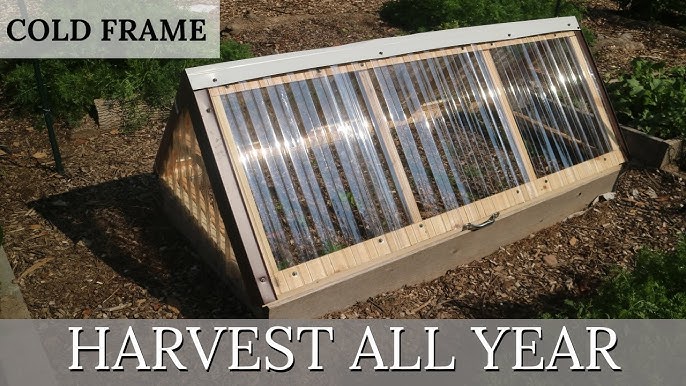
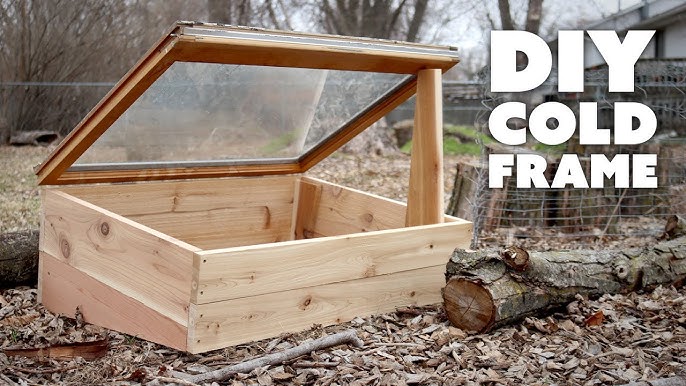
Measure the inside dimensions of your straw bale rectangle. Cut the 2x4 lumber to create a frame that will sit on top of the straw bales. You will want the back of the frame (north side) to be higher than the front of the frame (south side) to maximize sunlight exposure. Attach the lumber together with screws or nails.
Step 4: Attach the Cover
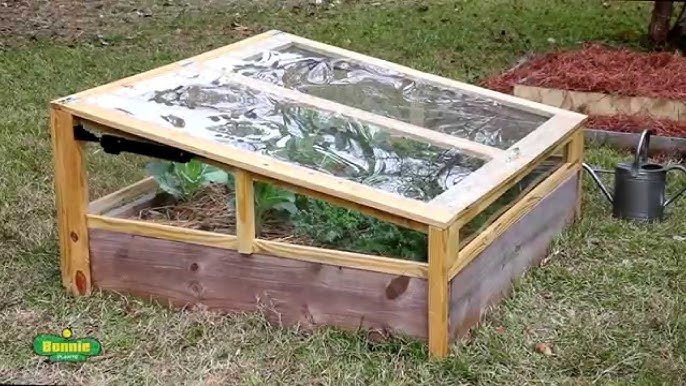
This is where you can get creative! If you have old windows, they make an excellent, durable cover. Simply attach them to the wooden frame using hinges.
If you are using plastic sheeting, stretch it tightly over the frame and secure it with a staple gun. Be sure to use heavy-duty plastic to withstand wind and weather. Then attach the frame to the straw bales.
Step 5: Secure the Frame (Optional)
To prevent the frame from shifting or blowing away in strong winds, you can use stakes to secure the straw bales to the ground. Simply drive wooden or metal stakes through the bales and into the soil.
Troubleshooting & Tips for Success
- Ventilation is Key: Cold frames can overheat quickly on sunny days, so it's crucial to provide ventilation. Prop the cover open slightly on warm days to prevent your plants from cooking.
- Monitor Temperature: Use a thermometer inside the cold frame to monitor the temperature. Aim for a temperature range of 40-70°F (4-21°C).
- Watering: Water your plants regularly, but avoid overwatering, which can lead to fungal diseases.
- Pest Control: Keep an eye out for pests and diseases. Use organic pest control methods to protect your plants.
- Material Sourcing: Check with local farmers for affordable straw bales. Often, they are happy to get rid of old bales.
- Upcycled Windows: Scour local classifieds and recycling centers for old windows to repurpose as a cold frame cover. This is a great way to save money and reduce waste.
Connecting the Dots: Resilience and Sustainability on the Homestead
Building a cold frame is more than just a DIY project; it's an investment in your homestead's resilience and sustainability. By extending the growing season, you reduce your reliance on outside food sources, minimizing your carbon footprint and supporting local food systems.
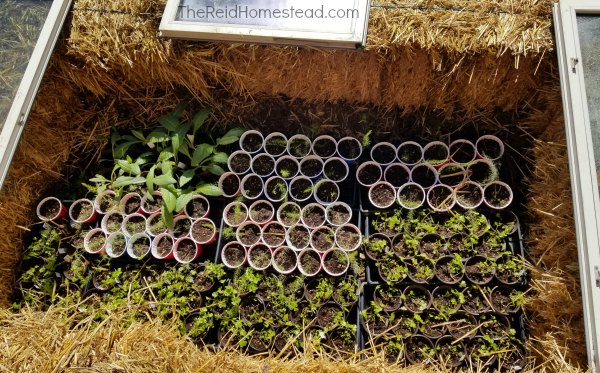
Furthermore, the straw bales themselves can be composted after use, enriching your soil and closing the loop in your homestead ecosystem. The cold frame also provides a protected environment for starting seeds, allowing you to save money on transplants and grow your own unique varieties. Seed saving from plants grown in your cold frame further enhances your self-sufficiency. It's all connected!
Get Started Today!
Ready to extend your harvest and embrace the joys of year-round gardening? Building a straw bale cold frame is a simple, rewarding project that will transform your homestead. Don't wait for the first frost – start building your cold frame today and reap the benefits of fresh, homegrown food all season long.
Share your cold frame adventures with us! Tag Better Homes and Harvests in your social media posts and tell us about your experiences. Do you have any unique tips for building or using a cold frame? Share them in the comments below – we'd love to hear from you! Let’s build a community of resilient homesteaders, one cold frame at a time.
