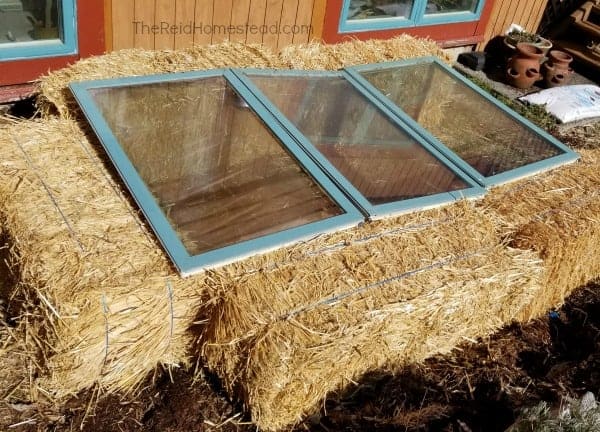
Extend Your Harvest: Building a Simple, Low-Cost Cold Frame
Remember that feeling of biting into a crisp, homegrown salad in the dead of summer? As homesteaders, we crave that connection to the land and the joy of providing for ourselves. But what happens when the first frost hits, and the vibrant greens of summer fade away? I used to resign myself to bland, store-bought vegetables until spring. Then I discovered the magic of the cold frame. Now, I can still harvest fresh spinach, lettuce, and even kale well into December, a burst of green on a snowy landscape. This simple structure is a game-changer for extending your growing season, and the best part? You can build one yourself with minimal cost and effort. Let’s get started!
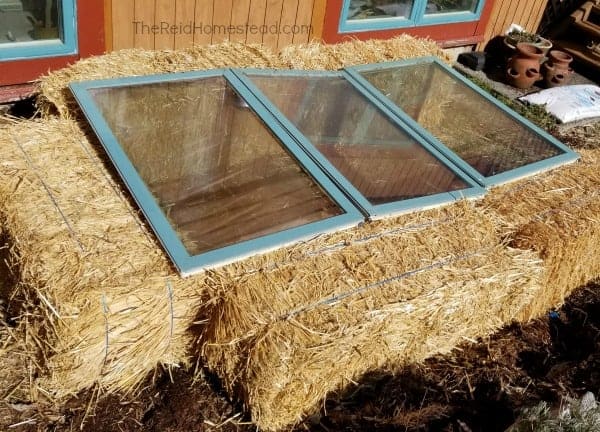
A simple straw bale cold frame - an easy and affordable option for extending your growing season.
What is a Cold Frame, and Why Do You Need One?
For those new to the world of season extension, a cold frame is essentially a miniature greenhouse. It's an unheated structure, typically built low to the ground, with a transparent cover to let in sunlight. This traps heat, creating a warmer microclimate for your plants, protecting them from frost, wind, and snow. Think of it as a cozy blanket for your veggies!
A cold frame allows you to:
- Extend the growing season: Plant earlier in the spring and harvest later into the fall and winter. This dramatically expands the window for growing your favorite crops.
- Harden off seedlings: Gradually acclimate seedlings to outdoor conditions before transplanting them into the garden, increasing their chances of survival.
- Overwinter plants: Protect tender perennials and herbs from harsh winter conditions, ensuring they'll thrive again in the spring.
- Enjoy fresh, homegrown produce year-round: Imagine harvesting salad greens in the middle of winter. With a cold frame, it's not just a dream; it's a delicious reality!
DIY Cold Frame: A Step-by-Step Guide
Ready to build your own low-cost cold frame? This project is perfect for beginner homesteaders and requires only basic tools and materials. We'll be constructing a simple, sturdy cold frame that will last for seasons to come. This method focuses on using readily available and often recycled materials.
Materials List (Estimated Cost: $30-$75)
- Reclaimed Lumber or Pallets: (Free - $20) Look for untreated wood to avoid harmful chemicals leaching into your soil. Pallets are a great option, but make sure they are heat treated and not chemically treated. The heat treated mark will look like "HT".
- Clear Plastic Sheeting or Repurposed Windows: ($10-$30) Heavy-duty plastic sheeting (6 mil or thicker) works well. Old windows or storm doors are excellent (and often free!) options, offering better insulation.
- Hinges: ($5-$10) Two or three hinges, depending on the size of your cover.
- Screws or Nails: ($5) For assembling the frame.
- Optional: Straw bales ( $10-20)
Tools You'll Need:
- Saw (hand saw or circular saw)
- Drill (with screwdriver bits)
- Measuring tape
- Pencil
- Staple gun (if using plastic sheeting)
- Safety glasses
- Gloves
Step 1: Design and Planning
Before you start cutting wood, determine the size and location of your cold frame. Consider the following:
- Size: A good starting size is 4 feet wide by 6 feet long, but adjust to fit your available space and materials.
- Location: Choose a sunny spot that receives at least 6 hours of direct sunlight per day, preferably with a southern exposure. A location protected from strong winds is also ideal.
- Slope: The back of the cold frame should be slightly higher than the front to allow for better drainage and maximize sunlight exposure. A difference of 6-12 inches is generally sufficient.
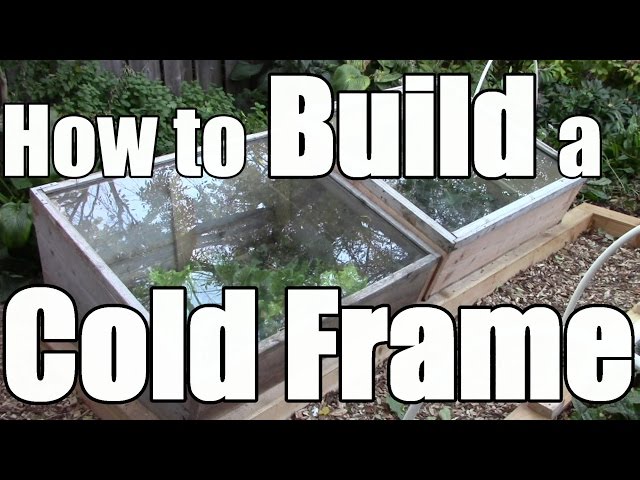
Building the frame from lumber. Ensure that the back is slightly higher than the front for optimal sunlight.
Step 2: Building the Frame
- Cut the wood: Cut the lumber according to your planned dimensions. You'll need two side pieces, a front piece, and a back piece. Remember to account for the slope when cutting the back piece.
- Assemble the frame: Use screws or nails to join the pieces together, creating a rectangular box. Ensure the corners are square and the frame is sturdy.
Step 3: Constructing the Cover
- Using Plastic Sheeting: Cut the plastic sheeting slightly larger than the frame. Staple the plastic securely to the top of the frame, creating a tight seal. Consider adding a wooden frame around the plastic for added durability.
- Using a Repurposed Window: This is the easiest option! Simply attach hinges to the window and the back of the frame.
Step 4: Installing the Hinges
Attach the hinges to the back of the frame and the cover (plastic frame or window). This allows you to easily open and close the cold frame for ventilation and access to your plants.
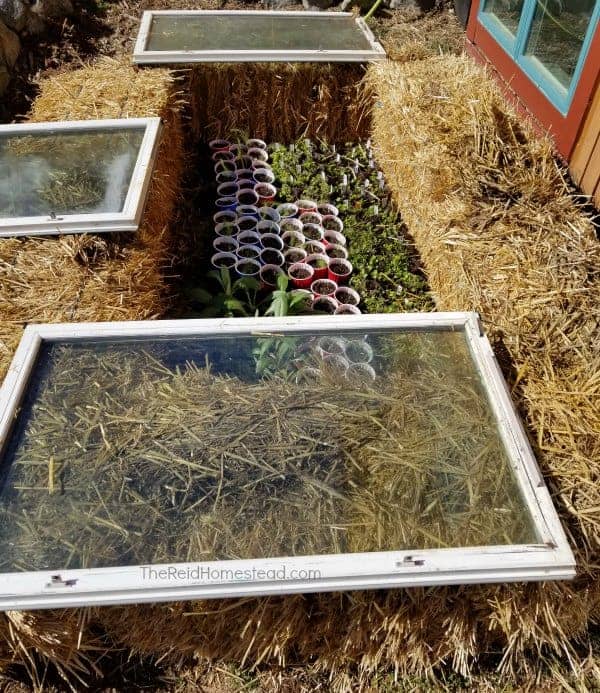
An open cold frame showing flourishing plants within.
Step 5: Placement and Preparation
- Prepare the ground: Clear the area where you'll be placing the cold frame. Level the ground and amend the soil with compost or other organic matter. You can either plant directly into the ground or use containers inside the cold frame.
- Position the cold frame: Place the cold frame in your chosen location, ensuring the back is facing north and the cover is angled towards the sun.
- Add soil (if needed): If you're planting directly into the ground, till the soil inside the cold frame. If using containers, fill them with a high-quality potting mix.
Step 6: Alternative Method - Straw Bale Cold Frame
Another simple and low-cost method is to use straw bales. Simply arrange the straw bales in a rectangle and then place an old window on top! This is a very quick and easy way to get started with cold frame gardening.
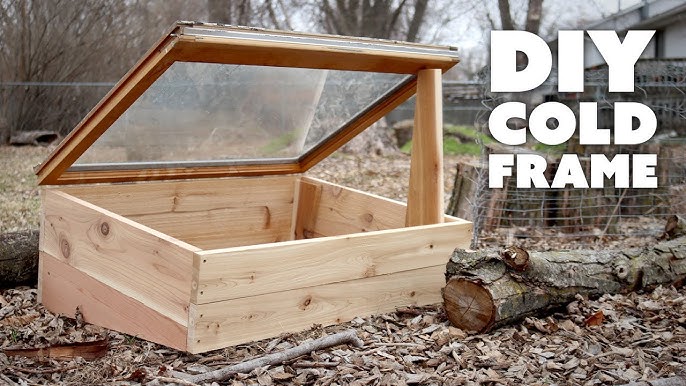
A close-up illustrating how to construct a cold frame.
Cold Frame Best Practices for a Thriving Garden
Building the cold frame is just the first step. Here are some essential tips for successful cold frame gardening:
- Ventilation is Key: On sunny days, even in winter, the temperature inside a cold frame can rise rapidly. Open the cover partially or fully to prevent overheating and provide adequate ventilation. A good rule of thumb is to open it when the inside temperature reaches 70°F (21°C).
- Watering: Water your plants regularly, but be careful not to overwater. The enclosed environment of a cold frame can lead to increased humidity, which can promote fungal diseases. Water in the morning to allow the foliage to dry before evening.
- Pest Control: Monitor your plants regularly for pests. Common cold frame pests include aphids and slugs. Use organic pest control methods, such as introducing beneficial insects or handpicking pests.
- Insulation: For added protection during extremely cold weather, consider insulating the sides of the cold frame with straw bales, blankets, or other insulating materials.
- Crop Selection: Choose cold-hardy crops that can tolerate cooler temperatures. Excellent choices include spinach, lettuce, kale, arugula, radishes, and chives.
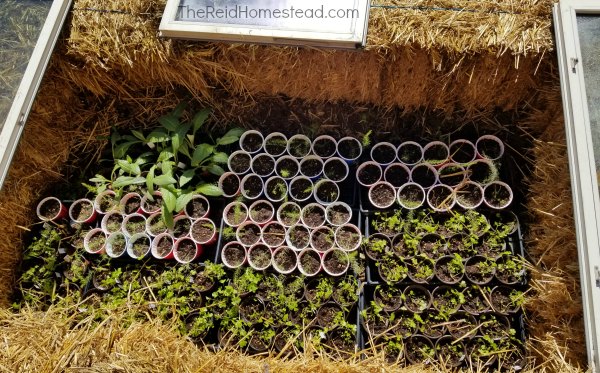
Plant starts happily growing in a protective cold frame.
Troubleshooting Common Cold Frame Problems
Even with the best planning, you might encounter some challenges. Here are a few common problems and how to solve them:
- Overheating: As mentioned earlier, ventilation is crucial. If you're away during the day, consider using an automatic vent opener.
- Frost Damage: Ensure the cold frame is properly sealed to prevent cold air from entering. Add extra insulation during particularly cold nights.
- Pests and Diseases: Maintain good sanitation practices. Remove dead leaves and debris regularly. Use organic pest control methods to address any infestations.
- Lack of Sunlight: Position the cold frame in a sunny location. Clean the cover regularly to ensure maximum light transmission. If sunlight is limited, consider using grow lights.
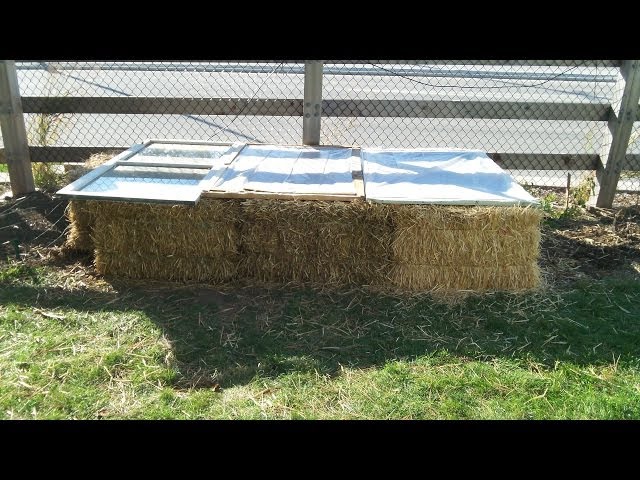
A helpful visual reminder to open and close your cold frame for ventilation as needed.
Beyond the Basics: Expanding Your Season Extension Skills
Once you've mastered the basic cold frame, you can explore other season extension techniques, such as:
- Row Covers: Lightweight fabric covers that protect plants from frost and pests.
- Cloches: Individual plant covers made from glass, plastic, or other materials.
- Greenhouses: Larger, more permanent structures that provide even greater protection from the elements.
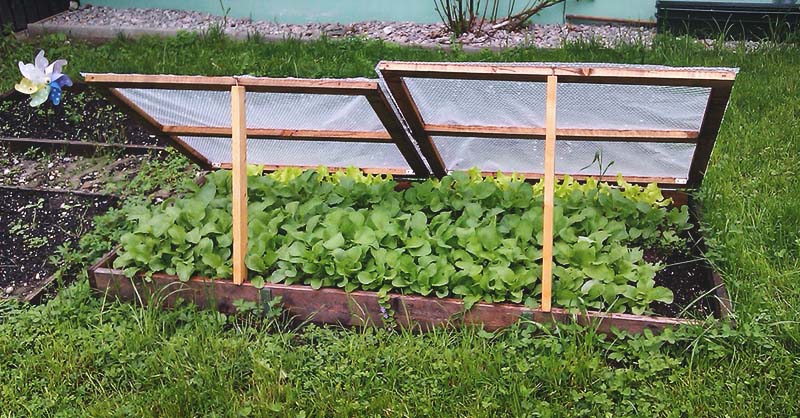
Multiple low-cost cold frame solutions, inspiring your own creativity.
Ready to Extend Your Harvest?
Building a DIY cold frame is a rewarding project that will significantly enhance your homestead's self-sufficiency and resilience. It's a simple, low-cost way to enjoy fresh, homegrown produce for a longer period, connecting you to the land even when the weather turns cold.
Now it's your turn! What are your favorite crops to grow in a cold frame? Have you built your own cold frame before? Share your experiences, tips, and photos in the comments below! We'd love to hear from you.
For more ideas on sustainable gardening and homesteading projects, be sure to check out these other articles on Better Homes and Harvests:
- [Building a Raised Garden Bed](URL - Link to related article on raised beds)
- [Composting for Beginners: A Simple Guide](URL - Link to related article on composting)
- [Seed Starting Indoors: A Step-by-Step Tutorial](URL - Link to related article on seed starting)
Happy gardening, and may your harvest be bountiful!
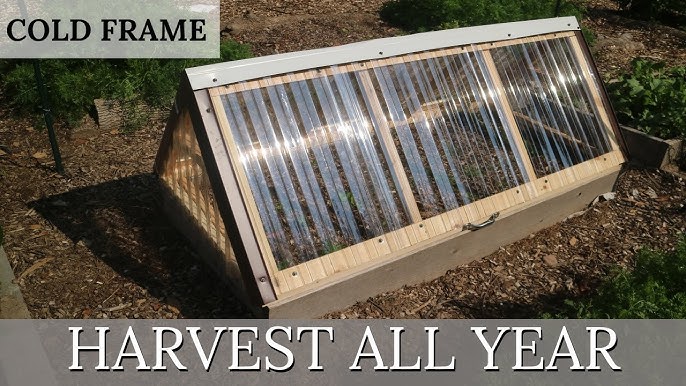
For the more experienced homesteader, a larger cold frame provides added growing space.
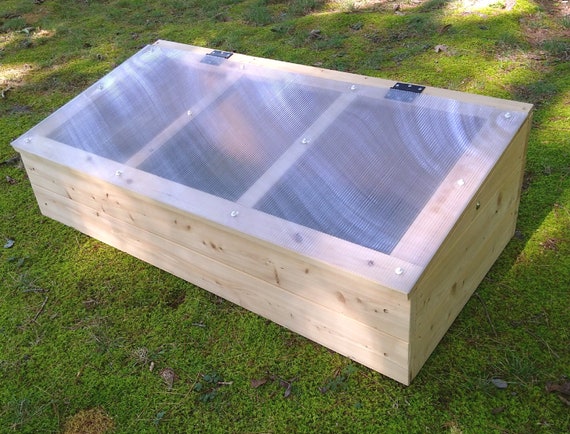
A compact glass cold frame excellent for seed starting.
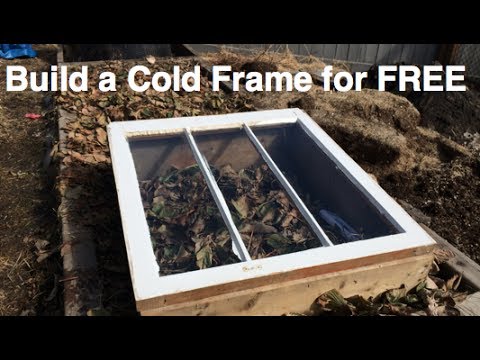
A triumphant shot of a completed cold frame with thriving plants inside.