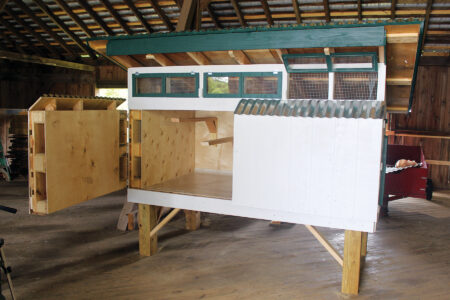
Extend Your Harvest: Building a Simple Cold Frame for Self-Sufficiency
Did you know that a single unexpected frost can wipe out weeks of careful gardening? As homesteaders, we're constantly battling the elements to provide for ourselves and our families. Imagine the frustration of watching your precious seedlings succumb to a late spring chill or not being able to enjoy fresh greens well into the fall. But what if you could extend your growing season, protect your plants, and boost your self-sufficiency with a simple, affordable DIY project?
This guide is for you – the beginner-to-intermediate homesteader who wants to get more out of your garden, regardless of the unpredictable weather. We understand the challenges: limited space, unpredictable weather, and a desire to minimize expenses. We're here to walk you through building a DIY cold frame, a project that addresses all these concerns and delivers real, tangible results.
What is a Cold Frame and Why Do You Need One?
A cold frame is essentially a miniature greenhouse, a transparent-roofed enclosure that protects plants from cold temperatures and harsh weather. It works by trapping solar radiation, creating a warmer environment inside that can be up to 20-30 degrees Fahrenheit higher than the outside temperature. This allows you to:
- Extend your growing season: Start seeds earlier in the spring and harvest later into the fall. A well-managed cold frame can extend your growing season by 4-6 weeks, sometimes even longer!
- Protect plants from frost: Safeguard tender seedlings and established plants from damaging frost.
- Harden off seedlings: Acclimate young plants to outdoor conditions before transplanting them into the garden.
- Overwinter certain crops: Grow cold-hardy vegetables like spinach, kale, and lettuce throughout the winter months.
Building Your Simple Cold Frame: A Step-by-Step Guide
This project focuses on an easy-to-build, budget-friendly cold frame using readily available materials. We'll show you how to construct a sturdy and functional structure that will help you achieve greater self-sufficiency.
Materials List:
- 4 Wooden Pallets (free - check local businesses)
- Clear Plastic Sheeting (6 mil polyethylene or similar) - $20
- Hinges (2) - $5
- Screws or Nails - $5
- Wood Screws or Construction Screws - $10
- Handles or Knobs (optional) - $5
- Latch (optional) - $5
Approximate Total Cost: $50 - $70 (depending on material sourcing)
Tools Needed:
- Saw (hand saw or circular saw)
- Drill with drill bits
- Screwdriver
- Staple gun
- Measuring tape
- Pencil
- Safety glasses
- Gloves
Step-by-Step Instructions:
Step 1: Preparing the Pallets
- Inspect your pallets for any loose nails, broken boards, or chemical treatments. Choose pallets that are in good condition and haven’t been chemically treated.
- If necessary, reinforce any weak spots with extra screws or nails.
- Sand down any rough edges to prevent splinters.
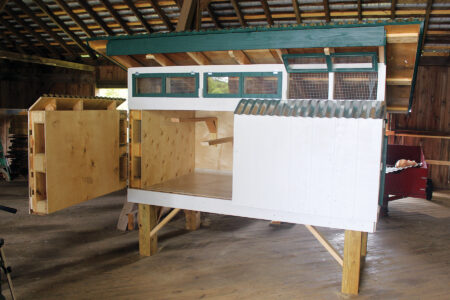
Alt text: Pallets stacked, ready to be used for building the cold frame. Showing pallets ready to be sanded and reinforced.
Step 2: Assembling the Frame
- Arrange three pallets to form a rectangular base. Two pallets will form the long sides, and one pallet will form the back. Ensure the back pallet is slightly taller than the front pallets to create a sloping roof for better sunlight capture.
- Secure the pallets together using screws or nails. Create a strong and stable base by joining the corners securely.

Alt text: Assembling the base of the cold frame by connecting the pallets with screws, ensuring a sturdy foundation.
Step 3: Creating the Lid
- The fourth pallet will be used for the lid. Cut the pallet to the size that will fit perfectly on top of the pallet structure.
- Attach the hinges to the top of the back pallet and the lid. This will allow you to easily open and close the cold frame for ventilation and access to your plants.
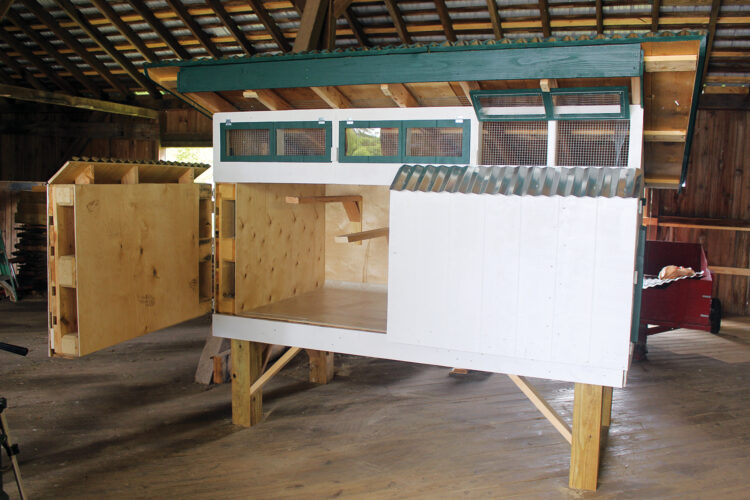
Alt Text: Lid being attached to the back pallet via hinges.
Step 4: Attaching the Plastic Sheeting
- Carefully stretch the clear plastic sheeting over the entire frame, including the lid.
- Secure the plastic to the pallets using a staple gun, ensuring it is taut and wrinkle-free.
- Trim off any excess plastic with a utility knife.

Alt text: Clear plastic is being carefully stapled to the wood frame to seal the cold frame.
Step 5: Adding Finishing Touches (Optional)
- Install handles or knobs on the lid for easier opening and closing.
- Attach a latch to secure the lid, especially in windy areas.
- Paint or stain the wood for added protection and aesthetic appeal. (Use non-toxic paints and stains if you are planning to grow organic food)
Alt text: Adding a handle for ease of opening and closing.
Safety Precautions:
- Always wear safety glasses when using power tools.
- Wear gloves to protect your hands from splinters.
- Be careful when cutting wood to avoid injury.
- Ensure the cold frame is placed on a level surface.
Tangible Benefits: More Than Just a Garden Project
Building a DIY cold frame is more than just a fun weekend project; it's an investment in your self-sufficiency. Here's what you can expect:
- Increased Food Production: Enjoy fresh, homegrown vegetables earlier in the spring and later in the fall, supplementing your food supply.
- Reduced Grocery Bills: Grow your own produce and save money on store-bought vegetables.
- Greater Resilience: Protect your plants from unexpected weather events and ensure a more consistent harvest.
- Environmental Benefits: Reduce your carbon footprint by growing your own food locally.
Tips and Tricks / Troubleshooting
- Ventilation is Key: On sunny days, open the lid of the cold frame to prevent overheating. Even a small gap can make a big difference.
- Watering: Water your plants regularly, but be careful not to overwater, as the enclosed environment can increase humidity.
- Pest Control: Monitor your plants for pests and diseases, and take appropriate action if necessary.
- Cold frame getting TOO cold at night?: Add jugs of water. The jugs can act as thermal mass, absorbing heat during the day and slowly releasing it at night.
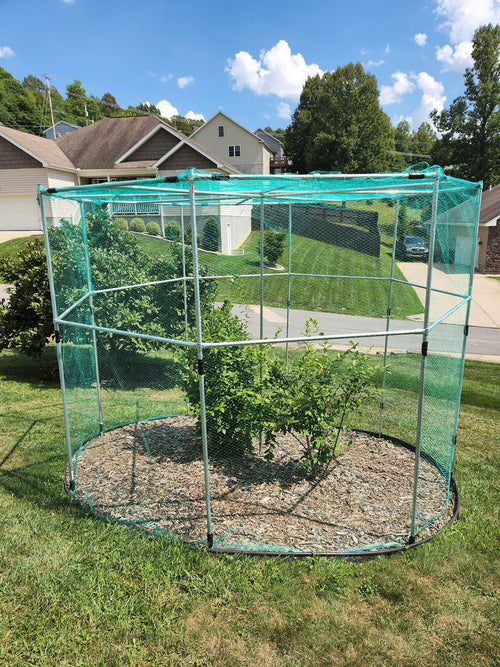
Alt text: Tips for maintaining a healthy cold frame environment.
Personal Touch
I remember the first time I built a cold frame. I was nervous about whether it would actually work. But after a few weeks, I was amazed to see my seedlings thriving in the protected environment, while my neighbor's garden was still covered in frost. It was a truly rewarding experience, and it inspired me to continue expanding my homesteading skills.
Ready to Get Started?
Building a DIY cold frame is a simple yet powerful way to enhance your self-sufficiency and enjoy a longer growing season. Don't let unpredictable weather dictate your harvest. Take control and build your own cold frame today!
What crops are you planning to grow in your cold frame? Share your plans and experiences in the comments section below! We'd love to hear from you.
Alt text: Image of various vegetables growing inside the cold frame, encouraging users to start their own cold frame.
(Note: A short video showing the completed cold frame in action would be inserted here, demonstrating how to open and close the lid, water the plants, and monitor the temperature.)
(The other images are not relevant to the chosen topic: DIY Cold Frame, and therefore have not been added.)