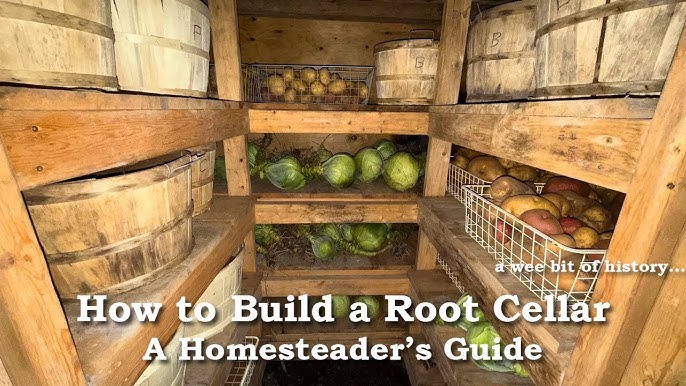
Extend Your Harvest: Building a DIY Root Cellar for Small-Space Homesteading
Fall is a magical time for homesteaders. The air turns crisp, the leaves blaze with color, and the garden overflows with the bounty of our hard work. But what happens when winter arrives? Do you resign yourself to store-bought produce lacking in flavor and nutrients? Not anymore! Let's talk about building a DIY root cellar, a simple yet incredibly effective way to preserve your autumn harvest and embrace sustainable living year-round, even with limited space.
My journey into food preservation began with a single overflowing tomato plant and a desperate desire to avoid wasting a single fruit. I experimented with canning, freezing, and drying, but something was missing. The flavor and texture just weren't the same as fresh. That's when I discovered the magic of root cellaring, an ancient technique that allows you to enjoy the fruits (and vegetables!) of your labor long after the growing season ends.
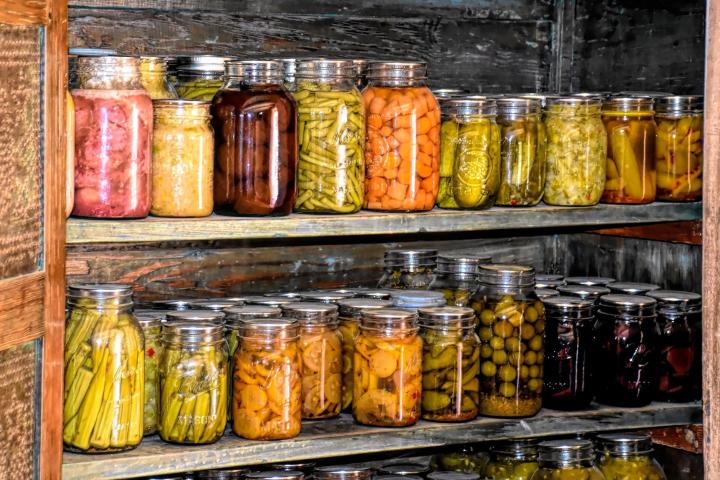
This year, I'm excited to share my experience in building a small-space root cellar, perfectly suited for the modern homesteader who wants to reduce reliance on grocery stores and enjoy the health benefits of fresh, homegrown produce all winter long. And don’t worry, this simple root cellar design is achievable for beginners with limited tools and budgets. We'll be focusing on an "earth berm" or "partially buried" design, which is great for those who don't want to commit to a fully underground structure.
What is a Root Cellar, and Why Should You Build One?
A root cellar is essentially an underground or partially underground structure that utilizes the earth’s natural insulating properties to maintain a cool, humid environment ideal for storing root vegetables, fruits, and even some canned goods. By keeping temperatures consistently cool (ideally between 32-40°F) and humidity high (around 80-90%), a root cellar slows down the ripening and decomposition process, allowing you to extend the shelf life of your harvest significantly.
Benefits of having a homestead root cellar include:
- Reduced grocery bills: No more expensive, flavorless winter produce!
- Improved health: Enjoy fresh, nutrient-rich vegetables from your garden all year.
- Sustainable living: Reduce your carbon footprint by minimizing reliance on transportation and refrigeration.
- Food security: Be prepared for unexpected events and ensure a steady supply of food for your family.
Planning Your DIY Root Cellar: The Earth Berm Approach
For small-space homesteading, a fully underground root cellar might not be feasible. That's where the earth berm design comes in. This involves building a structure partially above ground and then covering it with earth for insulation. This is an easy DIY root cellar plan for beginners, offering a balance of affordability, accessibility, and effectiveness.
Step-by-Step Guide to Building Your Small-Space Root Cellar
1. Site Selection:
Choose a location that is:
- Shaded: Ideally on the north side of your house or a building to minimize direct sunlight.
- Well-drained: Avoid areas prone to flooding or standing water, which can lead to moisture problems.
- Accessible: Close enough to your house for easy access, but far enough away to avoid disrupting your living space.
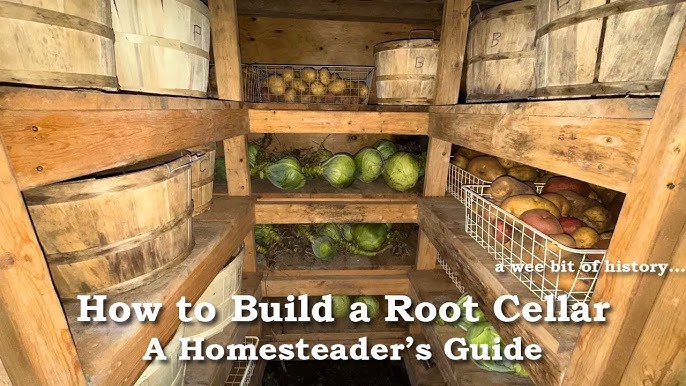
Caption: Choosing the right location is crucial. Ensure adequate drainage and shade.
2. Excavation and Foundation:
- Mark out the area for your root cellar. A size of 6ft x 8ft is a good starting point for a small-space homestead.
- Excavate the area to a depth of about 2-3 feet. This will be the base of your structure.
- Create a foundation using gravel or crushed stone for proper drainage.
Safety Tip: Always call your local utility companies before you dig to avoid hitting any underground lines.
3. Building the Structure:
- Use concrete blocks, treated lumber, or even repurposed materials like shipping pallets to build the walls of your root cellar. Concrete blocks offer excellent insulation and durability.
- Ensure the walls are sturdy and level.
- Leave an opening for a door and a small vent near the roof for air circulation.
- Angle the walls slightly inward towards the top for added structural integrity when you berm the sides with earth.
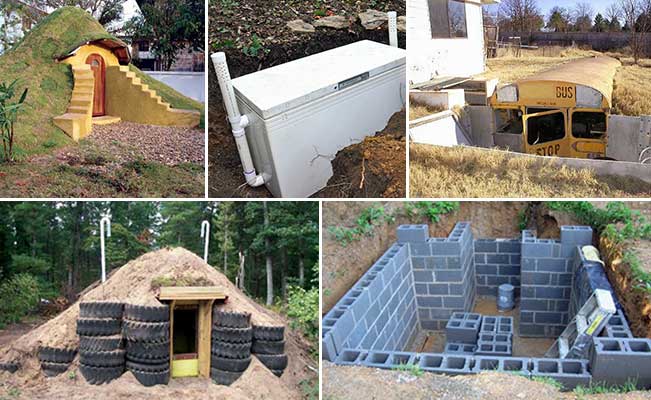
Caption: This example shows a sturdy wooden structure which can be easily bermed.
4. Roofing and Insulation:
- Construct a roof using plywood or corrugated metal, ensuring it slopes slightly to allow for water runoff.
- Cover the roof with a layer of waterproof membrane (like roofing felt) to prevent leaks.
- Insulate the roof with straw bales, rigid foam insulation, or a thick layer of earth. This is crucial for maintaining a consistent temperature inside the root cellar.
5. Earth Berming:
- Backfill the excavated soil around the walls of the structure, creating a berm that slopes gently away from the walls.
- Compact the soil to prevent erosion and improve insulation.
- Consider planting grass or other vegetation on the berm to further stabilize the soil and provide additional insulation.
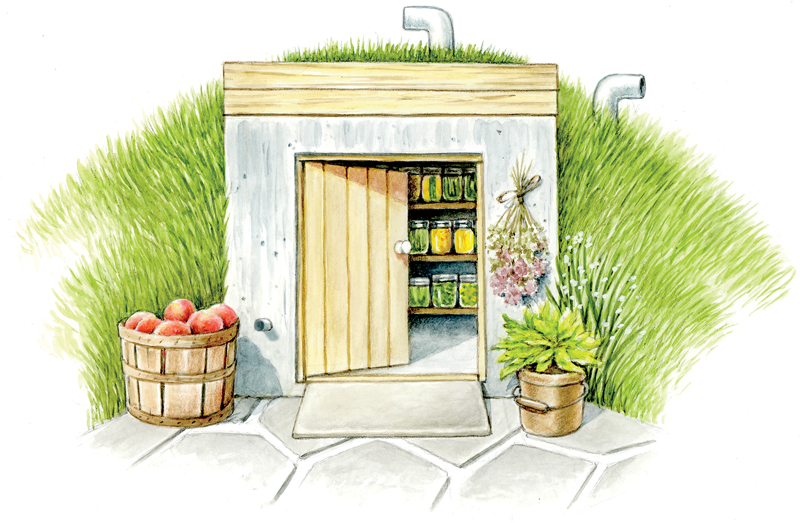
Caption: A completed earth berm root cellar, showcasing the natural insulation.
6. Door and Ventilation:
- Install a sturdy, insulated door to prevent temperature fluctuations. A solid wood door with weather stripping is a good option.
- Ensure proper ventilation by installing a vent pipe near the roof. This will allow for air circulation and prevent the buildup of moisture. You can regulate airflow with a damper.
7. Interior Finishing and Shelving:
- Line the interior walls with untreated lumber or concrete blocks to create a clean and durable surface.
- Build shelving using wood or metal to store your produce. Make sure the shelves are sturdy enough to hold the weight of your root vegetables.
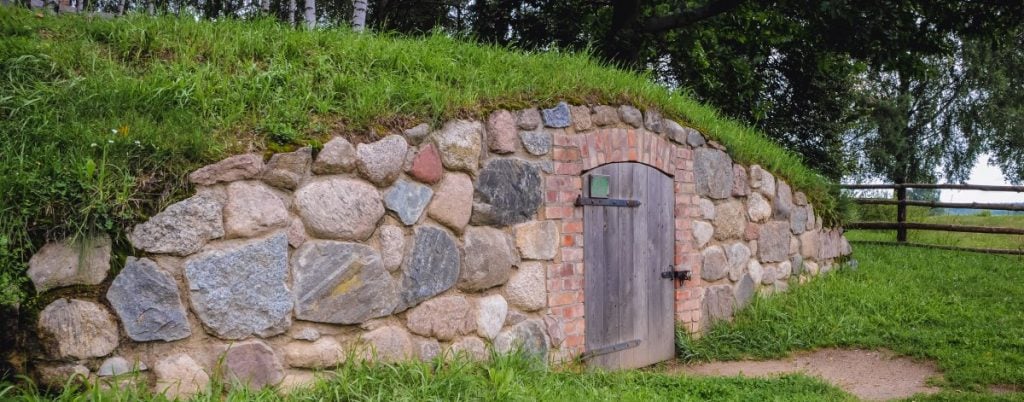
Caption: Simple wooden shelving maximizes storage space inside the root cellar.
8. Drainage:
- Ensure proper drainage around the root cellar to prevent water from seeping into the structure. Install a French drain (a trench filled with gravel containing a perforated pipe) around the perimeter of the foundation if necessary.
9. Initial Storage
- Don't overfill your root cellar. Good air circulation is key, so leave plenty of space between stored items.
- Check stored items regularly, removing any that show signs of spoilage. One bad apple really can spoil the whole bunch!
- Layer vegetables like potatoes or carrots in crates or bins with sand or sawdust to maintain proper humidity.
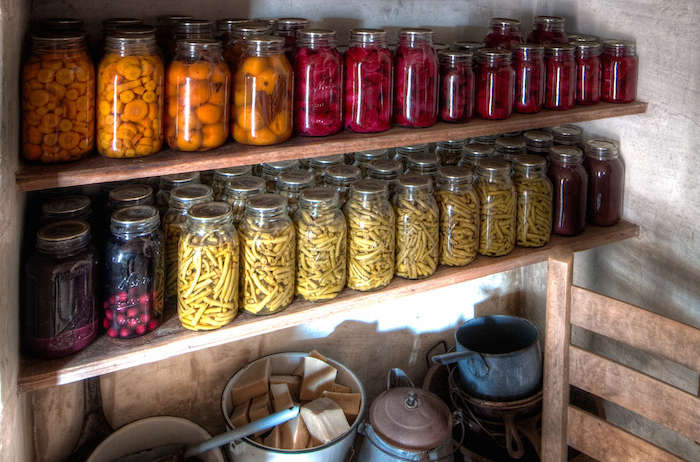
Caption: Inside a well-organized root cellar, showing a variety of storage options.
Materials List (Approximate Costs):
- Concrete blocks/Treated Lumber: $200-$400
- Gravel/Crushed Stone: $50-$100
- Plywood/Corrugated Metal for Roofing: $100-$200
- Waterproof Membrane: $30-$50
- Insulation (Straw Bales/Rigid Foam): $50-$100
- Door: $100-$200
- Vent Pipe: $20-$30
- Lumber for Shelving: $50-$100
- Fasteners (nails, screws, etc.): $20-$30
Total Estimated Cost: $620 - $1210 (Affordable DIY Root Cellar Cost)
Addressing Common Challenges
- Drainage Issues: If you experience water seeping into your root cellar, improve drainage by installing a French drain or redirecting water away from the structure.
- Pest Control: Regularly inspect your root cellar for signs of pests and take appropriate measures to control them. This might involve using traps, diatomaceous earth, or other organic pest control methods. Check out our guide to Organic Pest Control Methods for more information.
- Temperature Regulation: Monitor the temperature and humidity inside your root cellar regularly. Adjust ventilation as needed to maintain optimal conditions. Consider using a thermometer and hygrometer to track these variables.
- Humidity Control: Too much humidity can lead to mold and rot. Proper ventilation is key. If humidity is too low, try placing a bucket of water inside the cellar.
What to Store in Your Root Cellar
The best vegetables for root cellaring include:
- Potatoes
- Carrots
- Beets
- Onions
- Garlic
- Cabbage
- Apples
- Turnips
Check out this article on Growing Root Vegetables for tips on maximizing your harvest for storage.
Embrace Sustainable Living and Extend Your Harvest!
Building a DIY root cellar is a rewarding project that can significantly improve your self-sufficiency and sustainable living practices. With a little planning and effort, you can enjoy fresh, homegrown produce all winter long, reduce your reliance on store-bought food, and connect with the age-old tradition of food preservation. Don't let that autumn harvest go to waste!

Caption: For an even simpler approach, consider a smaller, in-ground storage container like this.
Call to Action:
Have you built a root cellar before? Share your experiences and tips in the comments below! What are your favorite vegetables to store? Do you have any questions about building your own root cellar? We’re here to help!
Don't forget to sign up for the Better Homes and Harvests newsletter for more homesteading tips and inspiration!