Extend Your Harvest: Building a DIY Cold Frame from Reclaimed Materials
There's a special kind of satisfaction that comes from biting into a crisp, homegrown salad in the depths of early spring, long before the local farmers markets are overflowing with produce. Last year, our family enjoyed the earliest lettuce we’ve ever had, all thanks to a simple structure that cost us next to nothing to build. That structure? A DIY cold frame. Homesteading is about resourcefulness, and extending your growing season is a cornerstone of self-sufficiency. It means more control over your food supply, less reliance on grocery stores, and a deeper connection to the rhythms of nature. With a little ingenuity and some reclaimed materials, you can enjoy fresh, homegrown vegetables for more months of the year.
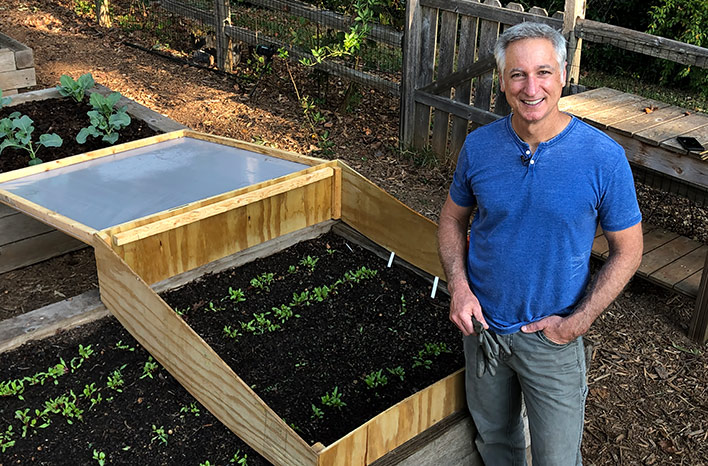
This blog post will guide you through building a simple, effective DIY cold frame using predominantly reclaimed or repurposed materials. This project is perfect for beginner to intermediate DIYers who want to extend growing season and enhance their homesteading efforts. Let's get started!
Why Build a Cold Frame?
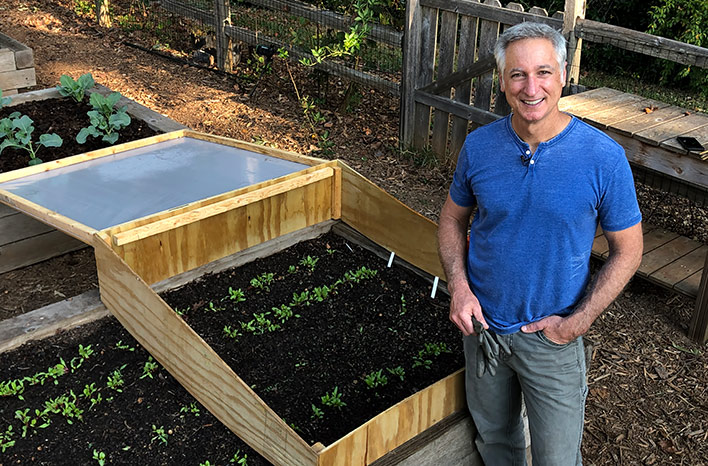
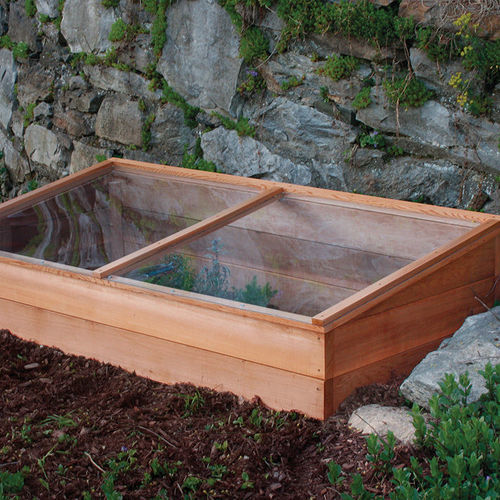
A cold frame is essentially a miniature greenhouse, offering protection from frost, wind, and heavy rain. By creating a sheltered environment, a DIY cold frame allows you to:
- Start seeds earlier in the spring: Give your seedlings a head start and get a jump on the growing season.
- Extend the harvest into the fall and winter: Protect your crops from early frosts and enjoy fresh produce for longer.
- Overwinter tender plants: Provide a safe haven for plants that are not fully hardy in your climate.
- Harden off seedlings: Acclimate your seedlings to outdoor conditions before transplanting them into the garden.
Project Overview: Our Reclaimed Wood Cold Frame
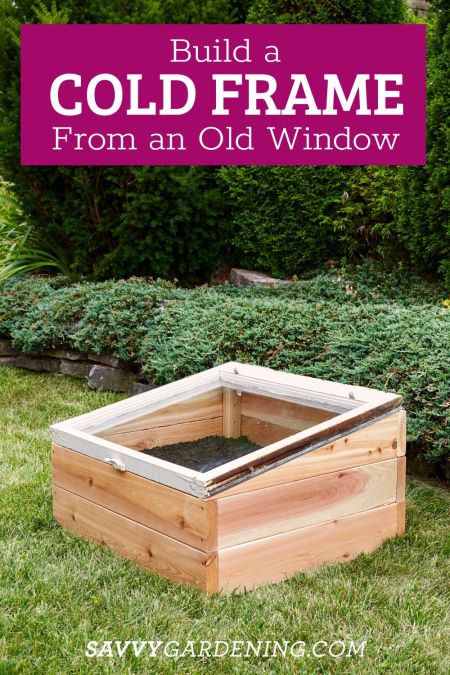
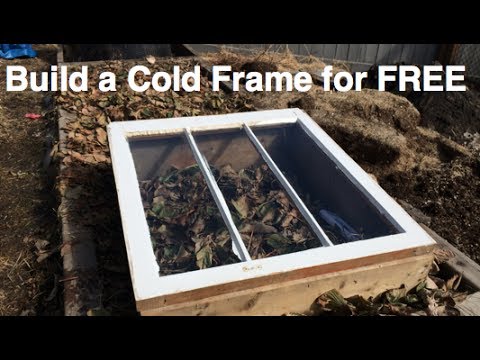
We'll be building a cold frame approximately 4' x 6' using reclaimed materials. This size is manageable, efficient, and easily adaptable to most gardens. The design features a sloping top (using an old window) for maximum sunlight exposure and rainwater runoff.
Materials List: Sourcing Sustainably
Here's what you'll need:
- Reclaimed Lumber:
- (2) 6' long boards (for the sides) - 2"x6" or similar
- (1) 6' long board (for the back) - 2"x6" or similar
- (1) 6' long board (for the front) - 2"x4" or similar
- (2) 4' long boards (for the ends) - 2"x6" or similar
- Additional scrap lumber for corner bracing and window support.
- Approximate Cost: $0 - $50 (depending on availability of reclaimed materials). Check your local salvage yard, construction sites (ask for scraps!), or online marketplaces like Craigslist or Facebook Marketplace.
- Reclaimed Window: Approximately 4' x 6'. Approximate Cost: $0 - $30 (salvage yards, Habitat for Humanity ReStores are great resources.)
- Hinges: (2-3) for attaching the window. Approximate Cost: $5 - $15 (hardware store or salvaged).
- Screws: Assorted sizes for wood construction. Approximate Cost: $5 - $10 (hardware store).
- Handles/Latches (optional): For easy opening and closing. Approximate Cost: $0 - $10 (hardware store or salvaged).
- Caulk or Weather Stripping (optional): To seal gaps and improve insulation. Approximate Cost: $5 - $10 (hardware store).
- Paint or Wood Preservative (optional): To protect the wood. Approximate Cost: $10 - $20 (hardware store).
Tools Needed
- Safety Glasses
- Work Gloves
- Measuring Tape
- Pencil
- Circular Saw or Hand Saw
- Drill with Drill Bits
- Screwdriver
- Level
- Clamps (optional, but helpful)
- Square
- Sandpaper
Step-by-Step Instructions: Building Your DIY Cold Frame
Step 1: Preparing the Lumber
Carefully inspect your reclaimed lumber. Remove any nails, screws, or debris. Sand down any rough edges to prevent splinters.
Safety First: Always wear safety glasses and work gloves when working with wood.
Step 2: Cutting the Lumber
Cut the lumber to the following dimensions:
- Sides: (2) 6' long boards.
- Back: (1) 6' long board.
- Front: (1) 6' long board.
- Ends: (2) 4' long boards.
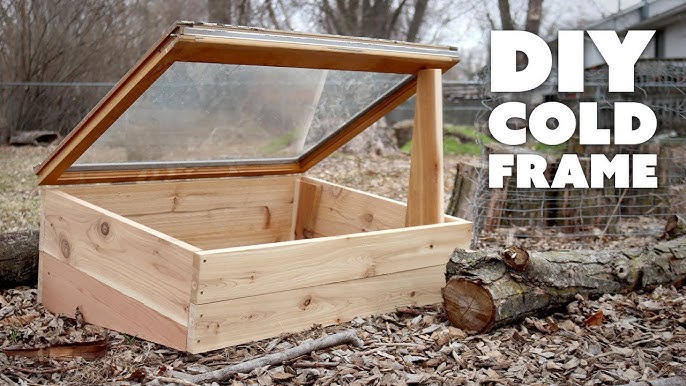
The front board should be narrower (2"x4") than the back board (2"x6"). This creates the slope for the window.
Step 3: Assembling the Frame
Using screws and a drill, assemble the four sides of the cold frame into a rectangular box. Ensure the corners are square using a square tool. The back board (2"x6") should be attached to the 6' side boards, and the front board (2"x4") should also be attached to the side boards, creating a slope when the frame is viewed from the side.
Tip: Pre-drilling pilot holes will prevent the wood from splitting, especially when using reclaimed lumber.
Step 4: Adding Corner Bracing (For Extra Stability)
Cut small pieces of scrap lumber and attach them to the inside corners of the frame using screws. This will reinforce the corners and make the cold frame more durable.
Step 5: Preparing the Window
Clean the reclaimed window thoroughly. Remove any broken glass or loose putty. If desired, repaint the window frame.
Safety First: Handle broken glass with extreme care. Wear heavy gloves and dispose of it properly.
Step 6: Attaching the Hinges
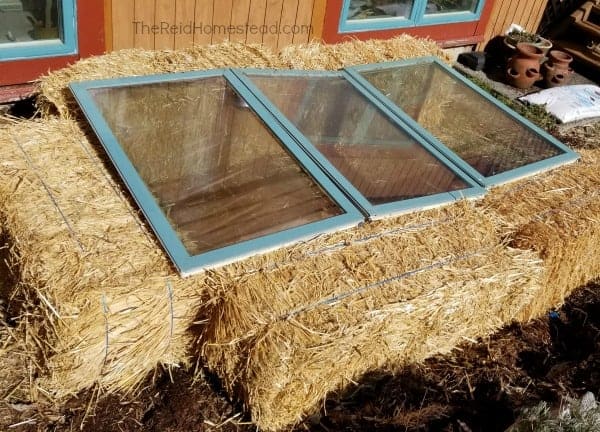
Attach the hinges to the back board of the cold frame and the back edge of the reclaimed window. Make sure the hinges are aligned properly so the window opens and closes smoothly.
Step 7: Adding Window Support (Optional)
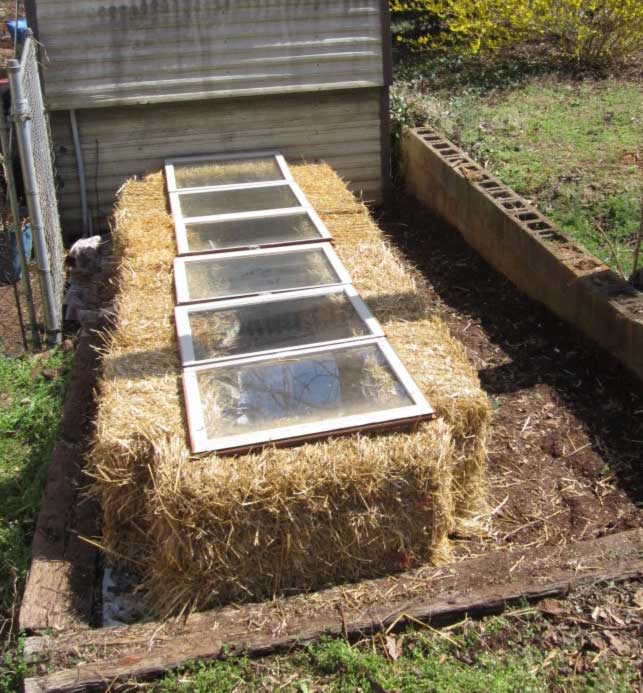
Depending on the weight of your reclaimed window, you may want to add a support to hold it open at different angles. This can be a simple piece of wood attached with a hinge or a commercially available cold frame prop.
Step 8: Sealing Gaps (Optional)
Apply caulk or weather stripping to any gaps between the window and the frame to improve insulation and prevent drafts.
Step 9: Painting/Preserving (Optional)
Paint or apply a wood preservative to the frame to protect it from the elements and extend its lifespan.
Step 10: Placement and Preparation
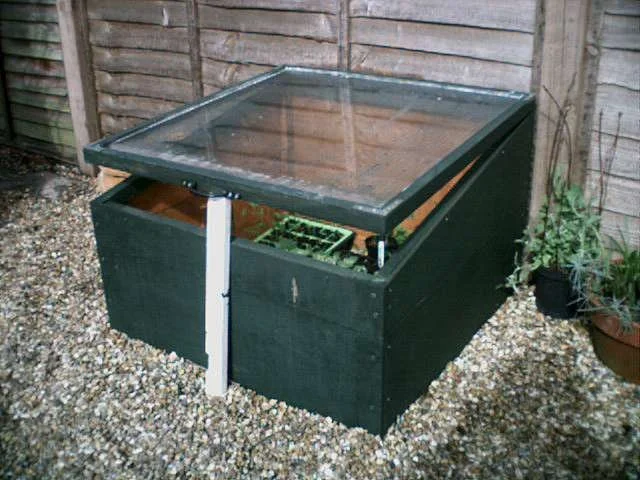
Choose a sunny location in your garden for your DIY cold frame. Ideally, the cold frame should face south or southeast to maximize sunlight exposure. Prepare the soil inside the cold frame by adding compost or other organic matter.
Troubleshooting Tips
- Window Doesn't Sit Flush: Try shimming it with small pieces of wood or cardboard until it's level.
- Frame is Wobbly: Add more corner bracing or reinforce the joints with metal brackets.
- Condensation Build-Up: Ensure adequate ventilation by opening the window slightly on warm days.
Safety Precautions
- Always wear safety glasses when cutting wood.
- Use caution when handling reclaimed materials, as they may contain nails, screws, or other hazards.
- Handle glass with care to avoid cuts.
- Wear work gloves to protect your hands.
Using Your DIY Cold Frame
Once your reclaimed cold frame is built, you can start extending your growing season. Plant seeds or transplants inside the cold frame, and monitor the temperature regularly. On sunny days, open the window to vent excess heat. On cold nights, close the window to trap warmth.
The Benefits of a Cold Frame
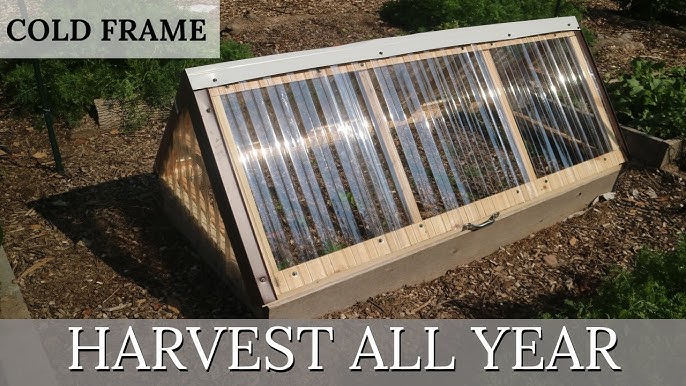
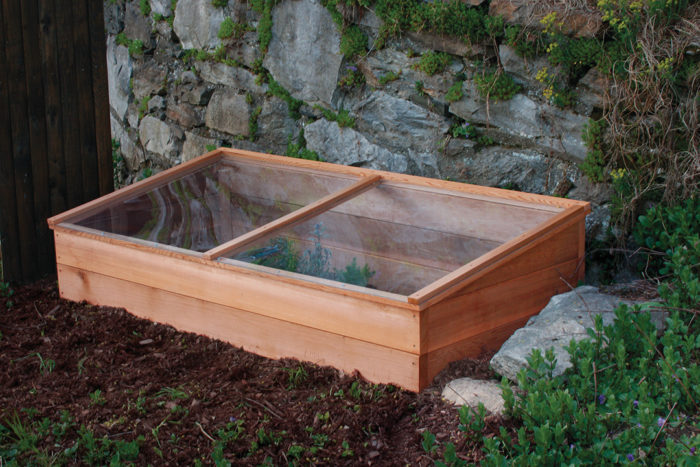
A cold frame is an invaluable tool for any homesteader looking to extend growing season and improve self-sufficiency. By building your own DIY cold frame from reclaimed materials, you're not only saving money but also reducing waste and creating a more sustainable gardening system.
Call to Action
Ready to extend your growing season? Share your own DIY cold frame projects or ask questions in the comments below! We'd love to hear about your experiences and see your creations! Happy gardening!
