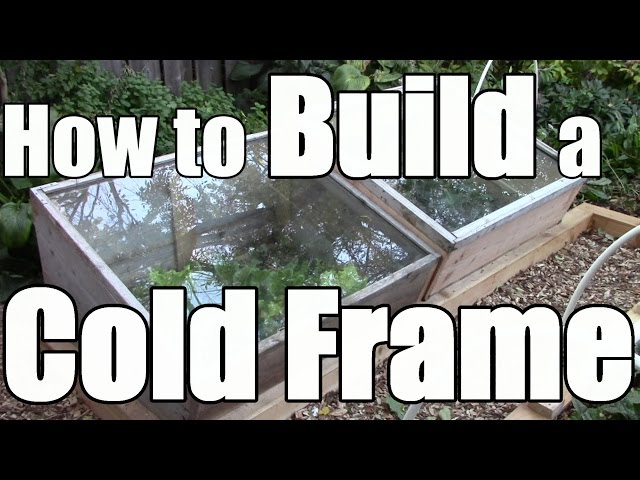
Extend Your Harvest: Build a Simple DIY Cold Frame

The first frost of the season. It's a bittersweet moment for many gardeners. While the vibrant colors of autumn are a sight to behold, that telltale coating of ice on our precious plants often signals the end of the harvest. But what if it didn't have to? What if you could continue enjoying fresh, homegrown produce well into the winter months?
In this guide, you'll discover how to extend your growing season with a simple, affordable, and effective DIY cold frame. Cold frames are an accessible solution for everyone, not just experienced gardeners. Get ready to savor the taste of fresh greens even when the world outside is covered in snow! We'll cover planning, materials, construction, and care, offering tips for maximizing your harvest and enjoying garden-fresh food long after the traditional growing season has ended.
Why Build a Cold Frame?
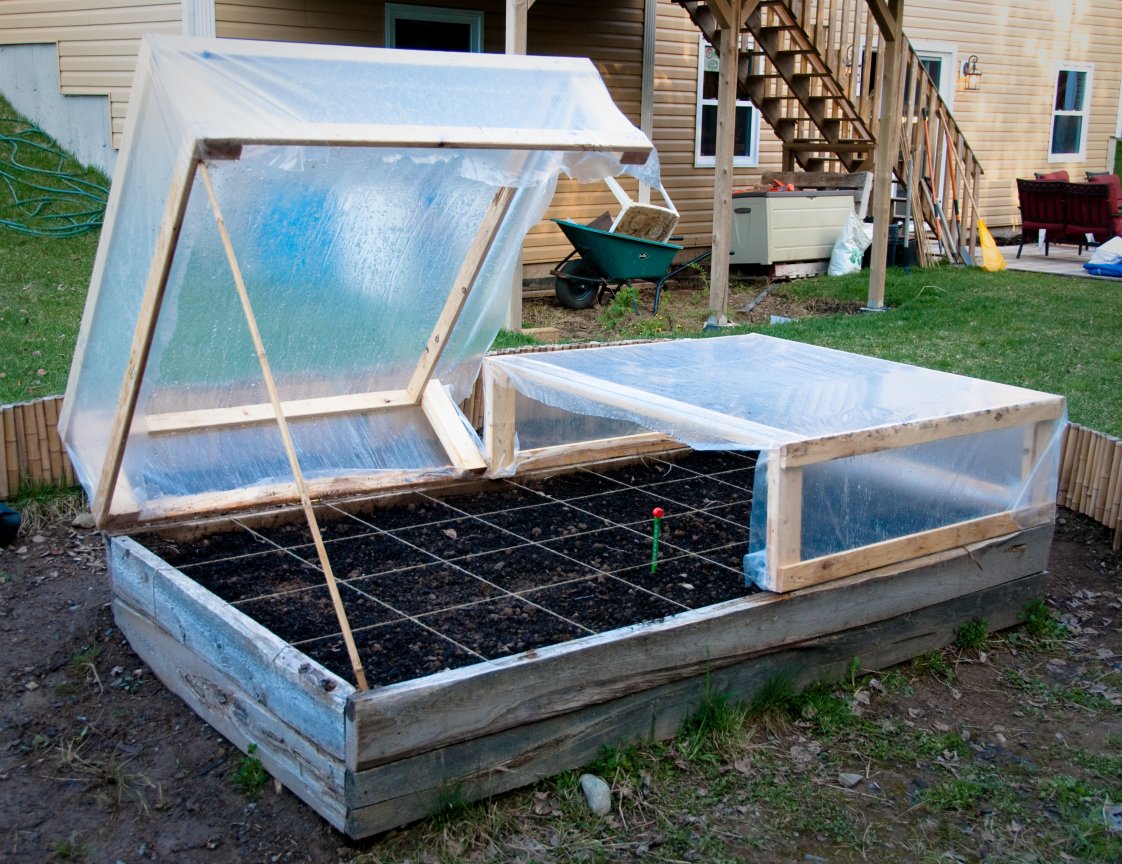
A cold frame is essentially a miniature greenhouse, a protected structure that traps solar heat to keep plants warmer than the surrounding environment. They're not just for the pros; they're a fantastic way for any home gardener to extend their growing season and enjoy a more sustainable lifestyle. Here’s why you should consider building one:
Extend the Harvest: Imagine harvesting fresh lettuce, spinach, kale, and chard throughout the fall and even into the winter. Cool-season crops thrive in the protected environment of a cold frame, allowing you to enjoy homegrown salads long after your neighbors have packed up their gardens. I remember one year, my kale in the cold frame lasted until February! A welcome sight during bleak winter days.
- Takeaway: Extend your season by several months, reduce trips to the store.
Protect Against Frost and Cold: Unexpected frosts can wreak havoc on vulnerable plants. A cold frame provides a safe haven, shielding your greens from the harsh elements and preventing damage or even death. I’ve lost count of the times a cold frame saved my seedlings from a sudden late-spring frost.
- Takeaway: Safeguard plants from harsh weather, prevent plant loss.
Early Spring Starts: Get a jump start on spring planting by starting seeds or transplanting seedlings into your cold frame weeks before you could normally put them in the ground. This gives your plants a head start, resulting in earlier and more abundant harvests.
- Takeaway: Jumpstart your spring garden, faster harvests.
Harden Off Seedlings: Before transplanting seedlings into the open garden, they need to be "hardened off," a process of gradually acclimating them to outdoor conditions. A cold frame provides the perfect environment for this, protecting them from harsh winds and intense sunlight while still exposing them to the elements.
- Takeaway: Stronger, more resilient seedlings, increased success rate.
Demonstrate Sustainability: Growing your own food, even in the winter, is a fantastic way to reduce your reliance on grocery stores and support a more sustainable lifestyle. It's about embracing self-sufficiency and enjoying the satisfaction of providing for yourself and your family.
- Takeaway: Decrease reliance on external resources, foster self-sufficiency.
Planning Your DIY Cold Frame
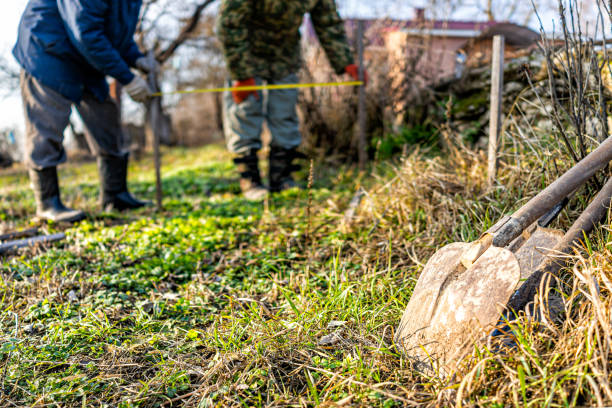
Before you start building, a little planning goes a long way. Here are some key considerations:
Location, Location, Location: Choosing the right location is crucial for maximizing sunlight and protecting your cold frame from harsh weather.
- Select a sunny spot that receives at least 6 hours of direct sunlight per day, ideally with a southern exposure.
- Look for a sheltered area that is protected from strong winds.
- Ensure the location has good drainage to prevent water from pooling around the cold frame.
- Consider the proximity to a water source for easy watering.
- Takeaway: Optimizing light and water access saves labor and increases yield.
Size and Design: The size and design of your cold frame will depend on the number of plants you want to protect and the available space.
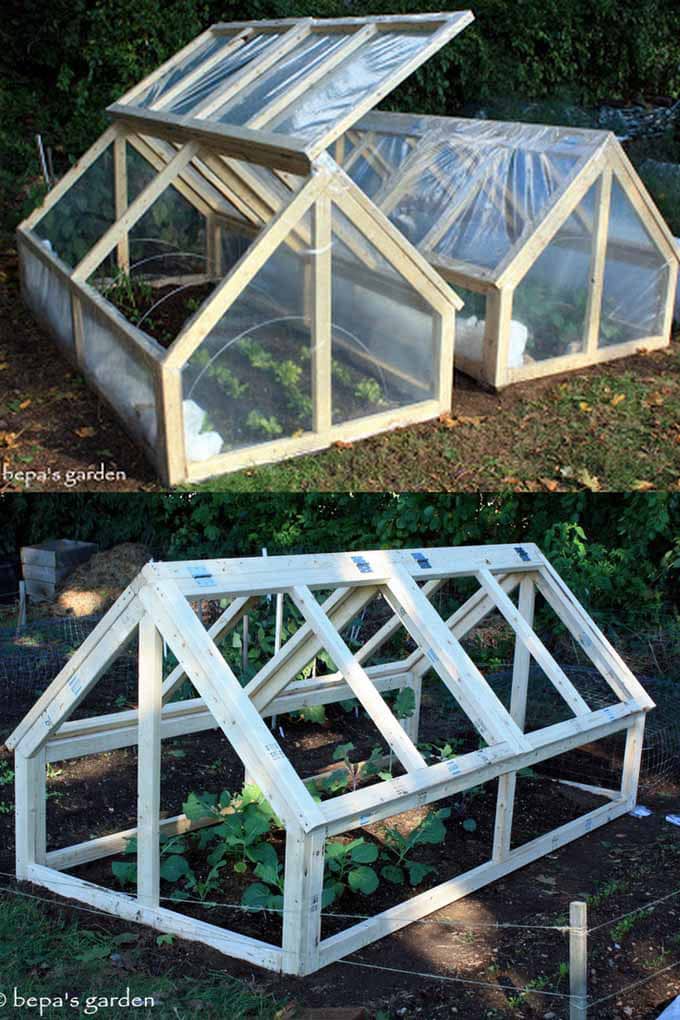
- A simple rectangular design with a hinged lid is easy to build and provides good ventilation.
- Consider using standard lumber sizes (e.g., 2x4s) to minimize waste and simplify construction. A 4'x8' cold frame is a versatile size for many gardens.
- Think about the height of your plants when determining the height of the cold frame.
- Takeaway: Ensure sufficient space and efficient sunlight.
Materials: You don't need to break the bank to build a cold frame. In fact, you can often use recycled or repurposed materials.
- Frame: Reclaimed lumber, old pallets, or even straw bales can be used to build the frame. I once built a cold frame using old fence posts – it worked like a charm!
- Glazing (Covering): Old windows, storm doors, or clear plastic sheeting are all suitable options for the covering. Polycarbonate panels are durable and provide excellent light transmission.
- Tools: You'll need basic tools like a saw, drill, hammer, measuring tape, and safety glasses.
- Takeaway: Reduce material cost and promote sustainable practices.
Step-by-Step Building Instructions
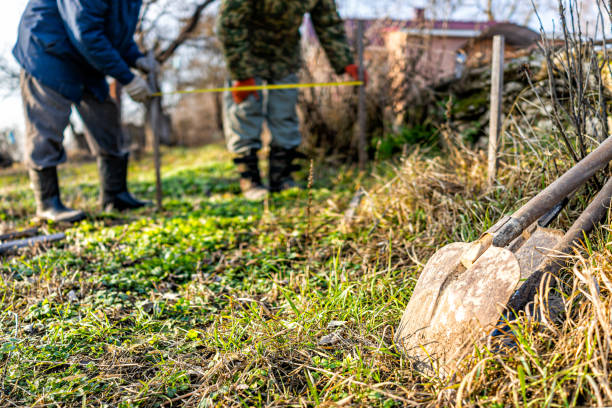
Here's a simplified guide to building a basic cold frame:
Frame Construction:
- Cut the lumber to the desired dimensions for your cold frame.
- Assemble the frame using screws or nails, ensuring it is square and sturdy.
- Consider building the back of the frame slightly higher than the front to create a sloped roof for better sunlight capture and water runoff.
- Takeaway: Solid, well-built frame.
Glazing (Covering):
- Attach the clear covering to the frame using screws, staples, or clamps.
- If using plastic sheeting, secure it tightly to prevent it from flapping in the wind.
- Overlapping sheets of plastic and folding over the edge is ideal to keep drafts out.
- Takeaway: Secure cover for adequate warmth and light.
Hinged Lid (Optional):
- Attach hinges to the top of the back frame and the covering to create a hinged lid.
- This allows for easy access to your plants and provides ventilation on warmer days.
- You can even add latches to secure the lid in place.
- Takeaway: Temperature control and easy access to plants.
Insulation (Optional):
- For extra protection in colder climates, add insulation around the outside of the frame.
- Straw bales, blankets, or even piles of leaves can be used to insulate the cold frame.
- Takeaway: Maximize insulation in colder environments.
Caring for Your Cold Frame Garden
Once your cold frame is built, it's important to provide proper care for your plants:
Ventilation: Ventilation is key to preventing overheating and moisture buildup inside the cold frame. Open the lid on warmer days to allow fresh air to circulate. I always check the temperature inside, aiming for around 60-70°F.
- Takeaway: Maintain optimal temperature and humidity.
Watering: Water your plants regularly, but be careful not to overwater, especially in colder weather. Allow the soil to dry slightly between waterings to prevent fungal diseases. Check the soil before watering, feel for dampness.
- Takeaway: Avoid overwatering, minimize risk of mold.
Temperature Monitoring: Use a thermometer to monitor the temperature inside the cold frame and adjust ventilation as needed.
- Takeaway: Consistent temperature monitoring.
Pest and Disease Control: Keep an eye out for pests and diseases, and take action promptly to prevent problems from spreading. Organic control methods, such as insecticidal soap or neem oil, are effective for many common pests.
- Takeaway: Address potential pests/diseases early.
Seasonal Adjustments: During the fall, you may only need to vent the cold frame on warmer afternoons. As winter approaches, close it up tighter and add extra insulation. In early spring, gradually increase ventilation as the weather warms up. The key is to adapt to the changing conditions.
- Takeaway: Keep crops alive and harvest ready all winter.
Embrace the Winter Harvest
Building a DIY cold frame is a rewarding project that allows you to extend your growing season and enjoy fresh, homegrown produce throughout the colder months. It's a simple way to connect with nature, embrace self-sufficiency, and savor the flavors of your garden, even when the snow is falling outside. The satisfaction of harvesting a fresh salad in the middle of winter is truly unmatched!
Now is the perfect time to start planning and building your cold frame, before the coldest weather arrives. Get ready to enjoy the taste of homegrown goodness all season long!
Ready to extend your growing season? Build your own cold frame and share your progress with us in the comments below! What are your favorite cold-hardy crops to grow?