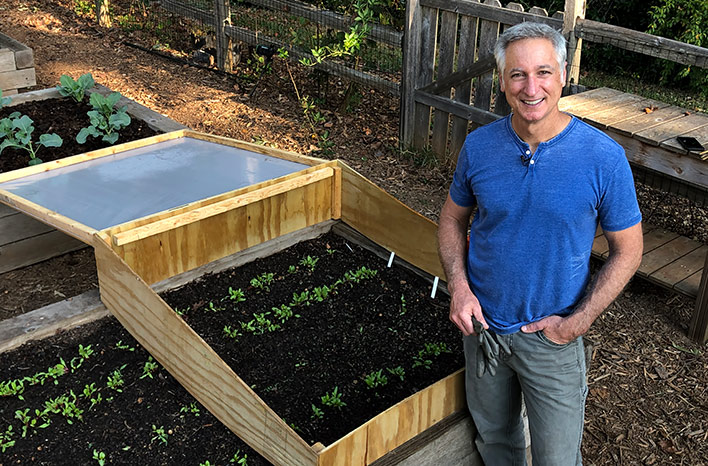
Extend Your Harvest: Build a Budget-Friendly Cold Frame from Reclaimed Materials
Are you tired of your growing season ending with the first frost? Do you dream of fresh salads and homegrown greens gracing your table well into the fall and even winter? Then it's time to take control of your garden's destiny by building a cold frame! This isn't just any cold frame; we're talking about a budget-friendly, highly effective structure built primarily from reclaimed materials. Even if you're a beginner woodworker, you can easily tackle this project and dramatically extend your harvest. Let's dive in and discover how to build your own "season extender"!
Why This Project Matters: A Longer Harvest, More Food Security
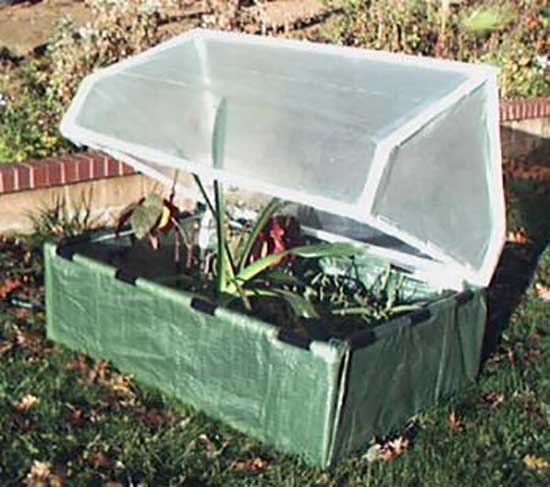
Imagine enjoying crisp lettuce, flavorful spinach, and even hardy herbs long after your neighbors' gardens have gone dormant. A cold frame provides a protected microclimate, trapping solar heat and shielding your plants from frost, wind, and snow. This simple structure can extend your growing season by several weeks, even months, allowing you to:
- Enjoy fresh, homegrown produce for a longer period. Extend your fall harvest and get a head start on spring planting.
- Protect tender seedlings from late frosts. Give your young plants a safe haven as they transition outdoors.
- Increase your food self-sufficiency. Rely less on store-bought produce and enjoy the satisfaction of growing your own food year-round.
- Save money. Reduce your grocery bills and invest in a sustainable gardening solution.
Gathering Your Materials: Budget-Friendly Sourcing
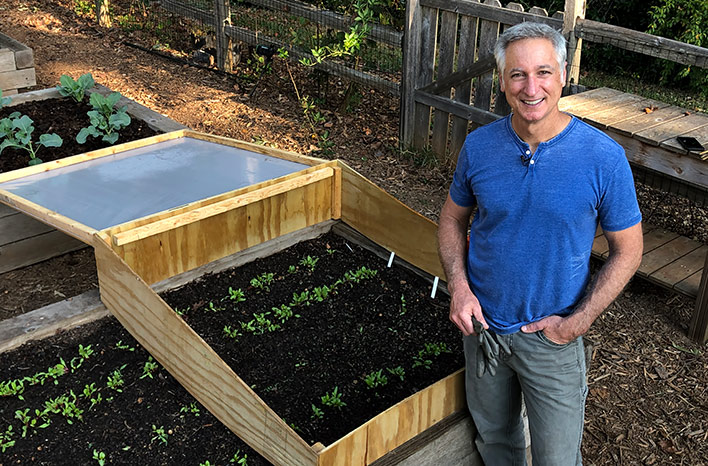
The beauty of this project lies in its affordability. By utilizing reclaimed materials, you can build a highly functional cold frame without breaking the bank. Here's a comprehensive materials list with estimated costs and sourcing tips:
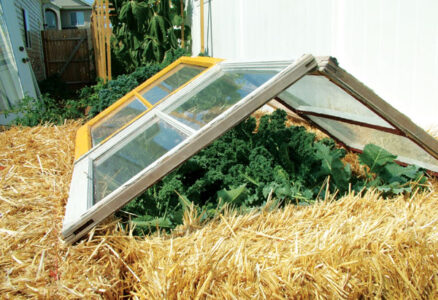
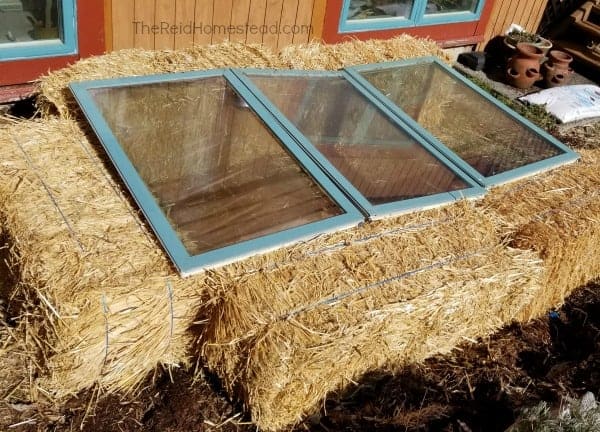
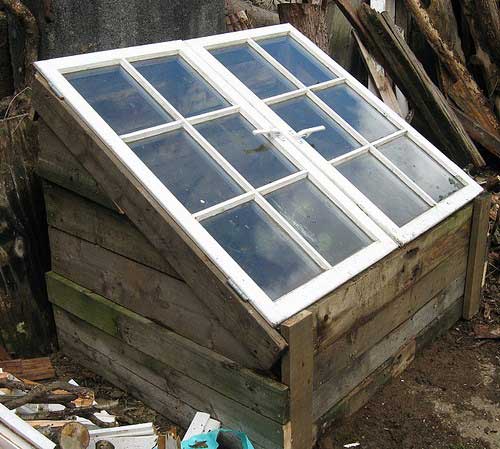
- Reclaimed Window(s): (Free - $20) This will be the "lid" of your cold frame. Look for old windows at architectural salvage yards, Craigslist, Freecycle, or even ask around at construction sites. Single-pane windows are fine, but double-pane offer better insulation. Tip: Measure your window(s) before building the frame to ensure a proper fit.
- Lumber: (Free - $30) You'll need lumber for the frame. Scrap lumber from previous projects, old pallets (disassembled), or reclaimed wood from furniture are excellent options. Pine is a good choice if buying new, but any untreated wood will work. You'll need approximately:
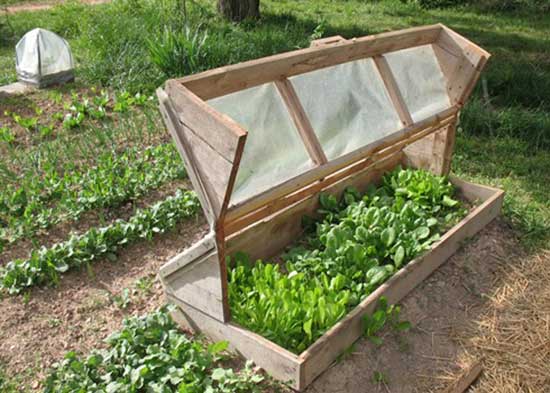
- Two pieces for the back (length depends on the width of your window, height around 18-24 inches)
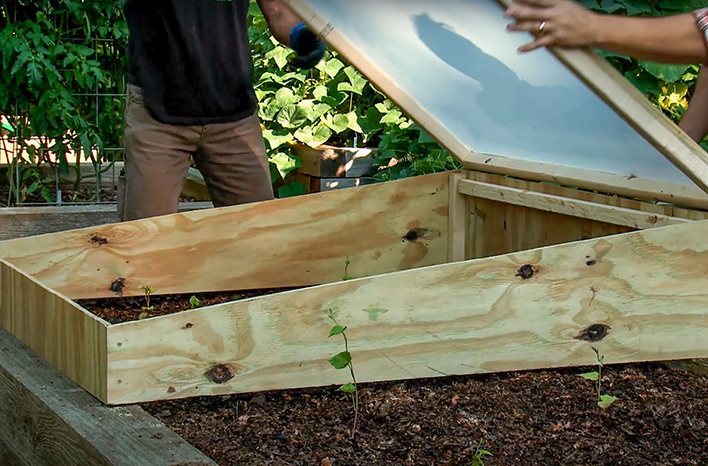
- Two pieces for the front (length depends on the width of your window, height around 12-18 inches – shorter than the back for a sloped roof)
- Two pieces for the sides (length depends on the depth you want your cold frame, angled to connect the front and back)
- Hinges (Optional): ($5 - $10) For easy access and ventilation.
- Screws or Nails: ($5) For assembling the frame.
- Caulk (Optional): ($5) To seal gaps and improve insulation.
- Handles or Knobs (Optional): ($3 - $5) For lifting the window.
- Sandpaper: ($5) To smooth rough edges.
- Paint or Wood Preservative (Optional): ($10 - $20) To protect the wood from the elements.
Tools You'll Need:
- Saw (hand saw, circular saw, or miter saw)
- Drill or Screwdriver
- Measuring Tape
- Pencil
- Safety Glasses
- Gloves
Step-by-Step Instructions: Building Your Cold Frame
Follow these step-by-step instructions to build your budget-friendly cold frame:
- Prepare the Lumber: Cut the lumber to the required dimensions. Remember that the back pieces should be taller than the front pieces to create a sloped roof. Angle the side pieces to connect the front and back.
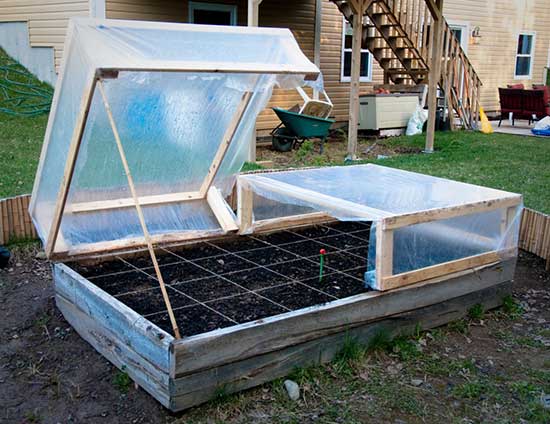
Assemble the Frame: Assemble the four sides of the frame using screws or nails. Ensure the corners are square.
Attach the Window: If using hinges, attach them to the back of the frame and the window. This will allow you to easily open and close the cold frame for ventilation.
Add Handles (Optional): Attach handles or knobs to the window for easy lifting.
Seal Gaps (Optional): Apply caulk to any gaps in the frame to improve insulation.
Protect the Wood (Optional): Paint or apply a wood preservative to protect the wood from the elements.
Position the Cold Frame: Choose a sunny, sheltered location for your cold frame. Ideally, it should face south to maximize sun exposure.
Troubleshooting Tips
- Uneven Ground: If the ground is uneven, use bricks or stones to level the cold frame.
- Condensation: To prevent condensation buildup, provide adequate ventilation by opening the window slightly on warm days.
- Choosing the Right Location: Avoid placing the cold frame in a low-lying area where water can accumulate.
- Window Too Heavy: Consider adding a prop to hold the window open at different angles for ventilation. A simple stick or piece of scrap wood works great.
Variations and Customizations
- Automatic Ventilation: Install an automatic vent opener that automatically opens and closes the window based on temperature.
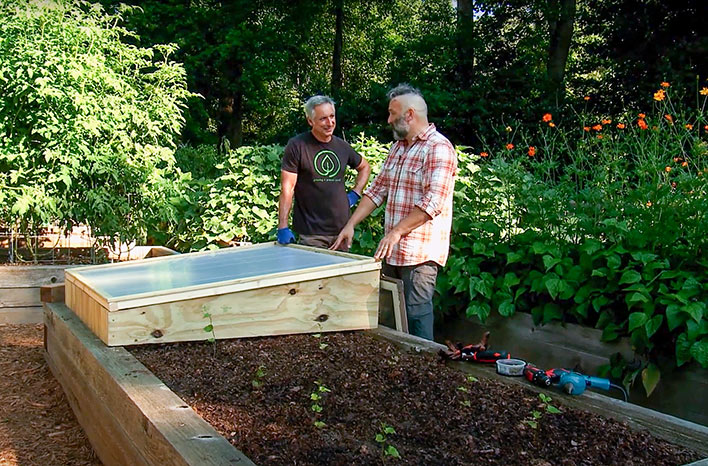
- Raised Bed Integration: Build the cold frame directly on top of a raised garden bed for easy access and improved drainage.
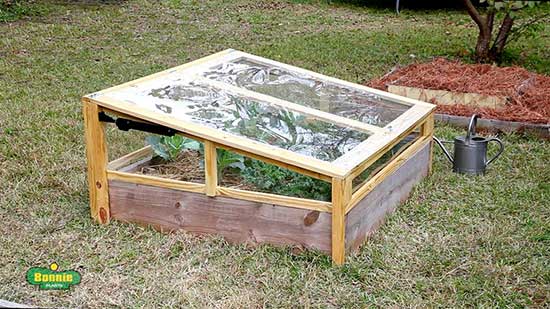
- Painting for Weather Resistance: Painting the frame with exterior paint not only adds visual appeal but also protects the wood from moisture and sun damage.
- Pallet Wood Cold Frame: Disassemble pallets and use the wood to build the frame. This is a great way to recycle and save money.
Homesteader's Wisdom
A few years ago, I was determined to have fresh lettuce for Thanksgiving. I built a simple cold frame using an old storm window and some scrap lumber. To my surprise, not only did I have lettuce for Thanksgiving, but I also harvested spinach and kale well into December! That little cold frame taught me the power of simple solutions and the satisfaction of extending the growing season with my own two hands.
Take Action and Extend Your Harvest!
Ready to enjoy fresh, homegrown produce for a longer season? Build your own budget-friendly cold frame using reclaimed materials! It's a rewarding project that will increase your food self-sufficiency and bring you closer to the land. Share your cold frame creations with us on social media using the hashtag #BHHColdFrames. We can't wait to see your ingenuity! And be sure to subscribe to Better Homes and Harvests for more homesteading inspiration and practical tips!
