Extend Your Harvest: A Homesteader's Guide to Building a DIY Cold Frame
Fellow homesteaders, are you tired of watching the growing season dwindle away? Do you dream of fresh greens in the dead of winter, or a head start on your spring tomatoes? Then you're in the right place! I’m here to share my experience building a DIY cold frame – a simple, effective way to extend your growing season and embrace sustainable food production.
Like many of you, I strive for self-sufficiency. The dependence on grocery store produce, especially out of season, just didn't sit right. Last year, I decided to take matters into my own hands and build a cold frame. It wasn't without its challenges – there was definitely a learning curve! But the rewards have been immense, from fresh salads in November to robust tomato seedlings ready to plant weeks ahead of schedule. Let me share my journey, and hopefully inspire you to build your own!
Why Build a Cold Frame? The Homestead Benefits
Before we dive into the how-to, let's talk about the why. For us homesteaders, cold frames offer a wealth of benefits:
- Extended Growing Season: This is the big one! Cold frames provide a protected microclimate, allowing you to start seeds earlier in the spring and extend your harvest later into the fall, even winter in some climates.
- Cost Savings: Starting your own seedlings is far cheaper than buying them. We're starting our tomato plants 4 weeks earlier than we did last year, saving around $30 on seedlings alone!
- Resilience: Cold frames offer protection from unexpected frosts, heavy rain, and even pests. They give your plants a fighting chance against unpredictable weather.
- Sustainable Food Production: Growing your own food, even in a small space, reduces your carbon footprint and increases your self-sufficiency. It's about taking control of your food supply.
My Cold Frame Journey: Repurposed Windows to the Rescue
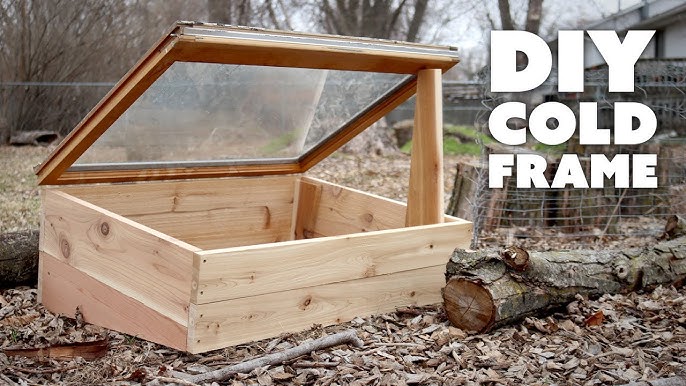
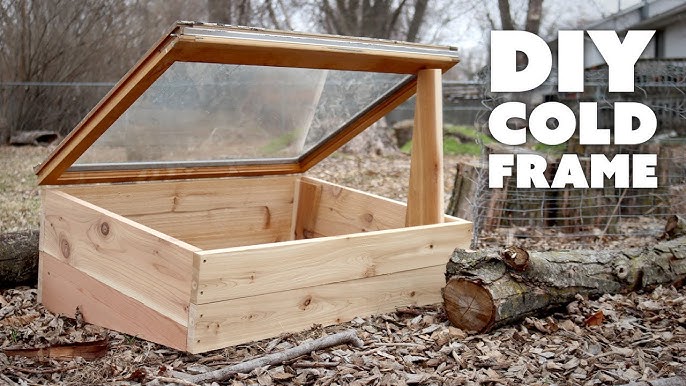
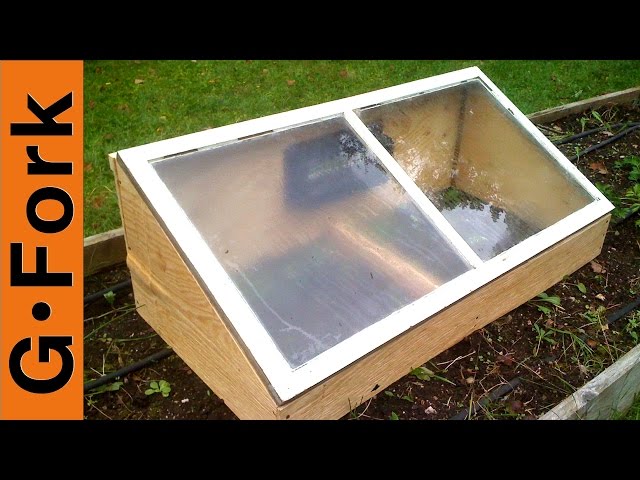
My cold frame is a simple, low-cost design built primarily from repurposed materials. I had an old window lying around from a previous home renovation, and I decided to use it as the lid. This not only saved money but also gave the project a unique, rustic charm.
The biggest challenge was figuring out the angles for the box to ensure the window fit properly and allowed for adequate sunlight. After a bit of trial and error (and a few miscalculated cuts!), I finally got it right. Now, let’s get into the process, so you can replicate this project with confidence.
Step-by-Step Guide: Building Your Own Window Cold Frame
Estimated Time: 4-6 hours
Skill Level: Beginner to Intermediate
Materials List:
- Old Window (the star of the show!): Free (repurposed)
- Untreated Lumber (for the frame): Approximately $30-50 (depending on lumber prices and the size of your window). I used cedar for its natural resistance to rot, but pine or fir will work too.
- Screws or Nails: $5-10
- Hinges (for attaching the window): $5-15
- Handle or Knob (for easy opening): $3-7
- Optional: Weather Stripping: $10-15 (for better insulation)
- Optional: Paint or Wood Preservative: $15-25 (to protect the wood)
Tools:
- Saw (circular saw or hand saw)
- Drill or Screwdriver
- Measuring Tape
- Pencil
- Square
- Safety Glasses
- Gloves
Step-by-Step Instructions:
Measure Your Window: The size of your window will determine the dimensions of your cold frame. Carefully measure the length and width of the window. Make sure to account for any overhang or trim.
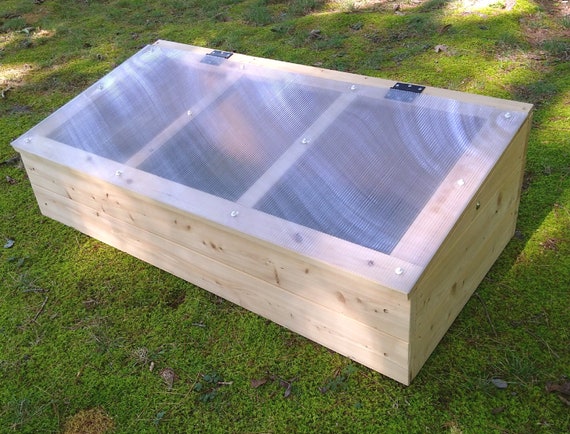
Cut the Lumber: You'll need to cut the lumber to create the four sides of the cold frame box. The back of the box should be slightly taller than the front to create a slope for rainwater runoff and better sun exposure. I recommend a difference of 6-12 inches. For example, if your window is 36 inches wide, and you want the back to be 12 inches high, and the front 6 inches high, you will cut two pieces at 36 inches long, one at 12 inches, and one at 6 inches.
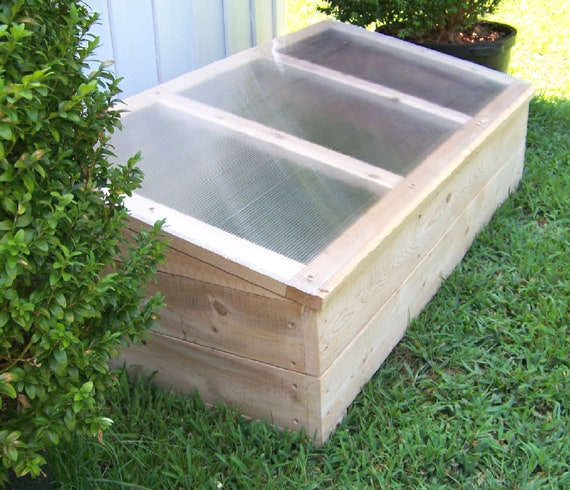
Assemble the Box: Using screws or nails, assemble the four sides of the box. Make sure the corners are square. A square is a tool that ensures you have a 90 degree angle! Pre-drilling holes can prevent the wood from splitting, especially when using screws.
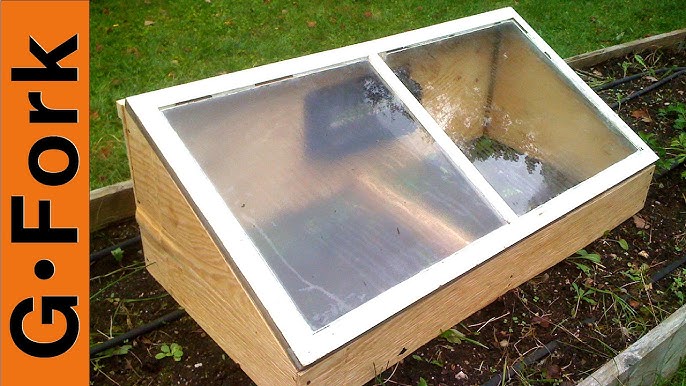
Attach the Hinges: Position the hinges on the back of the box and the window frame. Screw them in securely, ensuring the window can open and close smoothly.
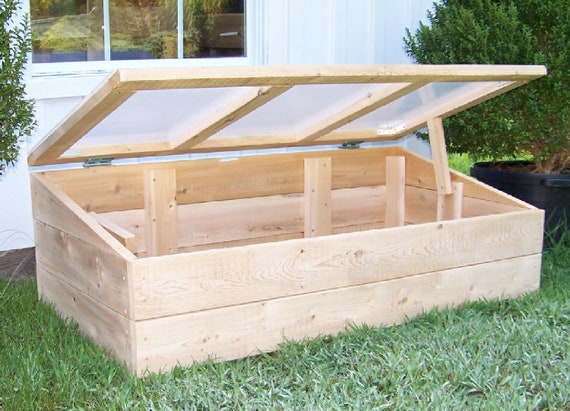
Add a Handle: Attach a handle or knob to the front of the window for easy opening. This makes it much easier to ventilate the cold frame on warmer days.
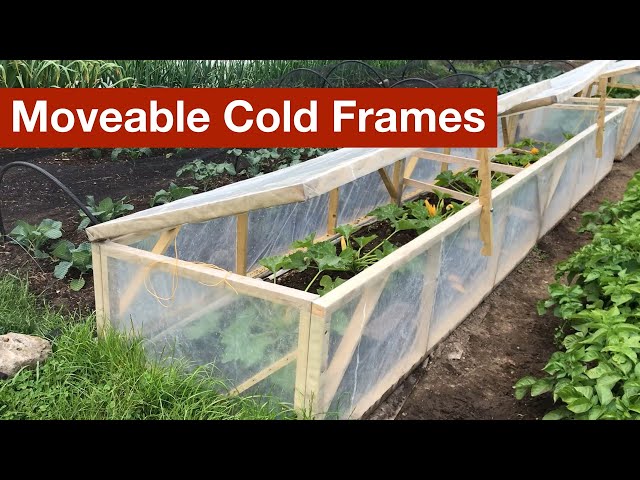
Optional: Apply Weather Stripping: For better insulation, apply weather stripping around the edges of the window frame where it meets the box. This will help to seal in heat and keep out drafts.
Optional: Paint or Preserve the Wood: To protect the wood from the elements, you can paint or apply a wood preservative. This will extend the life of your cold frame.
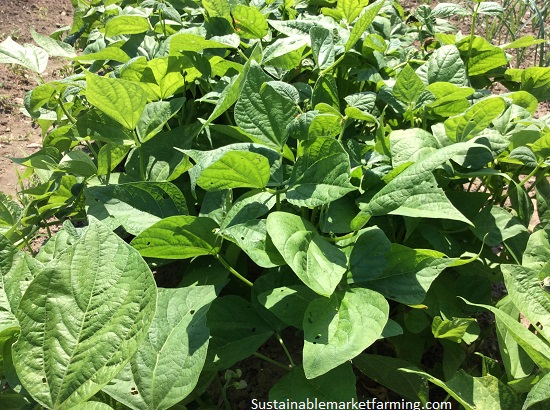
Position Your Cold Frame: Choose a sunny location with good drainage. A south-facing slope is ideal.
Troubleshooting Tips
- Window Doesn't Fit: Double-check your measurements! If the window is slightly too large, you may need to trim the wood frame. If it's too small, you can add shims or filler pieces.
- Condensation Buildup: Condensation is normal, but excessive moisture can lead to fungal diseases. Ensure adequate ventilation by opening the window on sunny days.
- Overheating: Cold frames can heat up quickly on sunny days, even in winter. Monitor the temperature inside the cold frame and ventilate as needed to prevent overheating. A thermometer inside the cold frame is invaluable.
- Pests: Keep an eye out for pests like slugs and snails. Hand-picking them or using organic pest control methods are effective solutions.
Using Your Cold Frame: Extending the Growing Season
Once your cold frame is built, the fun begins! Here are a few ways to use it:
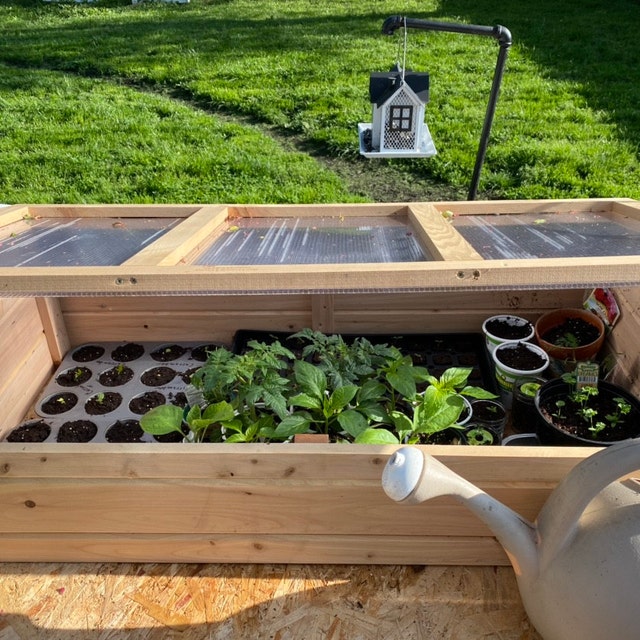
- Starting Seeds: Start your seeds indoors and then transplant them into the cold frame to harden off before planting them in the garden.
- Extending the Harvest: Plant cool-season crops like lettuce, spinach, and kale in the cold frame in the fall to extend your harvest well into winter.
- Protecting Tender Plants: Use the cold frame to protect tender plants from frost and cold temperatures.
Homestead Values: Self-Sufficiency and Beyond
Building my cold frame has been incredibly rewarding. Not only am I saving money and enjoying fresh produce year-round, but I'm also taking a step towards greater self-sufficiency. It's a tangible way to connect with nature, reduce my reliance on the industrial food system, and live a more sustainable lifestyle. I can't recommend it enough!
Get Started Today!
Building a DIY cold frame is a fantastic project for any homesteader looking to extend their growing season and embrace sustainable food production. It's a relatively simple and inexpensive project that yields significant benefits. So, gather your materials, dust off your tools, and get building!
Now it's your turn! Share your cold frame experiences in the comments below. What challenges did you face? What successes did you have? We'd love to hear from you!
For more inspiration and tips on homesteading and gardening, check out these related articles on Better Homes and Harvests:
- Starting Seeds Indoors: A Comprehensive Guide (replace with actual link)
- Extending Your Growing Season with Row Covers (replace with actual link)
- Building a Raised Garden Bed: A Step-by-Step Guide (replace with actual link)