Extend Your Harvest: A Beginner's Guide to Cold-Frame Gardening for Year-Round Freshness
The first hard frost. It's a beautiful, glistening sight…until you realize it signals the end of your garden’s vibrant summer bounty. The colorful peppers, juicy tomatoes, and leafy greens are all but a memory. For many gardeners, this means saying goodbye to homegrown produce until spring. But what if you could extend that season, enjoying fresh, organic salads even when the snow is falling? With cold-frame gardening, this dream can become a delicious reality. Imagine enjoying crisp salads grown in your own backyard, even when the snow is falling!
What is Cold-Frame Gardening?
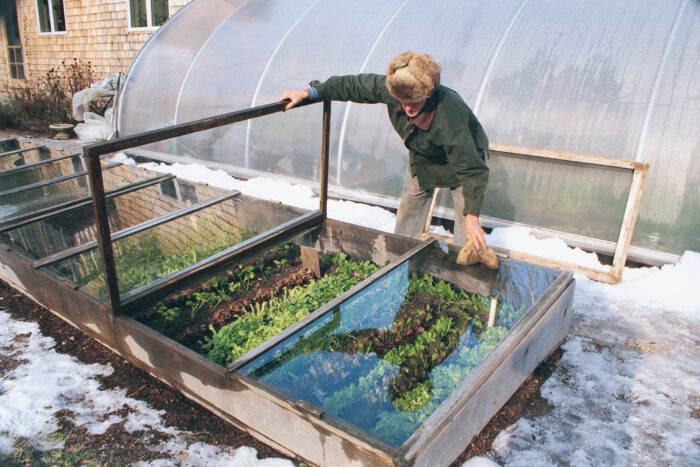
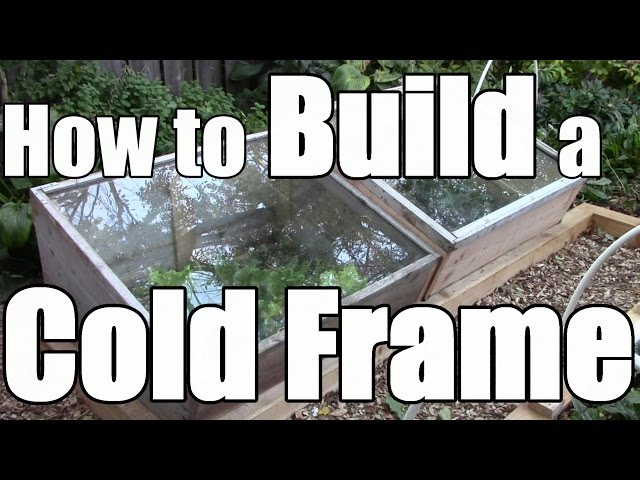
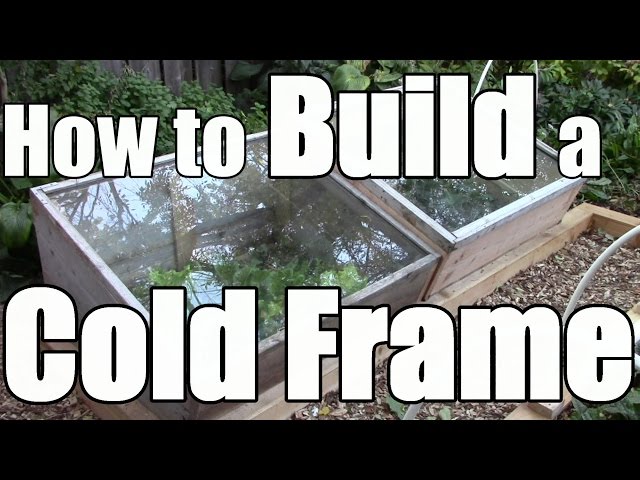
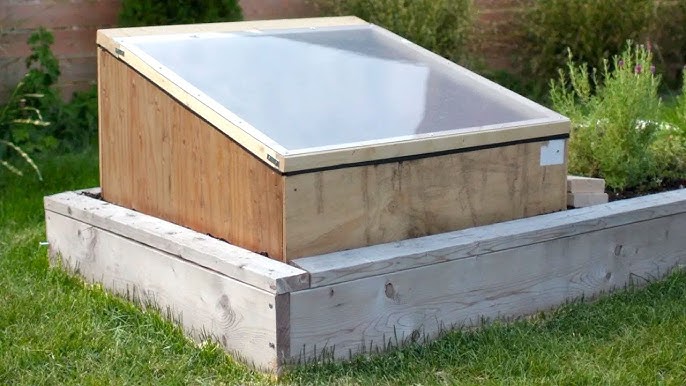
Cold-frame gardening is a simple and effective way to protect your plants from frost and extend your growing season well into the colder months. A cold frame is essentially a miniature, unheated greenhouse. It's a simple structure, typically built from wood, straw bales, or even repurposed materials, covered with a transparent glazing like glass or plastic. The magic lies in its ability to trap solar heat, creating a warmer microclimate inside. This cozy environment shields plants from harsh winds, freezing temperatures, and snow, allowing you to continue harvesting fresh, homegrown vegetables long after the outdoor garden has succumbed to winter's chill. The best part? You don't need specialized skills or expensive equipment to get started. Cold-frame gardening is accessible and affordable, making it a perfect project for backyard gardeners and aspiring homesteaders looking to embrace sustainable home practices.
5 Easy Steps to Building Your Own Cold Frame
Building your own cold frame is a rewarding backyard project that's easier than you might think. Here's a beginner-friendly guide to get you started:
Step 1: Gathering Your Materials
The beauty of DIY cold frames lies in their adaptability. You can use readily available and often reclaimed materials. Here are a few options:
- Frame: Reclaimed lumber, straw bales, cinder blocks, or even old shipping pallets can be used to create the frame. Straw bales offer excellent insulation, making them a popular choice.
- Glazing: Old windows, storm doors, clear plastic sheeting, or polycarbonate panels can be used for the glazing. Repurposed windows add a touch of farmhouse life charm and are an eco-friendly option.
- Hardware: Hinges, screws, nails, and latches will be needed for assembly.
- Tools: Saw, drill, hammer, measuring tape, level, and safety glasses are essential.
Step 2: Assembling the Frame
This step will depend on the materials you've chosen. For a simple straw bale cold frame:
- Choose a sunny, sheltered location.
- Arrange the straw bales in a rectangular or square shape, creating walls around your garden bed. Imagine stacking straw bales like giant building blocks, creating a cozy, insulated wall around your garden bed.
- Ensure the bales are tightly packed together to minimize drafts.
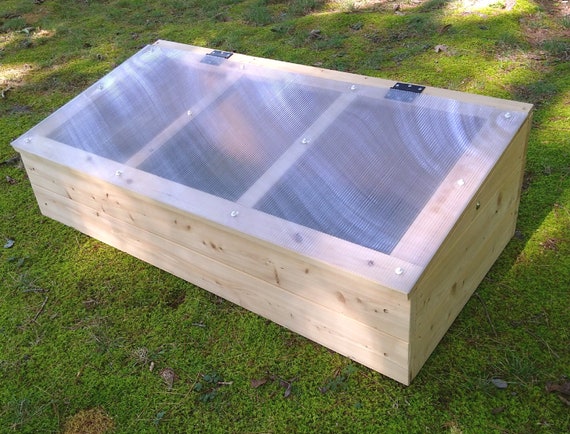
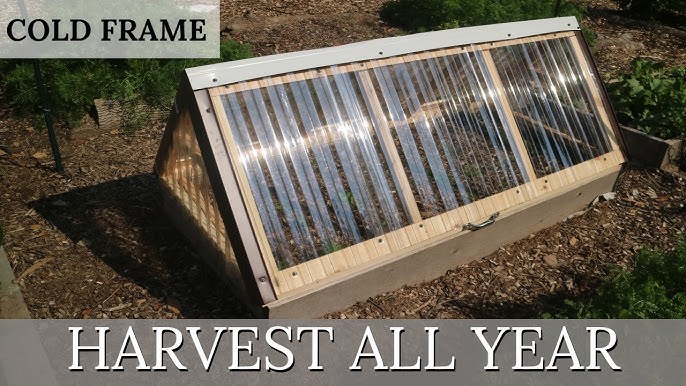
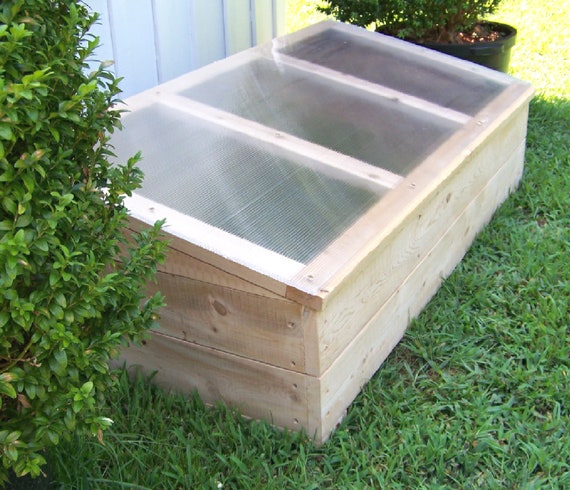
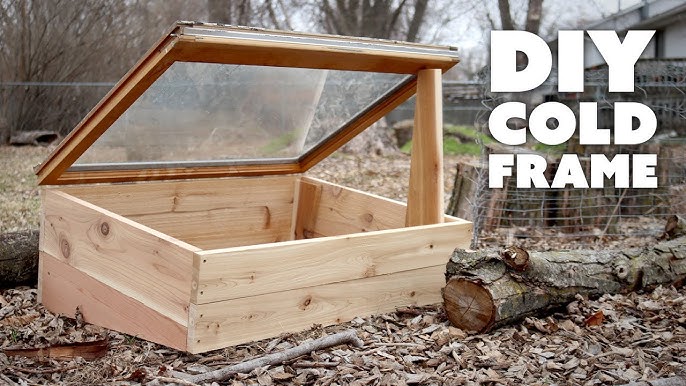
- For a lumber frame, cut the wood to your desired dimensions, creating a box-like structure with a slanted top for optimal sunlight capture. Use screws or nails to assemble the frame securely.
Step 3: Adding the Glazing
The glazing is what traps the heat and protects your plants.
- For a straw bale frame, simply lay the window or plastic sheeting over the top, securing it with weights like bricks or rocks.
- For a lumber frame, attach hinges to one side of the frame and the glazing material, creating a lid that can be easily opened for ventilation. Consider adding a latch to secure the lid in windy conditions.
Step 4: Choosing the Right Location
The location of your cold frame is crucial for its success.
- Choose a spot that receives at least 6 hours of sunlight per day, especially during the winter months.
- A south-facing location is ideal, as it maximizes sun exposure.
- Protect the cold frame from strong winds by placing it near a building or fence.
- Ensure the location has good drainage to prevent waterlogging.
Step 5: Monitoring Temperature and Ventilation
Maintaining the right temperature and ventilation is essential for healthy plant growth.
- Use a thermometer inside the cold frame to monitor the temperature.
- On sunny days, open the lid slightly to vent excess heat. Overheating can be just as damaging as frost.
- Close the lid in the late afternoon to trap heat overnight.
- Consider using an automatic vent opener for hands-free temperature regulation.
What to Grow in Your Cold Frame
Cold frames are perfect for extending the harvest of hardy, cold-tolerant crops. Here are a few suggestions:
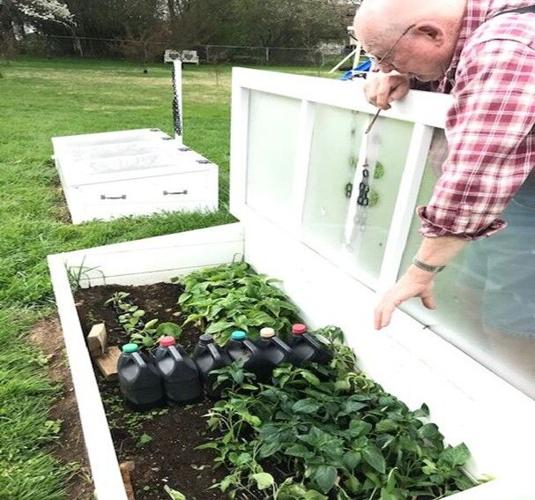
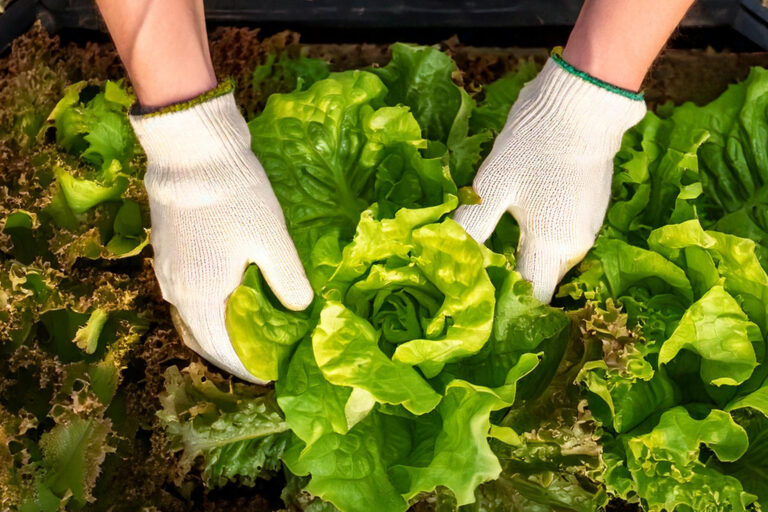
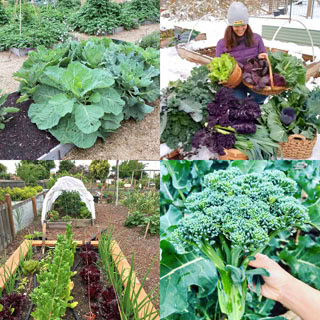
- Leafy Greens: Spinach, kale, lettuce, arugula, and other leafy greens thrive in cold frames. Plant seeds in late summer or early fall for a continuous harvest throughout the winter.
- Root Vegetables: Carrots, radishes, and scallions can also be grown in cold frames. Provide well-drained soil and adequate moisture.
- Herbs: Parsley, cilantro, and other hardy herbs can add fresh flavor to your winter meals.
- Starting Seeds: Cold frames are also excellent for starting seeds early in the spring, giving you a head start on the growing season.
When planting, be sure to use organic gardening practices and amend the soil with plenty of compost. Compost not only provides essential nutrients but also improves soil drainage and water retention. Water your plants regularly, but avoid overwatering, which can lead to fungal diseases. Keep an eye out for pests and address them promptly using organic methods.
Success Story: Last year, a member of our Better Homes and Harvests community, Sarah from rural Vermont, shared how she was able to harvest fresh salad greens from her cold frame throughout the entire winter. By planting a mix of lettuce varieties and carefully monitoring the temperature, she enjoyed organic, homegrown salads even during the coldest months!
Closing Reflection
As the days grow shorter and the temperatures drop, don't let the winter blues get you down. Cold-frame gardening offers a simple, rewarding way to extend your harvest and enjoy fresh, homegrown food even in the depths of winter. There’s nothing quite like the taste of a crisp salad harvested from your own backyard on a cold winter day. It's a tangible connection to the land and a reminder of the abundance that nature provides, even during the seemingly barren months. So, gather your materials, build your cold frame, and get ready to experience the joy of year-round freshness. What are you waiting for?
Don't forget to download our free guide to winter gardening tips by subscribing to our newsletter!
Explore our other articles on Better Homes and Harvests to learn more about composting and building healthy soil for a thriving organic garden.
