Extend Your Growing Season with a DIY Cold Frame: A Beginner's Guide to Self-Sufficiency
Remember that first hard frost that snuck up on you last year, decimating your late-season tomatoes and tender greens? I do! It was a painful lesson, but it also spurred me into action. That’s when I discovered the magic of the cold frame. I was determined to enjoy fresh salads well into November, and building a simple cold frame allowed me to do just that. No more sad, frost-bitten veggies! And best of all, I saved a bundle by not buying expensive out-of-season produce.
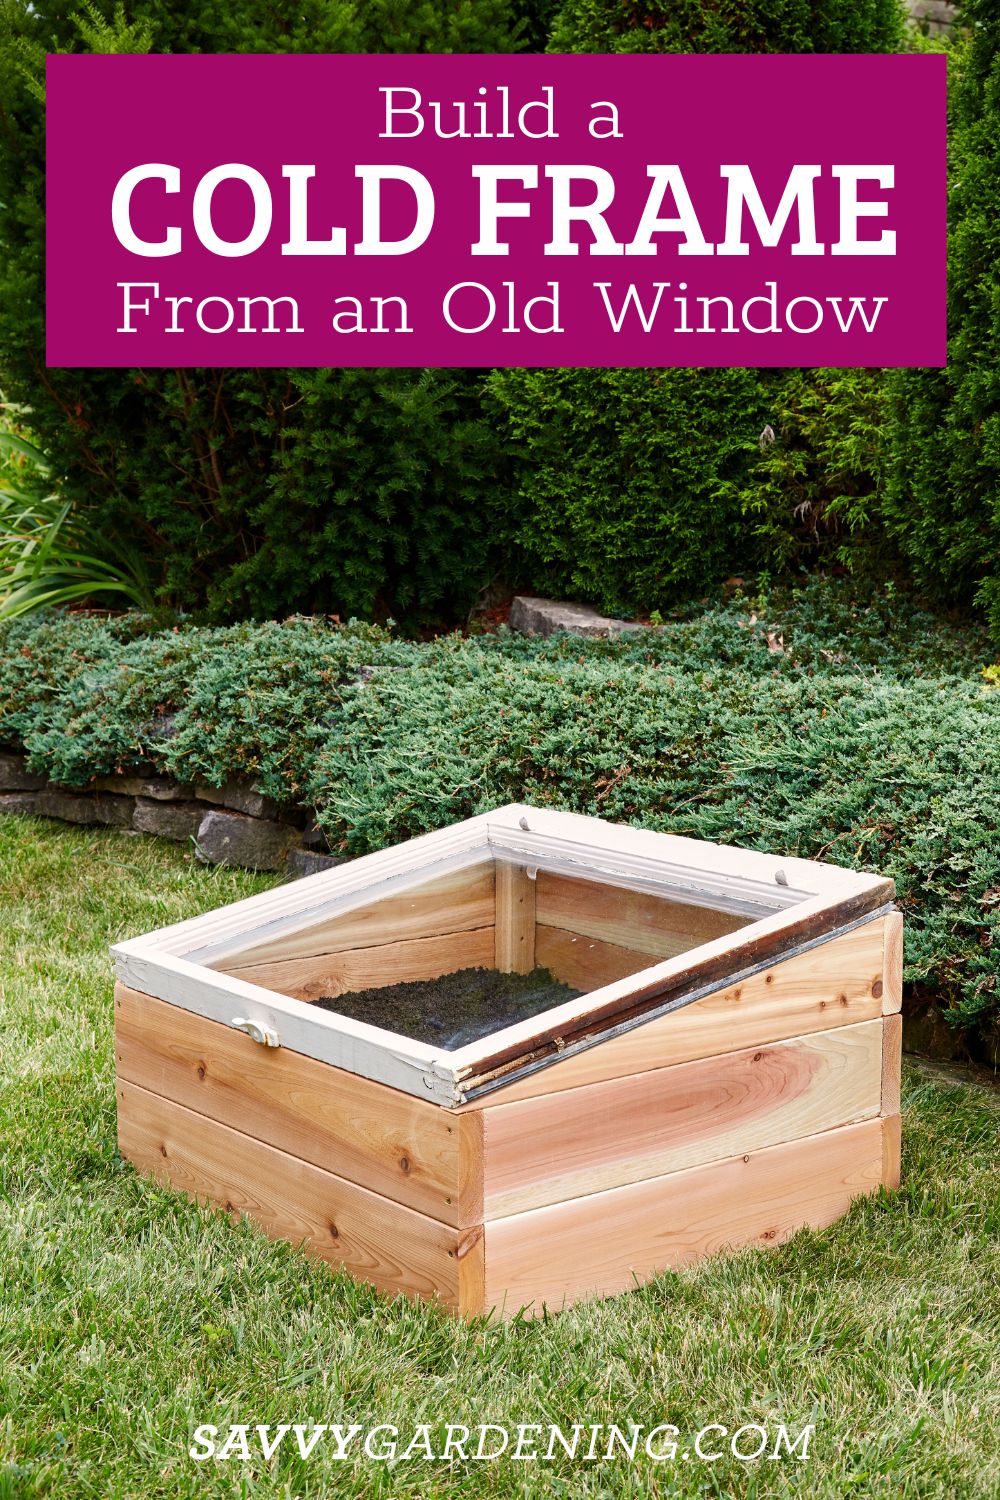
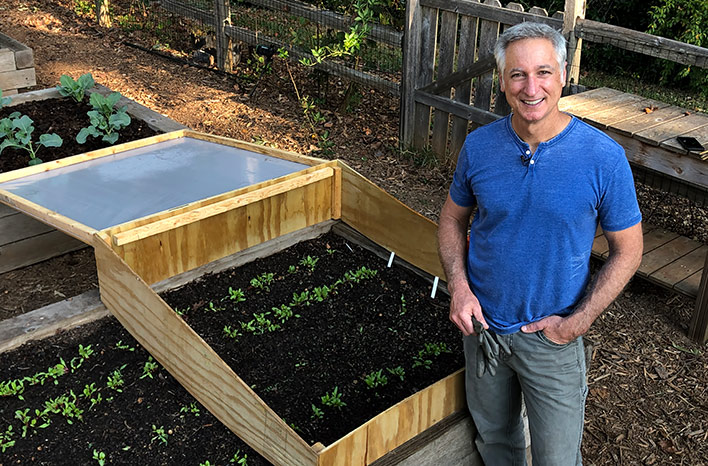
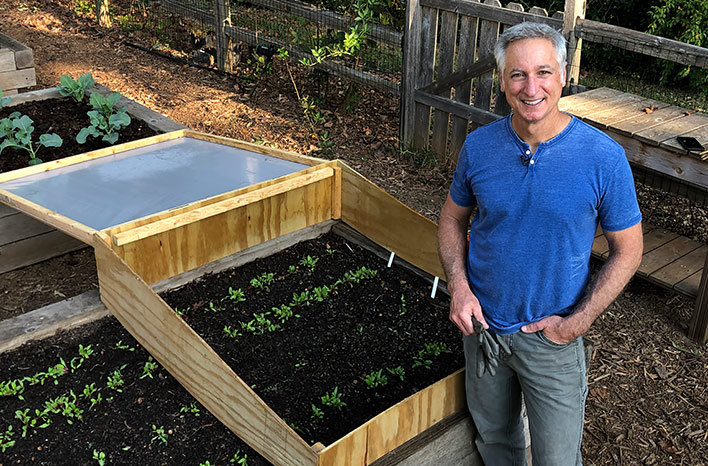
A cold frame is essentially a mini-greenhouse, offering a protected environment for your plants. It’s a fantastic way to extend your growing season, start seeds earlier in the spring, and even overwinter some hardy vegetables. Plus, building one yourself is a rewarding project that will boost your self-sufficiency and connect you even more deeply with your garden. This guide will walk you through building a sturdy and functional DIY cold frame, even if you have limited woodworking experience. We’ll focus on using readily available and, ideally, recycled materials to keep costs down and promote sustainability. Let's get started!
Why Build a Cold Frame? The Benefits Are Abundant!
Before we dive into the construction details, let's quickly recap why a DIY cold frame is a worthwhile investment for any gardener, especially those aiming for greater self-sufficiency:
- Extend Your Growing Season: Enjoy fresh produce weeks or even months longer than you normally would.
- Protect Plants from Frost: Shield your tender plants from unexpected frosts and harsh weather conditions.
- Start Seeds Earlier: Get a head start on your spring planting by starting seeds in the protected environment of a cold frame.
- Overwinter Hardy Vegetables: Keep your spinach, kale, and other cold-hardy greens producing throughout the winter months.
- Save Money: Reduce your reliance on store-bought produce, especially during the off-season.
- Promote Self-Sufficiency: Take greater control over your food supply and reduce your environmental footprint.
Materials You'll Need: Building Your Cold Frame Foundation
Here's a comprehensive list of materials you'll need to construct your DIY cold frame. We'll focus on using readily available and, where possible, recycled materials to keep costs down and promote sustainability.
Wood for the Frame:
- Option 1: Reclaimed Pallet Wood: This is a fantastic, budget-friendly option. You'll need approximately 6-8 pallet boards, depending on the desired size of your cold frame. Make sure the pallets are heat-treated (HT) and not chemically treated (look for an "MB" stamp, which indicates methyl bromide fumigation – avoid those!).
- Option 2: Cedar Fencing: Cedar is naturally rot-resistant, making it an excellent choice for outdoor use. You'll need enough cedar fencing planks to construct your frame.
- Dimensions: A good starting size for a cold frame is 4 feet wide, 4 feet deep, and 1 foot high at the front, sloping up to 1.5-2 feet high at the back. Adjust these dimensions to suit your available space and materials.
- Estimated Cost: Pallet wood (free!), Cedar fencing ($30-$50 depending on quantity)
Glazing Material (The "Window" of Your Cold Frame):
- Option 1: Recycled Window: An old window is a perfect, eco-friendly option. Check local classifieds, salvage yards, or ask friends and neighbors. Ensure the window is in good condition and free of broken glass.
- Option 2: Polycarbonate Sheets: Polycarbonate is lightweight, durable, and shatter-resistant. It’s available at most home improvement stores.
- Dimensions: Choose glazing material that fits the dimensions of your cold frame. You may need to cut polycarbonate sheets to size.
- Estimated Cost: Recycled window (free-$20), Polycarbonate sheet ($20-$40)
Hardware:
- Screws: Exterior-grade wood screws (1 1/4" - 2" long)
- Hinges: Two heavy-duty hinges to attach the glazing material to the frame.
- Handle or Knob: For easy opening and closing of the cold frame lid.
- Optional: Latches or hooks to secure the lid in windy conditions.
Tools:
- Saw (circular saw or hand saw)
- Drill with screwdriver bits
- Measuring tape
- Square
- Safety glasses
- Gloves
- Staple gun (if using plastic sheeting for insulation)
Step-by-Step Instructions: Building Your DIY Cold Frame
Now for the fun part! Follow these detailed instructions to build your own cold frame. Remember to take your time, measure carefully, and don't be afraid to ask for help if you get stuck.
Step 1: Prepare the Wood
- If using pallet wood, carefully disassemble the pallets, removing any nails or staples. Select the best-looking and most structurally sound boards for your frame.
- Cut the wood according to your desired dimensions. You'll need two side pieces (e.g., 4 feet long, angled), a front piece (e.g., 4 feet long, 1 foot high), and a back piece (e.g., 4 feet long, 1.5-2 feet high).
- Sand the wood to remove any rough edges or splinters. This is especially important if using pallet wood.
Step 2: Assemble the Frame
- Using the screws, attach the front, back, and side pieces together to form a rectangular box. Ensure the corners are square for a sturdy frame. Use the square to check!
- Pre-drill holes before screwing to prevent the wood from splitting, especially when using pallet wood.
Step 3: Attach the Glazing Material
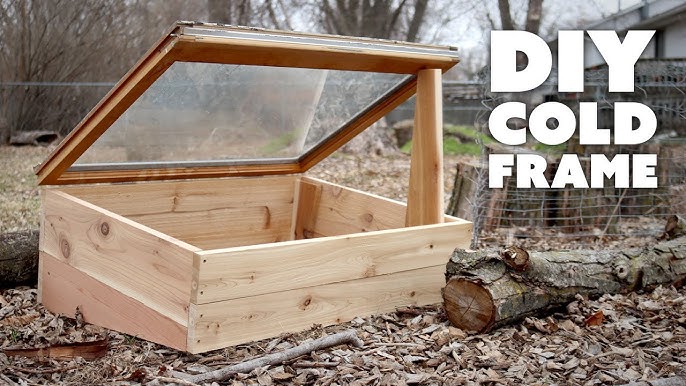
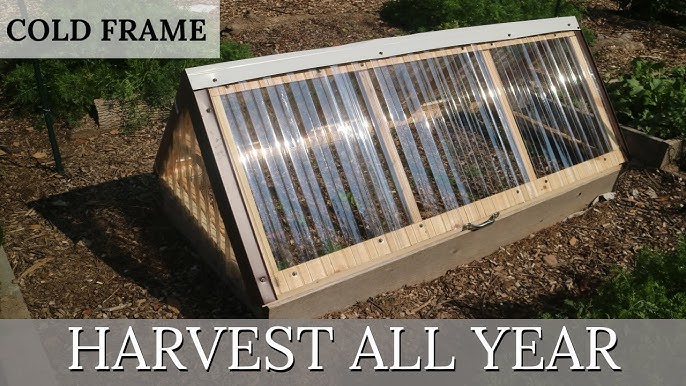
- Position the recycled window or polycarbonate sheet on top of the frame.
- Attach the hinges to the back of the frame and the glazing material. Ensure the hinges are properly aligned for smooth opening and closing.
- Install the handle or knob on the front of the glazing material for easy access.
Step 4: Finishing Touches (Optional)
- Apply a coat of exterior-grade sealant or paint to the wood frame to protect it from the elements and extend its lifespan.
- Add latches or hooks to secure the lid in windy conditions.
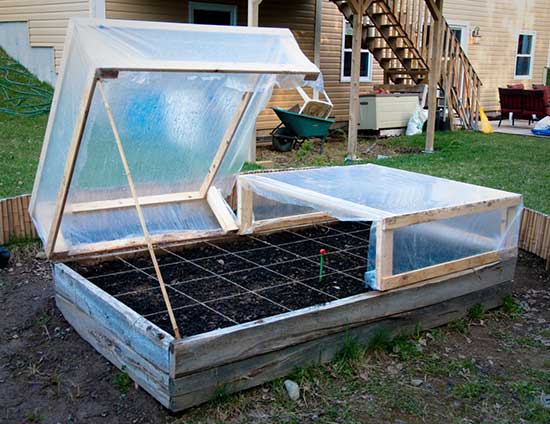
- Line the inside of the cold frame with plastic sheeting for added insulation (especially useful in colder climates).
Troubleshooting: Common Problems and Solutions
Even the best-laid plans can sometimes go awry. Here are some common problems you might encounter while building your cold frame and how to solve them:
- Uneven Cuts: If your cuts aren't perfectly straight, don't worry! You can use wood filler to fill in any gaps or imperfections.
- Warped Wood: Pallet wood can sometimes be warped. Try to select the straightest boards possible. If you have slightly warped boards, you can often straighten them by clamping them to a flat surface.
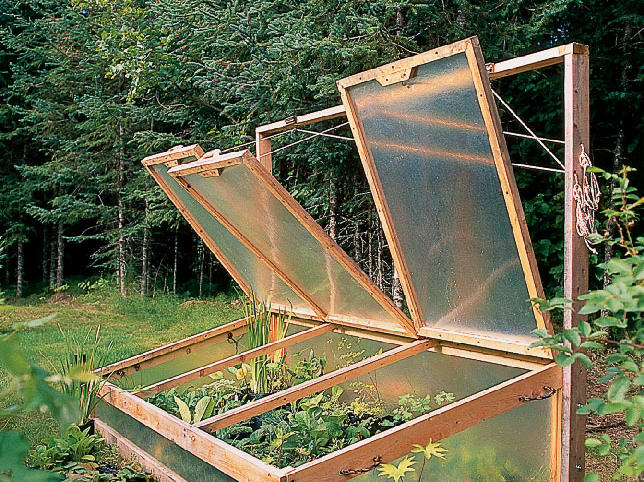
- Condensation Buildup: Condensation can be a problem in cold frames, leading to fungal diseases. Ensure adequate ventilation by opening the lid slightly on warm days. You can also improve airflow by adding drainage holes to the bottom of the frame.
- Lid Doesn't Fit Properly: Double-check your measurements and make sure the frame is square. You may need to trim the glazing material slightly to achieve a perfect fit.
Sustainability Tips: Building a Green Cold Frame
Here are some ways to make your cold frame project even more environmentally friendly:
- Use Reclaimed Materials: As mentioned earlier, pallet wood and recycled windows are excellent sustainable choices.
- Opt for Untreated Wood: Avoid using pressure-treated wood, as it can leach chemicals into the soil. Cedar is a naturally rot-resistant alternative.
- Use Eco-Friendly Sealants and Paints: Choose sealants and paints that are low in VOCs (volatile organic compounds).
- Compost Your Scraps: Compost any leftover wood scraps or organic materials.
Positioning Your Cold Frame for Success
The location of your cold frame is crucial for its effectiveness. Choose a spot that:
- Receives at least 6 hours of sunlight per day. A south-facing location is ideal.
- Is sheltered from strong winds.
- Has good drainage.
- Is easily accessible for watering and maintenance.
Time to Plant! What to Grow in Your Cold Frame
Now that your cold frame is built, it's time to start planting! Here are some ideas for what to grow:
- Early Spring: Start seeds for tomatoes, peppers, eggplants, and other warm-season crops.
- Fall: Extend the growing season for lettuce, spinach, kale, arugula, and other cold-hardy greens.
- Winter: Overwinter hardy vegetables like spinach, kale, and Swiss chard. You can also use the cold frame to protect tender herbs like parsley and cilantro.
Share Your Success!
Congratulations on building your own DIY cold frame! You're now one step closer to greater self-sufficiency and a longer growing season. We'd love to hear about your experiences. Share your photos, tips, and successes in the comments below. What materials did you use? What are you growing in your cold frame? Let's inspire each other!
For more inspiration and tips on season extension and gardening techniques, check out these related articles: [Link to related article 1] and [Link to related article 2 - example: "Companion Planting for Beginners"]. Happy Gardening!
