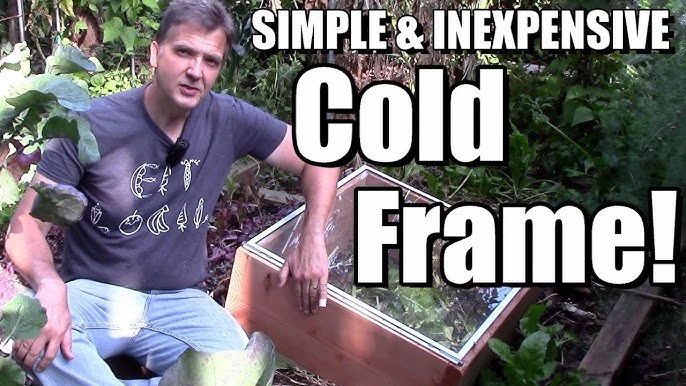
Extend Your Growing Season for Pennies: Build Your Own DIY Cold Frame!
Are you dreaming of fresh, homegrown tomatoes in May, or crisp lettuce well into November? Do you yearn to get a jumpstart on your spring seedlings? If so, you're in the right place! Here at Better Homes and Harvests, we're passionate about empowering you to grow your own food and become more self-sufficient. That's why we're thrilled to share this simple, affordable, and highly effective DIY project: building your own cold frame.
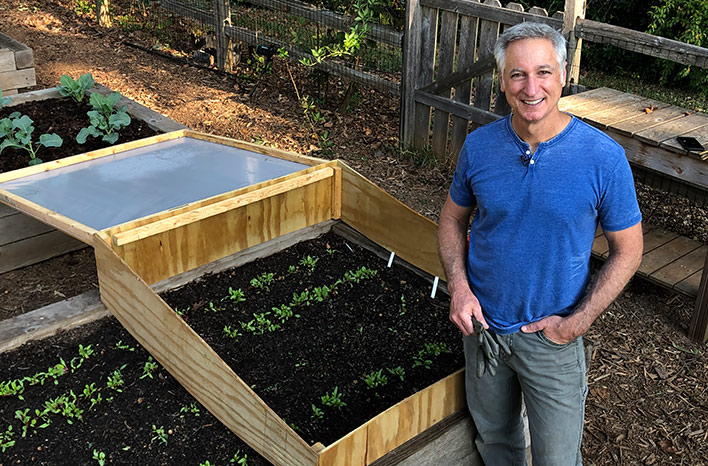
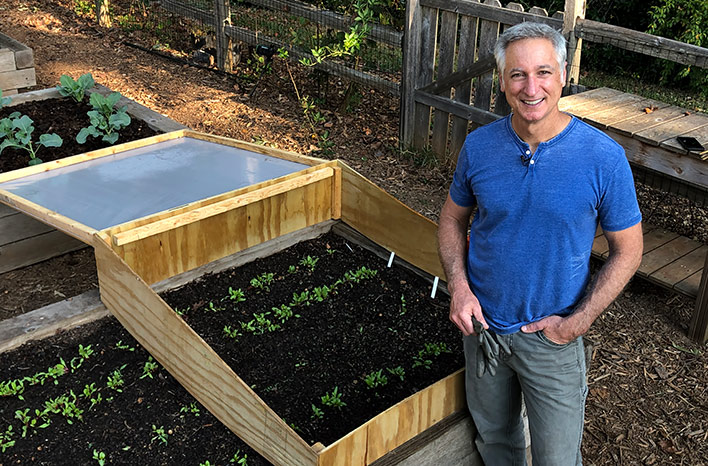
A cold frame is essentially a miniature greenhouse, offering protection from frost, wind, and harsh weather, allowing you to extend your growing season by at least 6 weeks – maybe even longer depending on your climate! And the best part? You can build one yourself using readily available, often recycled, materials for a fraction of the cost of a commercial greenhouse.
Think of Sarah, a busy mom who wants to provide her family with fresh, healthy food. Building a cold frame is the perfect weekend project for her – achievable, budget-friendly, and with a huge payoff in terms of extending her garden's bounty. So, grab your tools, and let's get started!
Why Build a Cold Frame? The Benefits are Clear!
Before we dive into the how-to, let's recap why a cold frame is such a valuable addition to any homestead or garden:
- Extend the Growing Season: Enjoy fresh greens 6 weeks earlier in the spring and later into the fall.
- Protect Plants from Frost: Shield tender plants from unexpected frosts and freezes.
- Start Seeds Earlier: Get a head start on your spring seedlings, giving you stronger, healthier plants when transplanting time arrives.
- Harden Off Seedlings: Acclimate your seedlings to outdoor conditions gradually, reducing transplant shock.
- Overwinter Tender Plants: Protect delicate herbs and perennials through the winter months.
- Affordable and Accessible: Build a highly effective growing structure without breaking the bank.
Step-by-Step Guide: Building Your Budget-Friendly Cold Frame
This guide focuses on building a simple, rectangular cold frame using readily available and often recycled materials. Feel free to adapt the dimensions to suit your specific needs and available resources.
Materials List:
- Lumber:
- Two 2" x 6" x 4' boards (for the front and back)
- Two 2" x 6" x 2' boards (for the sides)
- Alternative: Use scrap lumber or reclaimed wood to reduce costs.
- Glazing:
- Old window or storm door (approximately 2' x 4') Alternative: Heavy-duty clear plastic sheeting (6 mil or thicker) securely attached to a wooden frame.
- Hinges: Two hinges to attach the glazing to the back board
- Fasteners:
- Wood screws (various lengths)
- Exterior wood glue
- Handle/Latch: For easy opening and closing (optional)
Approximate Costs: (These will vary depending on your location and access to recycled materials)
- Lumber: $20 - $40 (if purchasing new)
- Window/Plastic Sheeting: $0 - $30 (depending on reuse or purchase)
- Hinges: $5 - $10
- Fasteners/Glue: $5 - $10
- Total Estimated Cost: $30 - $90
Tools List:
- Saw (circular saw, hand saw, or miter saw)
- Drill with various drill bits
- Screwdriver
- Measuring tape
- Pencil
- Safety glasses
- Gloves
- Square
Safety Precautions:
- Always wear safety glasses when cutting or drilling.
- Use gloves to protect your hands from splinters and sharp edges.
- Work in a well-ventilated area when using wood glue or paint.
- If using power tools, follow the manufacturer's instructions carefully.
Construction Steps:
- Cut the Lumber: Using your saw, cut the lumber to the specified lengths: two 4' boards and two 2' boards.
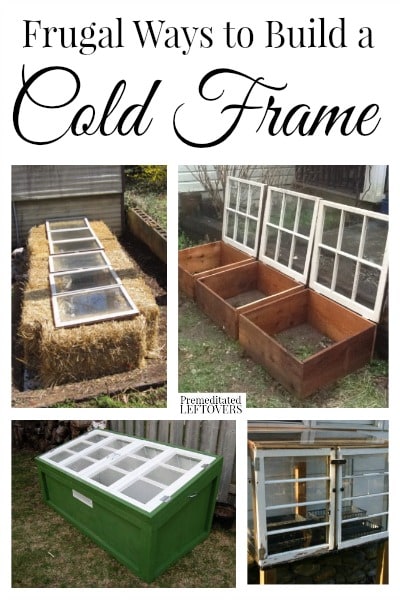
- Assemble the Frame: Construct a rectangular frame using the lumber. Apply wood glue to the joints and secure with wood screws. Ensure the frame is square by using a square tool.
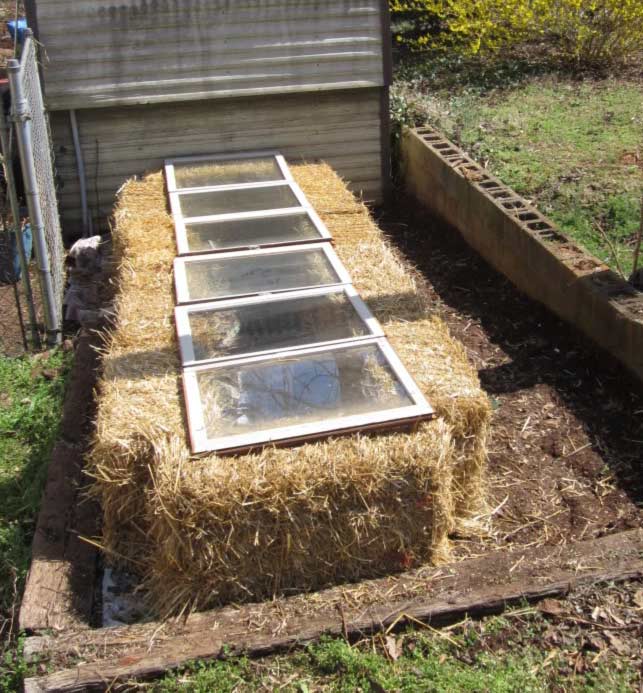
- Attach the Glazing (Window or Plastic): Position the window or plastic sheeting on top of the frame, overlapping slightly on all sides. Attach the hinges to the back board of the frame and then to the window/plastic frame. This will allow you to easily open and close the cold frame.
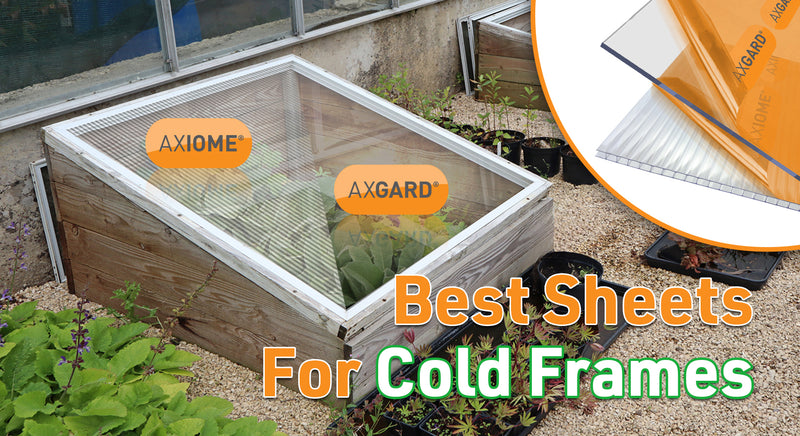
- Add a Handle/Latch (Optional): Install a handle or latch to the front of the cold frame to make opening and closing easier and to secure the lid in windy conditions.
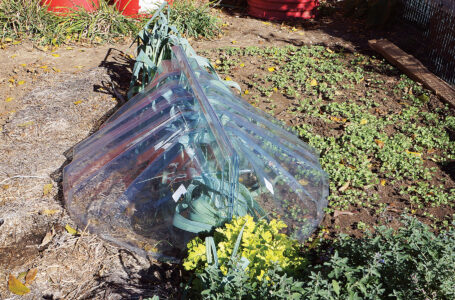
- (For Plastic Sheeting Only): If using plastic sheeting, build a simple frame from scrap wood that is slightly smaller than your cold frame box, and then securely staple/attach the plastic sheeting to that frame. Then attach the frame via hinges.
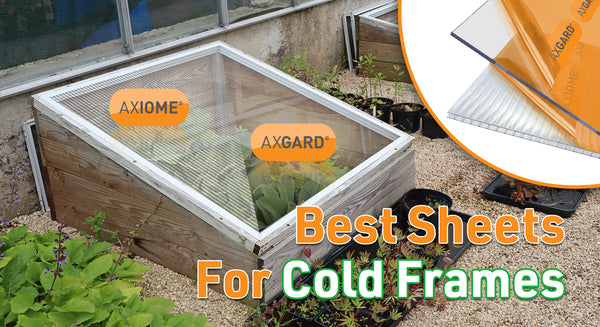
- Position Your Cold Frame: Choose a sunny location in your garden with good drainage. Ideally, the cold frame should face south to maximize sun exposure.
Tips for Success: Making the Most of Your Cold Frame
- Ventilation is Key: On sunny days, even in winter, the temperature inside the cold frame can rise quickly. Open the lid slightly to provide ventilation and prevent overheating.
- Monitor Temperature: Use a thermometer inside the cold frame to monitor the temperature.
- Water Wisely: Water plants as needed, but avoid overwatering, especially in cool weather.
- Insulation: In very cold climates, you can add insulation around the outside of the cold frame using straw bales, blankets, or other insulating materials.
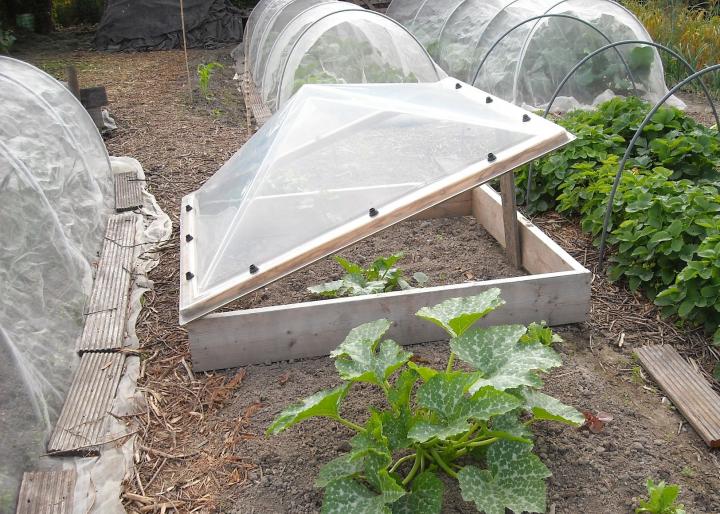
- Consider a Sloping Lid: A sloping lid, with the back higher than the front, will maximize sunlight capture.
Material Alternatives for Every Budget
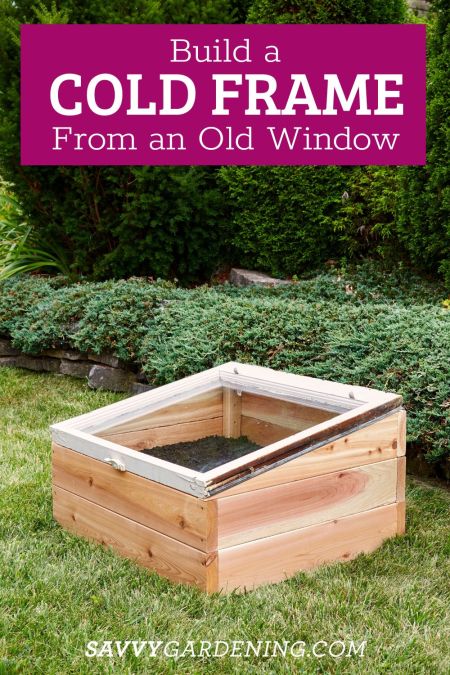
- High-End: Use cedar lumber for increased durability and a beautiful aesthetic. Purchase new, high-quality polycarbonate glazing for maximum light transmission and insulation.
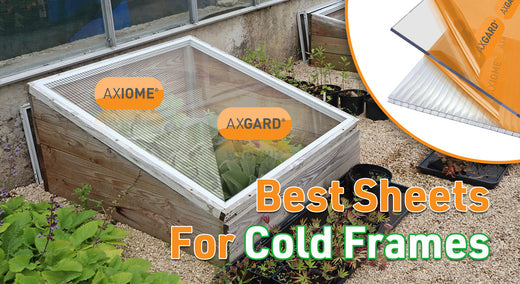
- Mid-Range: Use pressure-treated lumber for increased rot resistance. Repurpose an old storm door or purchase new greenhouse film.
- Budget-Friendly: Use scrap lumber or reclaimed wood. Use heavy-duty plastic sheeting or even old shower curtains for glazing.
Your Cold Frame in Action: What to Grow
Once your cold frame is built, the possibilities are endless! Here are a few ideas to get you started:
- Early Spring Greens: Lettuce, spinach, kale, arugula, radishes
- Fall Vegetables: Mache, spinach, kale, chard
- Seedlings: Tomatoes, peppers, eggplants, herbs
- Overwintering: Parsley, rosemary, thyme, strawberries
Get Growing and Share Your Success!
Building your own cold frame is a rewarding project that will significantly extend your growing season and increase your self-sufficiency. We encourage you to give it a try! Don't be afraid to adapt the design to suit your needs and available resources.
We'd love to hear about your experience! Share your photos and stories in the comments below. What are your gardening plans for the upcoming season? Are you hoping to get an early start on tomatoes, or extend your harvest of leafy greens? Let us know!
Happy Gardening!
