Extend Your Growing Season: Building a DIY Mini Greenhouse from Repurposed Windows
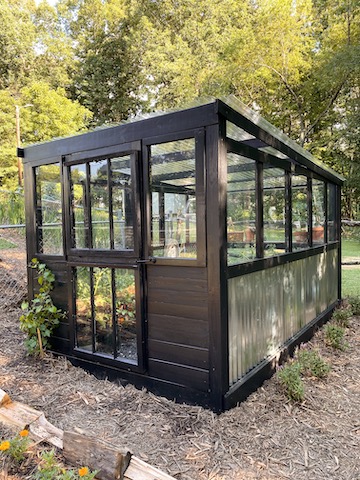
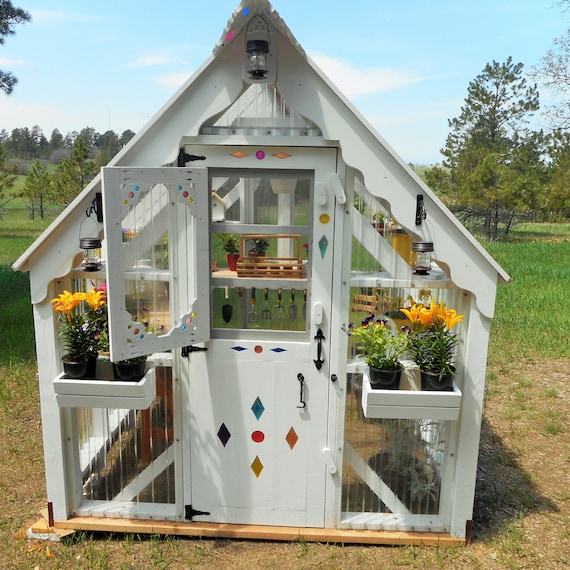
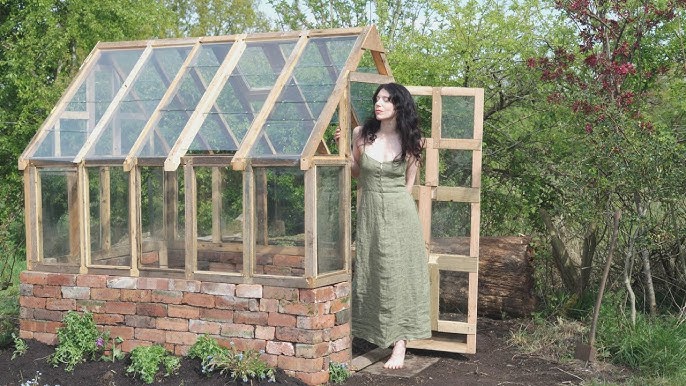
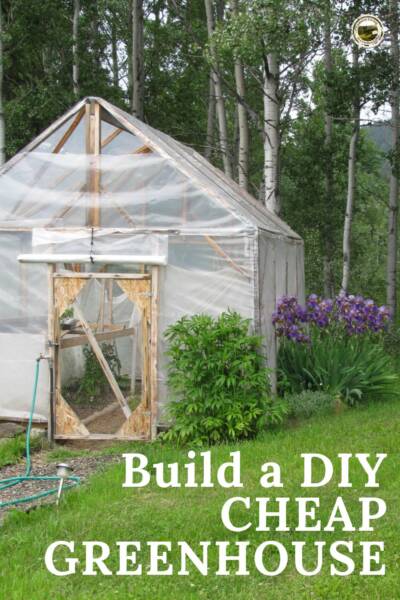
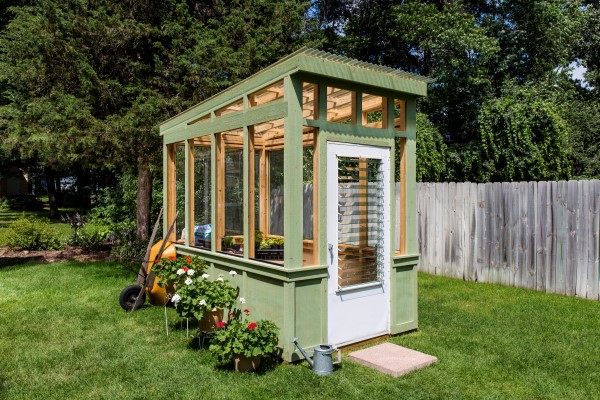
Here at Better Homes and Harvests, we're all about finding creative ways to boost our homestead's self-sufficiency and embrace sustainability. And what's more satisfying than extending your growing season and nurturing your own seedlings, even when the weather outside is frightful? That's why I'm thrilled to share my experience building a DIY mini greenhouse from repurposed windows – a project that’s not only budget-friendly but also a fantastic way to add a touch of rustic charm to your garden.
I'd always dreamed of having a greenhouse but the cost of a new one felt prohibitive. Then, inspiration struck! I had a pile of old windows salvaged from a neighbor's renovation, just begging for a new purpose. This homesteading project became my mission: to transform discarded materials into a functional and beautiful space for my plants. It wasn't without its challenges (warped frames, anyone?), but the ultimate reward – vibrant seedlings thriving in early spring – made every bit of effort worthwhile.
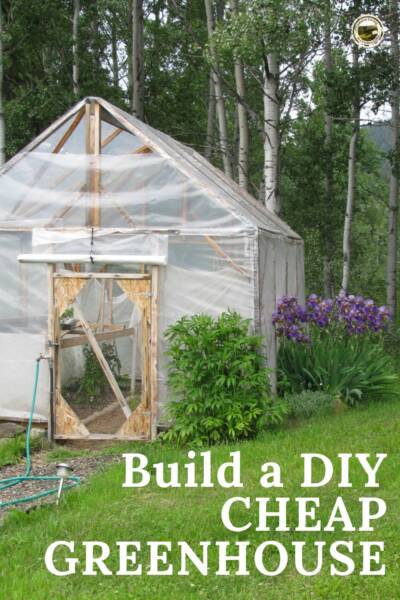
This guide is geared towards intermediate-level homesteaders who are comfortable with basic woodworking and DIY projects. So, grab your tools, gather your materials, and let's get building!
Why a Mini Greenhouse? Why Now?
Before we dive into the how-to, let's talk about the why. A mini greenhouse is a game-changer for any homestead, especially if you live in an area with a shorter growing season.
- Extended Growing Season: Start your seedlings earlier in the spring and extend your harvest into the fall.
- Plant Protection: Shield your delicate plants from frost, wind, and pests.
- Cost-Effective: Building your own is significantly cheaper than buying a pre-fabricated greenhouse.
- Sustainable Living: Repurposing materials reduces waste and minimizes your environmental impact. This is sustainable homesteading in action!
- Aesthetic Appeal: A well-built greenhouse adds character and charm to your backyard.
Gathering Your Supplies: The Treasure Hunt Begins
The beauty of this project lies in its adaptability. The exact dimensions of your greenhouse will depend on the size and quantity of your reclaimed materials, mainly your old windows. However, here's a general list of what you'll need:
- Repurposed Windows: Aim for at least four windows of similar sizes. Clean them thoroughly!
- Lumber: Pressure-treated lumber for the base frame (2x4s or 4x4s), and untreated lumber for the window frames and support structure (2x4s, 1x4s, or similar).
- Fasteners: Screws (various sizes), nails, hinges.
- Glazing Compound (Optional): For sealing gaps around the windows.
- Polycarbonate Sheeting (Optional): For areas where you don't have windows, or for creating a more durable roof.
- Tools: Saw (circular saw or hand saw), drill, screwdriver, measuring tape, level, square, hammer, safety glasses, work gloves, paint or sealant.
Don't be afraid to get creative with sourcing materials! Check architectural salvage yards, online marketplaces, or ask around your community. Finding those reclaimed materials is half the fun!
Step-by-Step Guide: Building Your Dream Greenhouse
Step 1: Planning and Design
This is where the magic happens. Lay out your windows and visualize how they will fit together. Consider the angle of the roof for optimal sunlight exposure.
- Measure everything! Accurately measure each window and sketch out a design based on these measurements.
- Determine the dimensions: Decide on the overall size of your greenhouse, considering the space you have available and the size of your windows.
- Plan the roof angle: A steeper angle (around 30-45 degrees) will allow for better sunlight penetration and snow runoff.
- Sketch a detailed plan: Include dimensions for all framing members, window placement, and door location. This will be your roadmap.
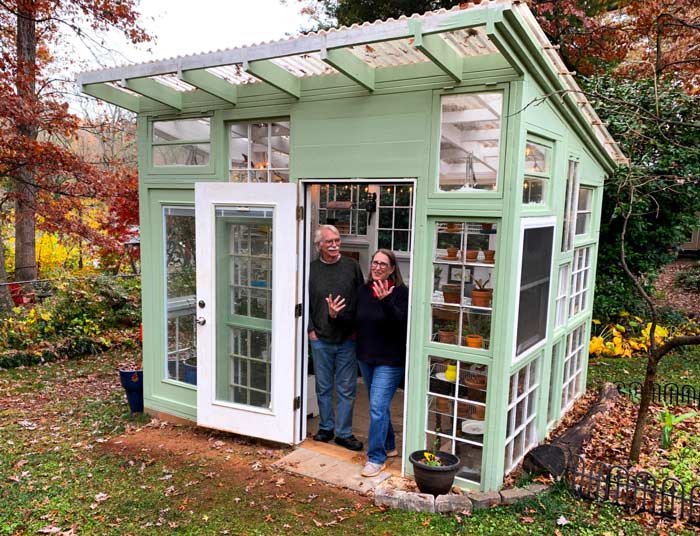
Step 2: Building the Base Frame
The base frame provides a solid foundation for your greenhouse.
- Cut the lumber: Cut the pressure-treated lumber according to your plan.
- Assemble the frame: Use screws to assemble the rectangular base frame. Ensure it's square and level.
- Consider drainage: If your greenhouse will be on bare ground, you may want to add a layer of gravel inside the frame for drainage.
Step 3: Framing the Walls
This is where the windows come into play.
- Build the window frames: Construct frames around each window using the untreated lumber. Make sure the frames fit snugly around the windows.
- Attach the window frames to the base: Secure the window frames to the base frame, using screws. Use a level to ensure the walls are plumb.
- Add support studs: Add vertical studs between the window frames for extra support.
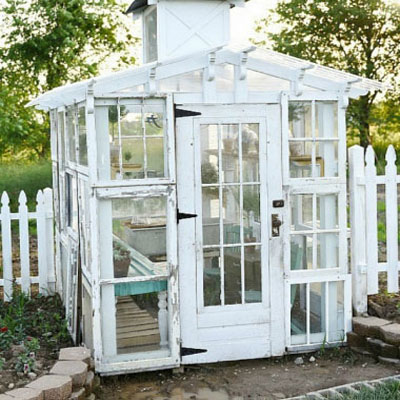
Step 4: Constructing the Roof
The roof is crucial for protecting your plants from the elements.
- Build the roof frame: Construct a frame for the roof, ensuring the angle is correct.
- Attach the roof frame to the walls: Secure the roof frame to the wall frames, using screws.
- Glaze the roof: You can use more repurposed windows for the roof, or opt for polycarbonate sheeting for a more durable and lightweight option. Secure the glazing material to the roof frame.
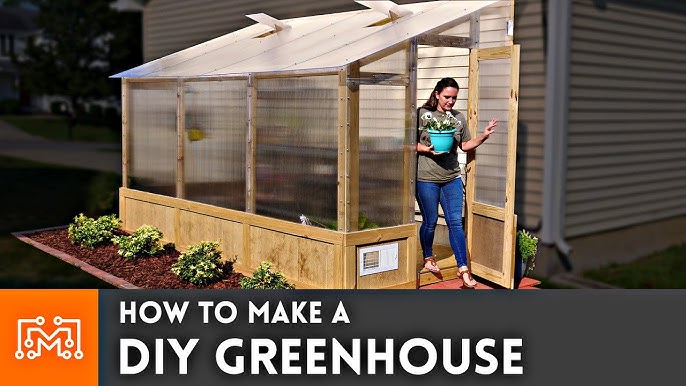
Step 5: Adding the Door
Access is essential!
- Build a door frame: Construct a frame for the door, using lumber.
- Attach the door: Hang the door using hinges.
- Add a latch: Install a latch to keep the door closed.
Step 6: Sealing and Finishing
This step is crucial for weatherproofing your greenhouse.
- Seal the gaps: Use glazing compound to seal any gaps around the windows and door.
- Paint or stain the wood: Protect the wood from the elements by painting or staining it. Choose a color that complements your garden.
- Add ventilation: Install vents or small windows that can be opened to regulate the temperature inside the greenhouse.
Troubleshooting and Tips from My Experience
- Warped Windows: Don't despair! You can often straighten slightly warped windows by carefully applying pressure while securing them in the frame.
- Uneven Ground: Ensure your base frame is level, even if the ground isn't perfectly even. You can use shims to adjust the height.
- Ventilation is Key: A greenhouse can quickly overheat, even in cool weather. Make sure you have adequate ventilation to prevent your plants from scorching.
- Secure it Down! Depending on your location and wind conditions, you may need to anchor your greenhouse to the ground to prevent it from blowing away.
The Fruits (and Vegetables) of Your Labor
Once your DIY mini greenhouse is complete, it's time to start planting! Imagine the joy of harvesting fresh vegetables weeks before your neighbors, all thanks to your ingenuity and hard work. My first spring in my repurposed window greenhouse, I started tomatoes, peppers, and a variety of herbs. The plants thrived, and I enjoyed an extended growing season that year. It was incredibly rewarding to see my efforts pay off. This project truly embodies the spirit of self-sufficiency.
Building a DIY mini greenhouse from repurposed windows is a challenging but incredibly rewarding project. It's a testament to the homesteading spirit – taking what you have, getting creative, and building something that enhances your self-sufficiency and brings you closer to the land. It’s a big step toward a resilient homestead

Now it’s your turn! Have you tried a project like this? What challenges did you face when building your upcycled greenhouse? Share your tips and tricks in the comments below!
