Extend Your Growing Season: Building a DIY Cold Frame on a Budget
Hey there, fellow homesteaders! It's your friend Maggie here from Better Homes and Harvests, ready to share a secret weapon in my gardening arsenal: the humble, yet mighty, cold frame. If you’re tired of seeing your garden dreams wither with the first frost, or if you’re yearning for fresh greens weeks before the local farmers market even thinks about opening, then you’ve come to the right place. We're diving into the wonderful world of DIY cold frame construction, using recycled materials to save money and boost your self-sufficiency!
I’ll never forget my first attempt at building a cold frame. Let's just say it involved a lot of duct tape, a rogue gust of wind, and a very surprised cat who suddenly found himself sharing a cozy space with my early-spring spinach. It wasn't pretty, but it worked (sort of), and it taught me invaluable lessons. Now, I'm here to share those lessons with you, so you can build a functional and cost-effective cold frame without the feline-induced chaos.
Why Build a Cold Frame? The Benefits of Extending Your Growing Season
Before we get our hands dirty, let’s talk about why you should even bother with a cold frame. Simply put, it's about extending your growing season and enjoying fresh, homegrown food for longer. Here's what a cold frame gardening can offer:
- Early Spring Harvests: Imagine enjoying fresh lettuce, spinach, and radishes weeks before your neighbors even think about planting.
- Frost Protection: Shield your delicate plants from those unexpected late-spring frosts that can decimate your hard work.
- Seed Starting: Provide a protected environment for starting seedlings earlier in the season, giving them a head start.
- Fall Crop Extension: Keep those late-season crops like kale and chard going strong well into the colder months.
- Reduced Grocery Bills: Less reliance on expensive, store-bought produce means more money in your pocket.
- Increased Self-Sufficiency: Taking control of your food supply and deepening your connection to nature – that's what homesteading is all about!
Gathering Your Supplies: Repurposed Materials for the Win!
Now, the fun part: building your own repurposed cold frame. We're all about being resourceful here at Better Homes and Harvests, so we'll focus on using recycled materials to keep costs down and give a new life to items that would otherwise end up in the landfill. Here's a list of what you'll need, with estimated costs (which, of course, will vary depending on what you can scrounge up!):
- Old Windows (1-2): The heart of your cold frame! Look for single-pane windows at salvage yards, online marketplaces (Facebook Marketplace, Craigslist), or ask friends and neighbors who might be renovating. Cost: Free - $20 per window.
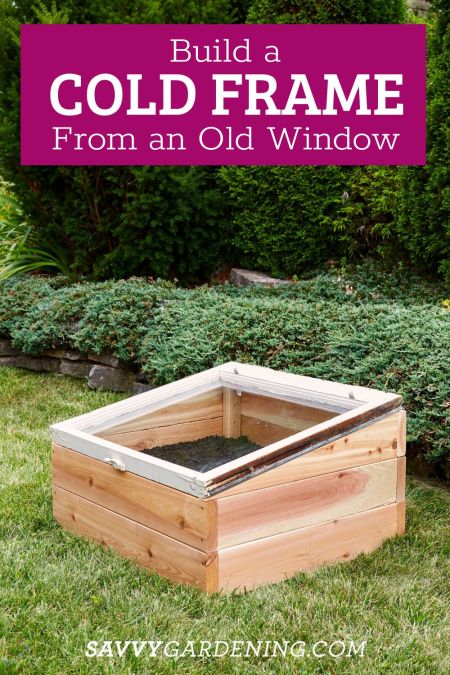
- Pallets (2-4): These will form the base and sides of your cold frame. Check with local businesses (grocery stores, hardware stores) – they often give them away for free! Make sure they are heat treated (HT stamp) and not chemically treated (MB stamp). Cost: Free.
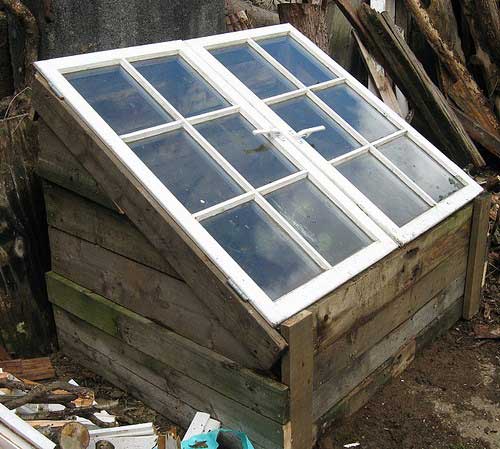
- Straw Bales (2-4): These provide excellent insulation and can form the back wall of your cold frame. Local farms or garden centers are your best bet. Cost: $5 - $10 per bale.
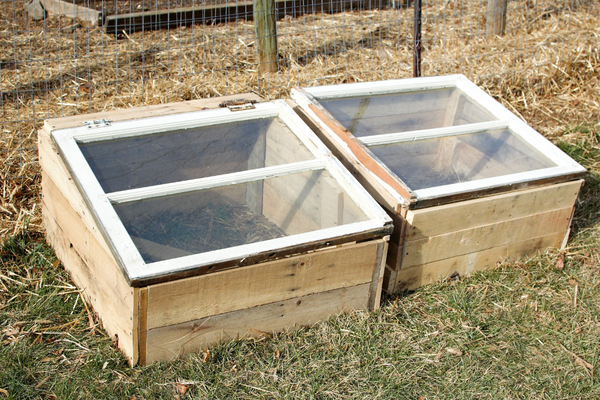
- Reclaimed Lumber (Optional): For reinforcing the frame, building a hinged lid, or adding extra support. Again, salvage yards and online marketplaces are great resources. Cost: Varies, but often free or very cheap.
- Screws or Nails: For assembling the frame. Use what you have on hand or buy a small box. Cost: $5 - $10.
- Hinges (Optional): For creating a hinged lid for easy ventilation. Cost: $5 - $10.
- Handles or Knobs (Optional): To make opening and closing the lid easier. Cost: $2 - $5.
- Tools: Saw, drill, screwdriver, measuring tape, level, hammer, safety glasses, gloves. (You likely already have these!)
Total Estimated Cost: $0 - $75 (depending on what you can find for free!)
Step-by-Step Guide: Building Your DIY Cold Frame
Alright, let's get building! Remember, safety first – wear your safety glasses and gloves!
Step 1: Prepare Your Site
Choose a sunny location in your garden that receives at least 6 hours of sunlight per day. Ideally, it should be sheltered from strong winds. Level the ground where you'll be building your cold frame.
Step 2: Build the Base
This will depend on your chosen design. Here are a couple of options:
- Pallet Base: Arrange your pallets to create a rectangular or square base. Secure them together using screws or nails. Make sure the base is level!
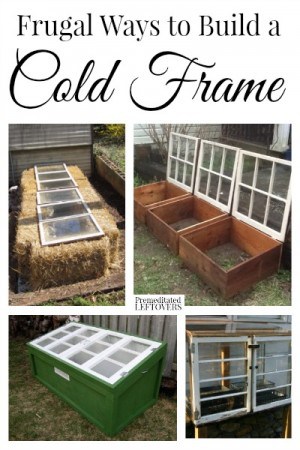
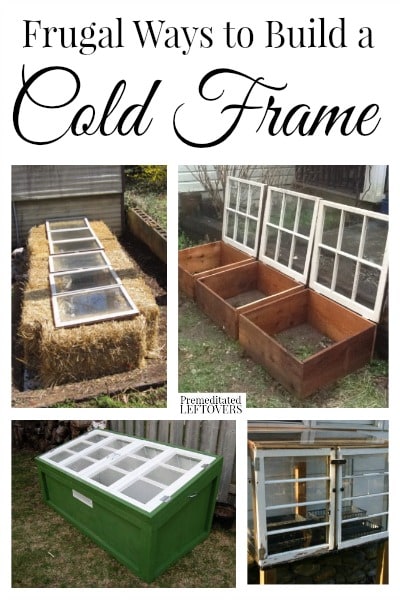
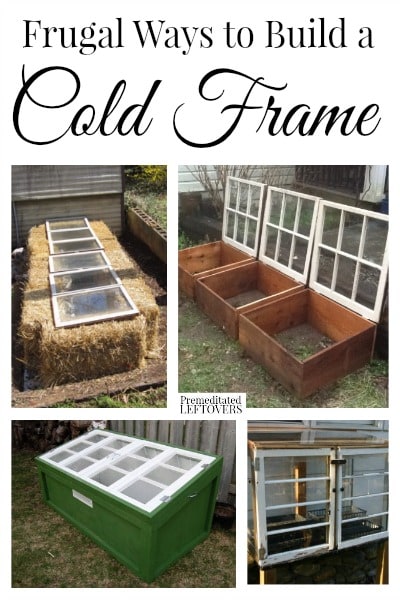
- Straw Bale Base: Arrange straw bales in a U-shape or square, leaving one side open for the window(s).
Step 3: Construct the Frame
- Pallet Sides: If using pallets, attach additional pallets to the base to create the sides and back of the cold frame. The back should be higher than the front to create a slope for the window(s). You may need to cut down pallets for the proper height.
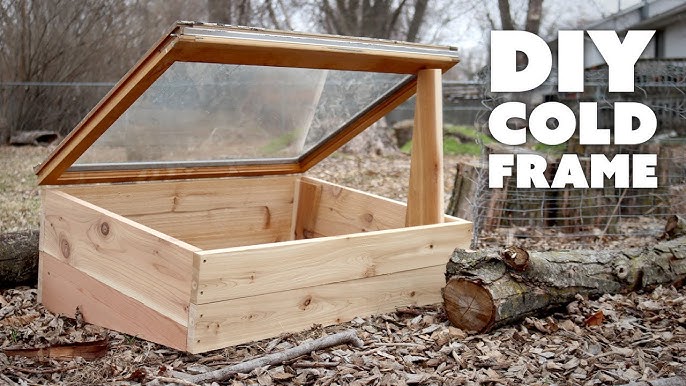
- Straw Bale Sides: If using straw bales, stack them to create the sides of the cold frame, ensuring they are stable.
Step 4: Attach the Window(s)
This is where your old window(s) come in!
- Fixed Window: Simply place the window(s) on top of the frame, overlapping slightly if using multiple windows. You can secure them with screws or nails, but this will make ventilation more difficult.
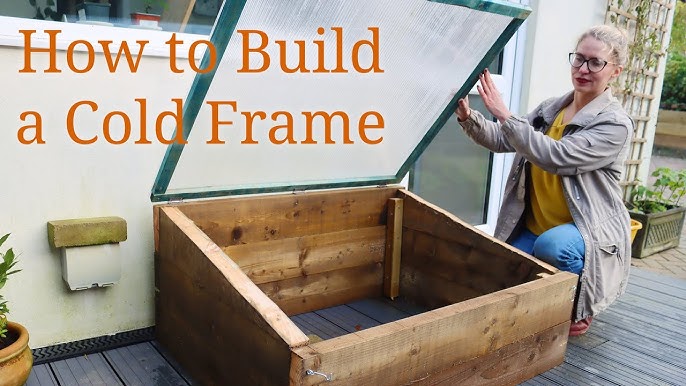
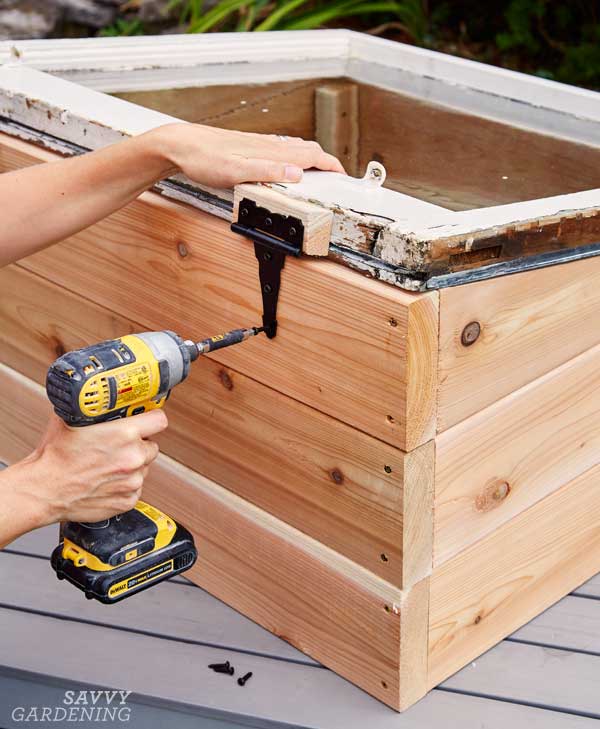
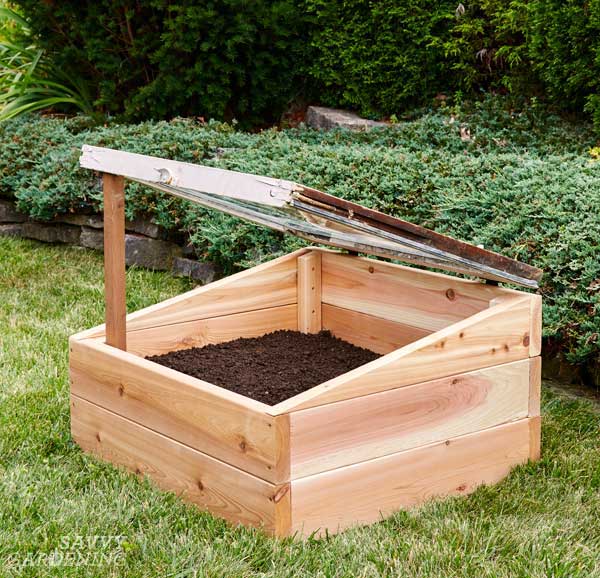
- Hinged Window: This is the preferred method, as it allows for easy ventilation. Attach hinges to the back edge of the window and then to the back of the cold frame. This will allow you to lift the window open for ventilation.
Step 5: Reinforce the Structure (Optional)
Use reclaimed lumber to reinforce the frame, especially if using pallets. Add corner braces and supports to ensure the structure is sturdy and can withstand wind and weather.
Step 6: Add Finishing Touches (Optional)
Attach handles or knobs to the window(s) to make opening and closing easier. You can also paint or stain the frame to protect it from the elements and make it look more aesthetically pleasing.
Cold Frame Maintenance: Keeping Your Plants Happy
Building the cold frame is just the first step. Here are some tips for maintaining it and ensuring your plants thrive:
- Ventilation: This is crucial! On sunny days, the temperature inside the cold frame can quickly rise to dangerous levels. Open the window(s) to vent excess heat. As a general rule, if the outside temperature is above 40°F (4°C), you'll likely need to vent.
- Watering: Water your plants regularly, but be careful not to overwater, as the humidity inside the cold frame can be high.
- Temperature Monitoring: Use a thermometer to monitor the temperature inside the cold frame. This will help you determine when to vent and when to close the window(s) to retain heat.
- Pest Control: Keep an eye out for pests and diseases. Remove any affected plants immediately. Consider using organic pest control methods.
- Insulation: On very cold nights, you can add extra insulation to your cold frame by covering it with blankets, tarps, or bubble wrap.
Common Questions and Concerns
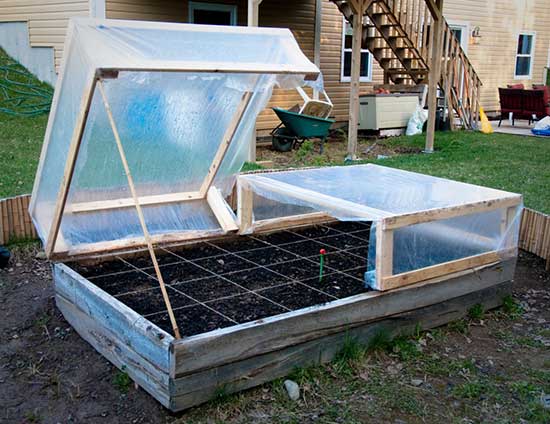
- What if I don't have old windows? You can use clear plastic sheeting instead. Stretch it tightly over a frame made of wood or PVC pipes.
- How big should my cold frame be? The size depends on your needs and the space you have available. Start small and expand as needed.
- What vegetables can I grow in a cold frame? Leafy greens (lettuce, spinach, kale), radishes, carrots, and herbs are all great choices.
Get Started Today!
Building a DIY cold frame is a rewarding project that will allow you to extend your growing season, enjoy fresh, homegrown food for longer, and reduce your reliance on store-bought produce. Don't be afraid to experiment, get creative, and have fun!
Now it’s your turn! I'd love to hear about your cold frame adventures. Share your tips, tricks, and photos in the comments below. What recycled materials did you use? What challenges did you face? What are you growing in your cold frame? Let's learn from each other and create a community of thriving homesteaders! Happy gardening!