
Extend Your Growing Season: Building a Cold Frame from Reclaimed Storm Windows
Are you dreaming of fresh spinach and kale long after the first frost? In USDA Hardiness Zone 6a, extending the growing season can be a challenge, but it’s entirely achievable with a little ingenuity and a cold frame! This simple structure traps solar heat, creating a mini-greenhouse effect that protects your plants from the elements. And what's even better? You can build one yourself using reclaimed materials, making it both sustainable and incredibly cost-effective. Let's dive into how you can build a cold frame using reclaimed storm windows, perfect for your urban or suburban homestead.
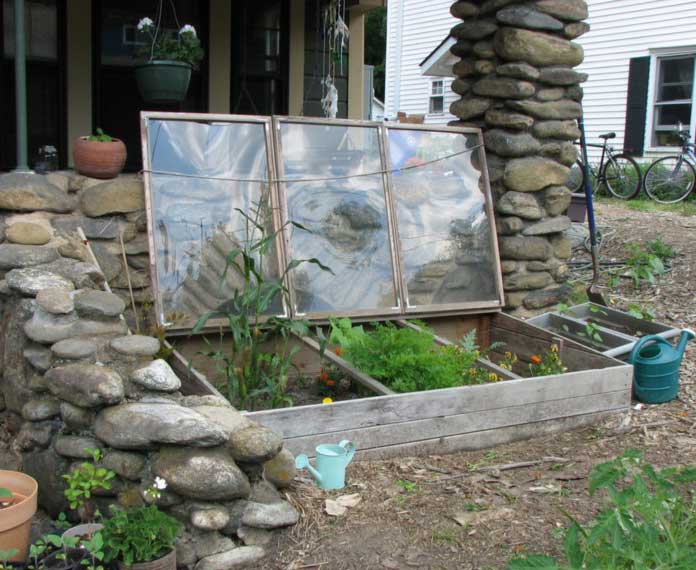
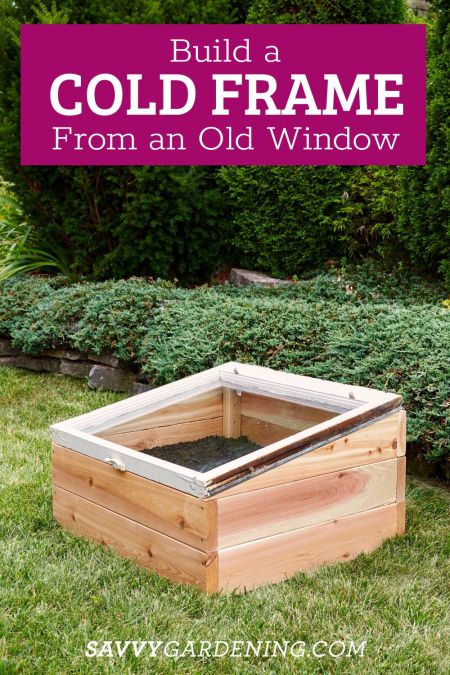
This cold frame, made from reclaimed materials and positioned against a south-facing wall, is ideal for extending the growing season of leafy greens in an urban garden.
Materials List: Your Sustainable Cold Frame Shopping List
Before we begin, gather your supplies. Using reclaimed storm windows not only saves you money but also gives these materials a second life. Here's what you'll need:
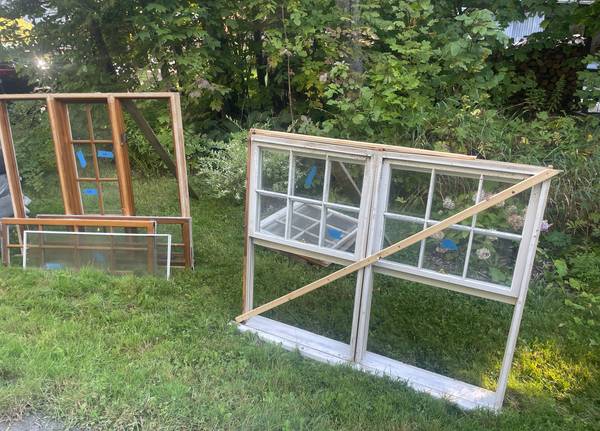
- Two reclaimed single-pane storm windows (approximately 30" x 60" each)
- One reclaimed single-pane storm window (approximately 24" x 30" for the top lid)
- Four 8-foot-long pressure-treated 2x4 lumber
- Exterior wood screws (1 5/8" and 3")
- Exterior wood glue
- Two 3-inch hinges
- One hook and eye latch
- Sandpaper (medium grit)
- Exterior wood sealant/paint
- Safety glasses
- Work gloves
- Measuring tape
- Pencil
- Circular saw or hand saw
- Drill with drill bits
- Clamps
Step-by-Step Instructions: Building Your Cold Frame
Here’s a beginner-friendly guide to constructing your cold frame. Don’t worry if you have limited woodworking experience; this project is designed to be straightforward and rewarding.
Cutting the Lumber: Begin by cutting the 2x4 lumber into the following lengths: Two pieces at 60 inches for the front and back, and two pieces at 26 inches for the sides. Ensure square cuts for stability.
Cutting the lumber accurately is crucial for a stable and well-fitted cold frame.
Building the Frame: Assemble the rectangular frame by joining the lumber using wood glue and 3-inch exterior wood screws. Pre-drill pilot holes to prevent splitting the wood. Clamp the corners to ensure a tight fit while the glue dries. The resulting frame should be 60 inches long and 26 inches wide.
Clamping the corners helps maintain a tight, square frame while the glue sets.
Attaching the Windows: Carefully position one storm window on each side of the assembled frame, creating the slanted sides of the cold frame. Secure the windows to the frame using 1 5/8" screws. Pre-drill pilot holes to avoid cracking the window glass. Ensure the window edges are flush with the top of the lumber.
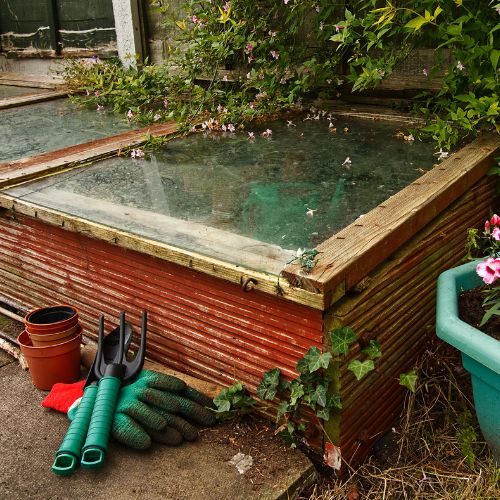
Properly securing the windows is key to trapping heat and protecting your plants.
Building the Lid: Attach the 24" x 30" storm window to one of the 26-inch sides of the frame using the hinges. Position the hinges evenly and secure with screws. This will create the hinged lid of the cold frame. Add the hook and eye latch to the opposite side to secure the lid when closed.
The hinged lid allows for easy access and ventilation control within the cold frame.
Finishing: Sand any rough edges on the wood frame. Apply exterior wood sealant or paint to protect the wood from the elements. Let dry completely according to the product instructions.
Sealing or painting the wood will significantly extend the life of your cold frame.
Placement: Choose a location next to a south-facing wall in your urban or suburban garden to maximize sunlight and heat retention. Ensure the area is well-drained.
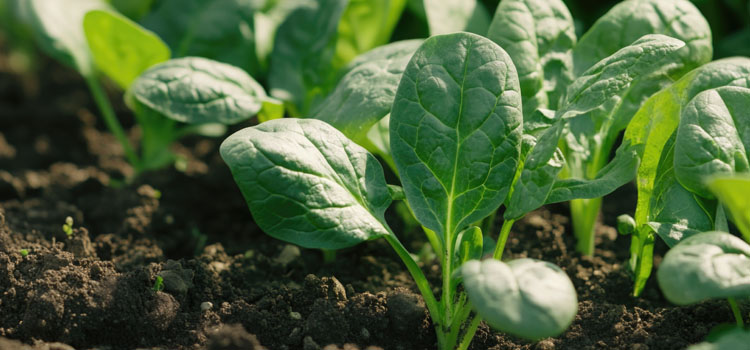
Growing Tips for Leafy Greens in Zone 6a: A Bountiful Harvest
Now that your cold frame is built, let’s get planting! Here are some tips for growing leafy greens successfully in Zone 6a:
Planting Time: Start seeds indoors 4-6 weeks before the first expected frost or direct sow in the cold frame in early spring or late summer.
Starting seeds indoors gives you a head start on the growing season.
Watering: Water gently but regularly, especially during dry periods. Avoid overwatering to prevent fungal diseases. Water in the morning to allow foliage to dry before nightfall.
Ventilation: On sunny days, prop open the lid to prevent overheating. Monitor the temperature inside the cold frame and adjust ventilation as needed. Close the lid on cold nights to retain heat.
Pest Control: Inspect plants regularly for pests such as aphids or slugs. Handpick pests or use organic pest control methods.
Temperature Management: Use a simple thermometer inside the cold frame to monitor temperatures. Add extra insulation (e.g., blankets or straw bales) on extremely cold nights.
Conclusion: Extend Your Harvest and Embrace Sustainability
Building a cold frame from reclaimed storm windows is a rewarding project that extends your growing season, promotes sustainability, and provides fresh, homegrown greens even as the weather turns colder. With a little effort, you can enjoy the taste of summer well into the fall and even through parts of the winter. So, gather your materials, follow these steps, and get ready for a longer, more productive growing season in your own backyard!